culinary flights of fancy

Home Cooking Adventures in Berkeley Heights


Leave a comment

Roasted Pumpkin Risotto with Tuscan Kale and Breadcrumbs

PumpkinRisotto.2 (2)

As everyone starts thinking about pumpkin pies for Thanksgiving next week, you may find yourself with some leftover pumpkin.  Instead of using it to make another dessert, why not try using pumpkin in a savory dish?  I chose risotto but you can certainly adapt this basic recipe and use pasta or any other grain you prefer or have on hand.  If you have a different green on hand, you can certainly substitute it for the kale as well.  I like kale with this dish because it tends to hold its color and texture pretty well over time.  However, any green or herb would work well.

There are a number of different ways to prepare fresh pumpkin.  I chose to roast it, allow it to cool and then scrape out the flesh.  From there I seasoned it simply and pureed it.  As an aside, I use this method for making pumpkin pie as well.

The real challenge with this recipe is coaxing the pumpkin flavor out without overpowering the risotto with a lot of spice thereby losing all the subtle flavors of the pumpkin, kale, and risotto.  I use a homemade vegetable broth and I think that’s a key.  However if you are not inclined to make your own, you can certainly use a canned/boxed broth or simply use water.

This dish makes a filling vegetarian main course for four or a great starter course that would easily serve six.  Recipe follows after the jump… Continue reading


Leave a comment

Potato Leek Soup

PotatoLeekSoup.3 (2)

As you might start to suspect after reading the blog of late, I love soup, and potato leek is one of my favorites.  It’s a classic and I’m sure there are a ton of different recipes out there and readily available.  So, I’m reluctant to add to the pile of recipes but I actually really like my recipe.  I’m not sure why I like it so much…it’s probably the homemade vegetable broth that’s steeped with the tough outer leaves of the leeks themselves.  I don’t know.  I don’t use a lot of cream; I really don’t feel like it’s needed.  I do add a dash of it, a couple tablespoons for the whole thing.  We have a Vitamix and it really comes in handy with dishes like these where the puree really matters.  If you don’t have a Viatmix or a similar type of blender, I would think a food processor could be used in a pinch.  If all else fails and those options just aren’t available, you can always take a fine mesh sieve and strain the soup slowly, pressing the soup gently through it with a wooden spoon until you reach a smooth consistency (after it’s been blended with a regular blender, that is).

The soup is great in that it doesn’t have a ton of ingredients compared to other soups that I make.  I use a lot of vegetables for the broth, but you can make a lot of it and freeze it for other soups in the future too.  So, that’s a bonus.  Otherwise, beyond the broth, I simply use potatoes, half a small onion, a TON of leeks (6-9 depending on how much soup I’m making), a couple cloves of garlic, and a fresh bay leaf to round everything out.  The broth takes about three hours and granted, if you are starting with that, it’s a bit of a time investment.  However, if you are using frozen broth from a previous batch of soup, the soup itself really will take less than an hour to pull off.  I would definitely suggest using homemade broth instead of purchasing some vegetable stock from the grocery store- I’m pretty convinced that it is the singular difference that elevates this soup.  So, no short-cuts with this one!

One last thing…you can freeze this soup and works great when unthawed and reheated.  So, granted this will take a bit of time but you can make extra broth for future uses and freeze the soup leftovers for future meals.  All in all, I’d say that’s a fair trade.

Garnish this with a bit of parsley.  Caramelized leeks would also be great.  We usually have this as a meal with either crusty bread or a salad or both during the late fall or winter.  Recipe follows after the jump… Continue reading


Leave a comment

Rare Eye of Round Roast Beef

RareRoast.2 (2)

RareRoast.3 (2)

I cook this recipe all the time at home.  It lasts a long time and does well in the freezer if I have to freeze it.  Eye round beef is also a very lean cut of meat which is also a bonus.  One of the drawbacks is that it is a tough cut of meat and if you don’t prepare it rare, it’s not going to be very tender.  Also, it needs to be cut razor thin, which works well if you are making a sandwich or something like that.  I usually cut it as thinly as I can and usually serve it at room temperature along with a salad, some blanched broccoli or beans, some crusty bread, and/or some cheese…and I usually just put all of it on a cutting board and serve it as is.  The flavor of this roast is great, at once salty and sweet with hints of herbs and spice.  I got the recipe from this cookbook, which I’ve featured on the blog before (buy it…you won’t be sorry about the investment).  I’ve followed this recipe exactly and I’ve also made it using the same basic technique but using different spices and herbs.  I really liked the way it tasted with herbs de Provence.  However, here, I followed the recipe by and large from the book as written so that you could get a sense for what it looks like from that perspective.

Two things before the recipe that I should mention.  One, the good news is that this roast only takes about 20 minutes to cook the whole thing at 425 degrees.  Two, the bad news is that the rub of all the seasonings and herbs needs to be done two days (48 hours) in advance of cooking it.  So this involves a bit of planning to pull off.  However, the saving grace about it is that once you create the rub and season the beef, you wrap it up, pop it in the fridge and it just sits soaking up all the flavor for a couple of days.  It takes about 15 minutes to gather everything, make the rub, and season the beef.  So all in all, not a whole lot of time to prepare.  It does, though, require some forethought which may be inconvenient on occasion.  So, with those two things in mind, here is my current favorite rare roast beef recipe.  It’s almost exactly the recipe published in the book, just written in my own words with a few noted changes.  Recipe follows after the jump… Continue reading


Leave a comment

Fall Vegetable Salad with Roasted Apples, Fennel, and Wilted Kale

Apple.salad.2 (3)

I made a summer salad with roasted peaches and shaved fennel a few months back and decided that I could use the same basic premise for a nice salad using ingredients readily available during fall.  Kale and fennel are both widely available at any grocery store or farmer’s market at the time of year and orchard apples are plentiful right now.  I bought my apples at Vito’s in Berkeley Heights…they have a great selection and let’s face it, Vito is a hoot so it’s pretty fun to run over there.  At any rate, you can have this salad done relatively quickly given it’s served warm.  The apples take 10-15 minutes to roast and you can have the kale wilted and the fennel shaved during the roasting time.  So it’s not too bad.  It’s quite tasty as the apples bring some sweetness and the fennel tempers that a bit with its’ light anise flavor.  The kale anchors the whole thing with its’ sturdy earthiness.  Recipe follows after the jump… Continue reading


Leave a comment

Ancho and Guajillo Chili Pepper Chili with Beans, Beef, and Vegetables

chili.2 (2)

chili.5

Ancho and Guajillo Pepper Chili with Beef, Beans, and Vegetables:

I really like chili and I really enjoy making it a couple times each year during the cool and cold weather months.  I love the spiciness of it and I love the fact that you can add a bit of this and a bit of that.   Many people prefer their chili simply cooked with dried spices, dried chili pepper powder, and ground beef.  Living in Texas for some time, I became well acquainted with this approach and while I like it, I don’t love it.  I much prefer beans in my chili and I certainly like the taste and health benefits they bring.  The beans, coupled with vegetables such as onions, bell peppers, and tomatoes make chili better for you and certainly more filling.  I typically couple the chili with corn bread and a small salad or some sort.  I almost always garnish with some grated cheddar cheese, chopped green onions, sour cream, and sometimes cilantro (though I didn’t use cilantro as a garnish here).

I basically made a straight forward chili recipe but I did one thing differently and I really liked the end result.  Instead of using chili powder as the main seasoning, I used whole dried chili peppers that I reconstituted in piping hot water and then ground them into a paste using a food processor.  As a result, the chili had a very deep chili flavor and a very deep crimson brown chili color.  I used both ancho and guajillo peppers, both of which are a mild to mild/spicy varieties.  I added a bit of cayenne pepper at the end to bring a bit more heat as I prefer a hotter chili.  I reserved the water that I reconstituted the peppers in so that I could add a bit of the flavored water as the chili simmered away.  Generally, I prefer my chili to be on the looser side rather than very thick.  I think the cheese and the sour cream end up adding thickness and body to the dish at the very end, so I tend to allow it to be not soupy, but sort of soupy if that makes sense.

Of note with using the dried chilis in this manner is that it mitigated the dried powdery, paste-y taste that chili can sometime have due to all the powdered spices typically used.  Also of note, I used ground chuck and I ground the meat myself using a grinder attachment to our mixer.  I simply purchased a small chuck roast, cut it up into about 1 inch pieces, and then ran it through the grinder using the coarse grinder setting.  If you have the grinder attachment or a regular grinder, this is the perfect time to use it…it makes a huge difference in the texture and taste of the dish.

At any rate, I know lots of people have a preferred way to make chili, but here’s mine…at least my latest version.  Recipe follows after the jump! Continue reading


Leave a comment

Products Worth Mentioning: America Farm to Table By Mario Batali

My wife bought this book for me and I love it thus far.  I started reading it last week and it’s great.  I haven’t cooked a recipe from it yet but they look interesting and creative…exactly what you would expect from Mario Batali.  The best part of the book, however, is that contains anecdotes regarding farms and farmers from around the country.  The farm to table movement isn’t new but it has certainly gained steam in recent years and this book celebrates the farm, eating seasonally and locally produced food/ingredients, etc.  If you read this blog regularly you know that I’m a fan of farmer’s markets and getting ingredients as directly from the source as possible and that’s the reason I was interested in reading this book…and it doesn’t disappoint in that way.  At any rate, it’s a good read and certainly worth your time if you are interested in purchasing another cookbook.

…and a little housekeeping:  recipes for chili, a classic French apple tart straight from culinary school, apple butter, pita bread, and curing your own bacon are all forthcoming.  Winter vegetable salad is on the horizon as well.  Putting that out there will hopefully set expectations so that I can keep to a schedule and catch up on writing the recipes and getting them to you!  I’m woefully behind and I apologize for that.  This fall has been crazy busy…I’m not sure where the time goes but it certainly is moving quickly these days.  Anyway, stay tuned for new recipes and I hope all is well with everyone!


Leave a comment

Homemade Chicken Noodle Soup

ChickenNoodleSoup.2 (2)

I love making soup during the fall and winter months. I make soups of all kinds, using lots of different flavors, herbs, broths, and stocks to flavor each one a little differently. Chicken noodle soup is one of a few ‘go to’ soups that I make several times during the colder months. I’m not sure if it’s the nostalgia that I and most other people feel about the canned version during childhood but there’s definitely something about a great bowl of chicken noodle soup.

The good news about this soup is that it is pretty straightforward to make and if you happen to have chicken stock on hand, then it’s fairly quick. I make my own chicken stock and I make it by roasting a chicken, taking all the meat off the bones, and then using the bones to flavor the stock along with an assortment of herbs, vegetables, and spices. Usually I will make roasted chicken several times during the month and I freeze the bones. Once I reach two or three chickens, it’s then time for me to make more stock. If you do not have time to roast a chicken and so on, simply purchase a rotisserie chicken at your local grocery store, take the meat off the bones and go from there. If there’s not time to make stock, simply skip roasting the bones and simmering the soup for hours and make a broth using the bones, vegetables, and herbs. You can make a fairly flavorful broth in an hour to an hour in a half (whereas a stock could take upwards of six hours to really pull together). At any rate, there are options. I’m presenting this recipe as if you do not have chicken stock and will go step by step to making this soup completely from scratch. If you go this route, the soup will take the better part of the day to prepare. However, you won’t use all the stock you make for this one soup dish so you will have leftovers and stock freezes beautifully. So you can freeze it and make another meal or two from your homemade chicken stock anytime you’d like.  Recipe follows after the jump… Continue reading


Leave a comment

Charred Green and Red Tomato Salad

CharredTomatoes,3

Tomato season is almost at an end but if you are lucky, you can still find a few lingering green tomatoes at the market along with some very ripe red tomatoes.  That combination is perfect for an end of season tomato salad to enjoy the last bit of summer and early fall before it gives way to colder weather and winter vegetables.

This salad is so simple; it has just a few ingredients and takes no time to prepare.  However, the flavors are intense with a mix of the tartness of green tomatoes coupled with the bright sweet and acidic flavors of the red tomatoes.  Simply char the tomatoes, toss them with good quality extra virgin olive oil, tear some basil or a mix of herbs of your choosing, and season to taste with flaky sea salt and red pepper flakes.  I don’t feel the salad even needs vinegar or some other form of acid as the tomatoes themselves provide that.  However, a splash of sherry vinegar or balsamic vinegar would work well here if you prefer it that way.

There are two keys to the salad.  One is to use a cast iron pan or griddle and heat it until it is piping hot so that you can achieve the char that adds the smoky caramelized flavor to the salad.  Secondly, usually it’s important to season ingredients prior to cooking, but in this instance the tomatoes need to be seasoned after they are charred as salt will bring out the juices, which we want to keep in the tomatoes until they are finished and are ready to be tossed together in the salad.  Otherwise, this couldn’t be easier, healthier, or more flavorful!

CharredTomatoes.1

Recipe follows after the jump…

Continue reading


Leave a comment

The Kitchn’s Cooking School

Just a quick ‘heads up’…

The Kitchn’s cooking school starts on Monday (10/6) and runs everyday for 20 days.  The Kitchn is a great food/cooking blog and one that I read quite often.  Their school consists of some sort of daily lesson that is emailed to you and you are given homework with each lesson to help hone your skills on specific topic areas.  I’m not sure what exactly to expect with this but I signed up as you never know what little tidbit you’ll pick up from something like this.  Anyway, if you are so inclined and would like to learn more about cooking including lessons on knife skills and other culinary school basics, you should definitely consider signing up.  Hey it’s free to boot!

As an aside, I am actually going to do this so if you sign up and have questions or would like to discuss, just message me here.  I hope at least some of you decide to do this!


1 Comment

Homemade Applesauce Using New Jersey Apples

Applesauce.2 (2)

Applesauce.3

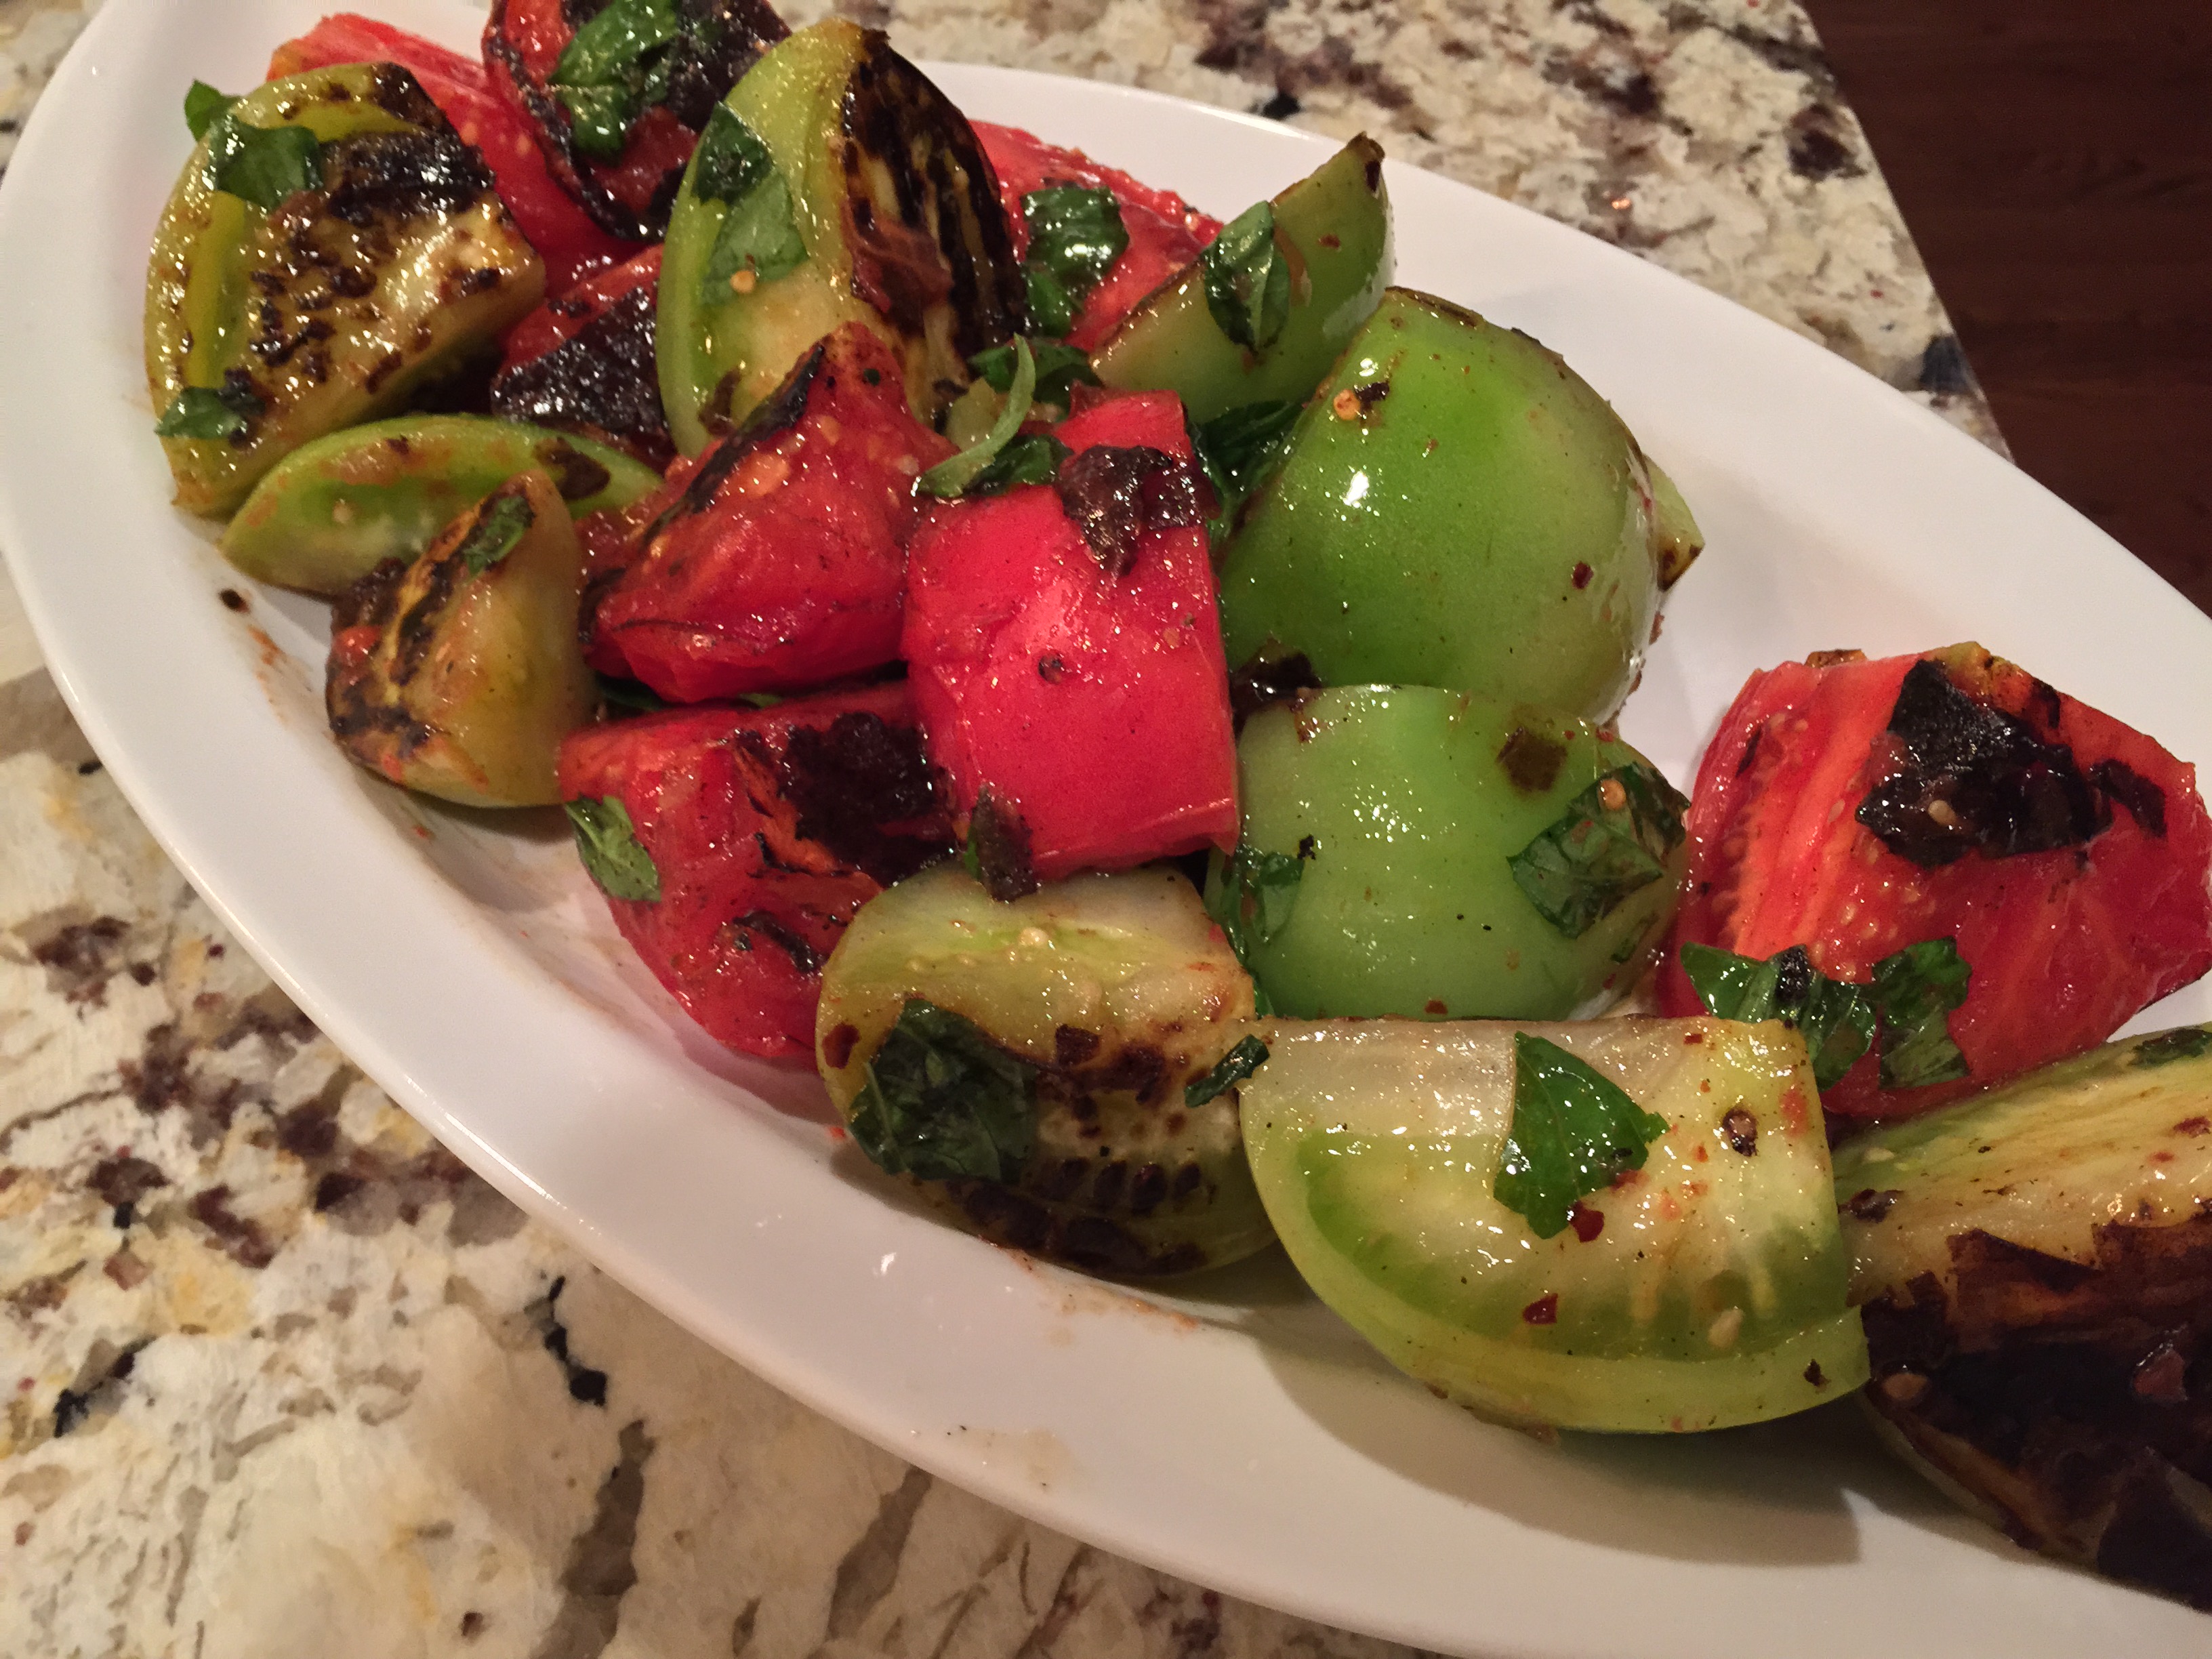
Fall is here and the weather is actually feeling sort of fallish.  The farmer’s markets are slowing down with summer fare and the fall harvest is coming into full swing with winter squash, pumpkins, broccoli, greens, and of course, apples.  There are a ton of varieties of apples and I had no idea that so many were grown right here in the Jerz.  In the coming weeks, I plan on writing a good number of recipes with apples AND I may dust off my culinary school cookbook and actually make a proper apple tart.

Anyway, applesauce:  one thing that kids and adults both love is applesauce.  Store bought applesauce is nothing like homemade applesauce, however.  I had never really made applesauce until a few years back when my Mother-in-Law, Kay, made it for my wife and I while we visited them.  As it turns out, applesauce is one of my wife’s favorite things and she asked me to pay attention as Kay went about making hers.  I can’t remember the differences between how I make mine now and what she does with hers, but the process is still about the same.  You cut apples, toss them with a bit of liquid, spice and flavor them as you prefer and slowly cook them on relatively low temperature until they sort of fall apart and become a unified sauce.

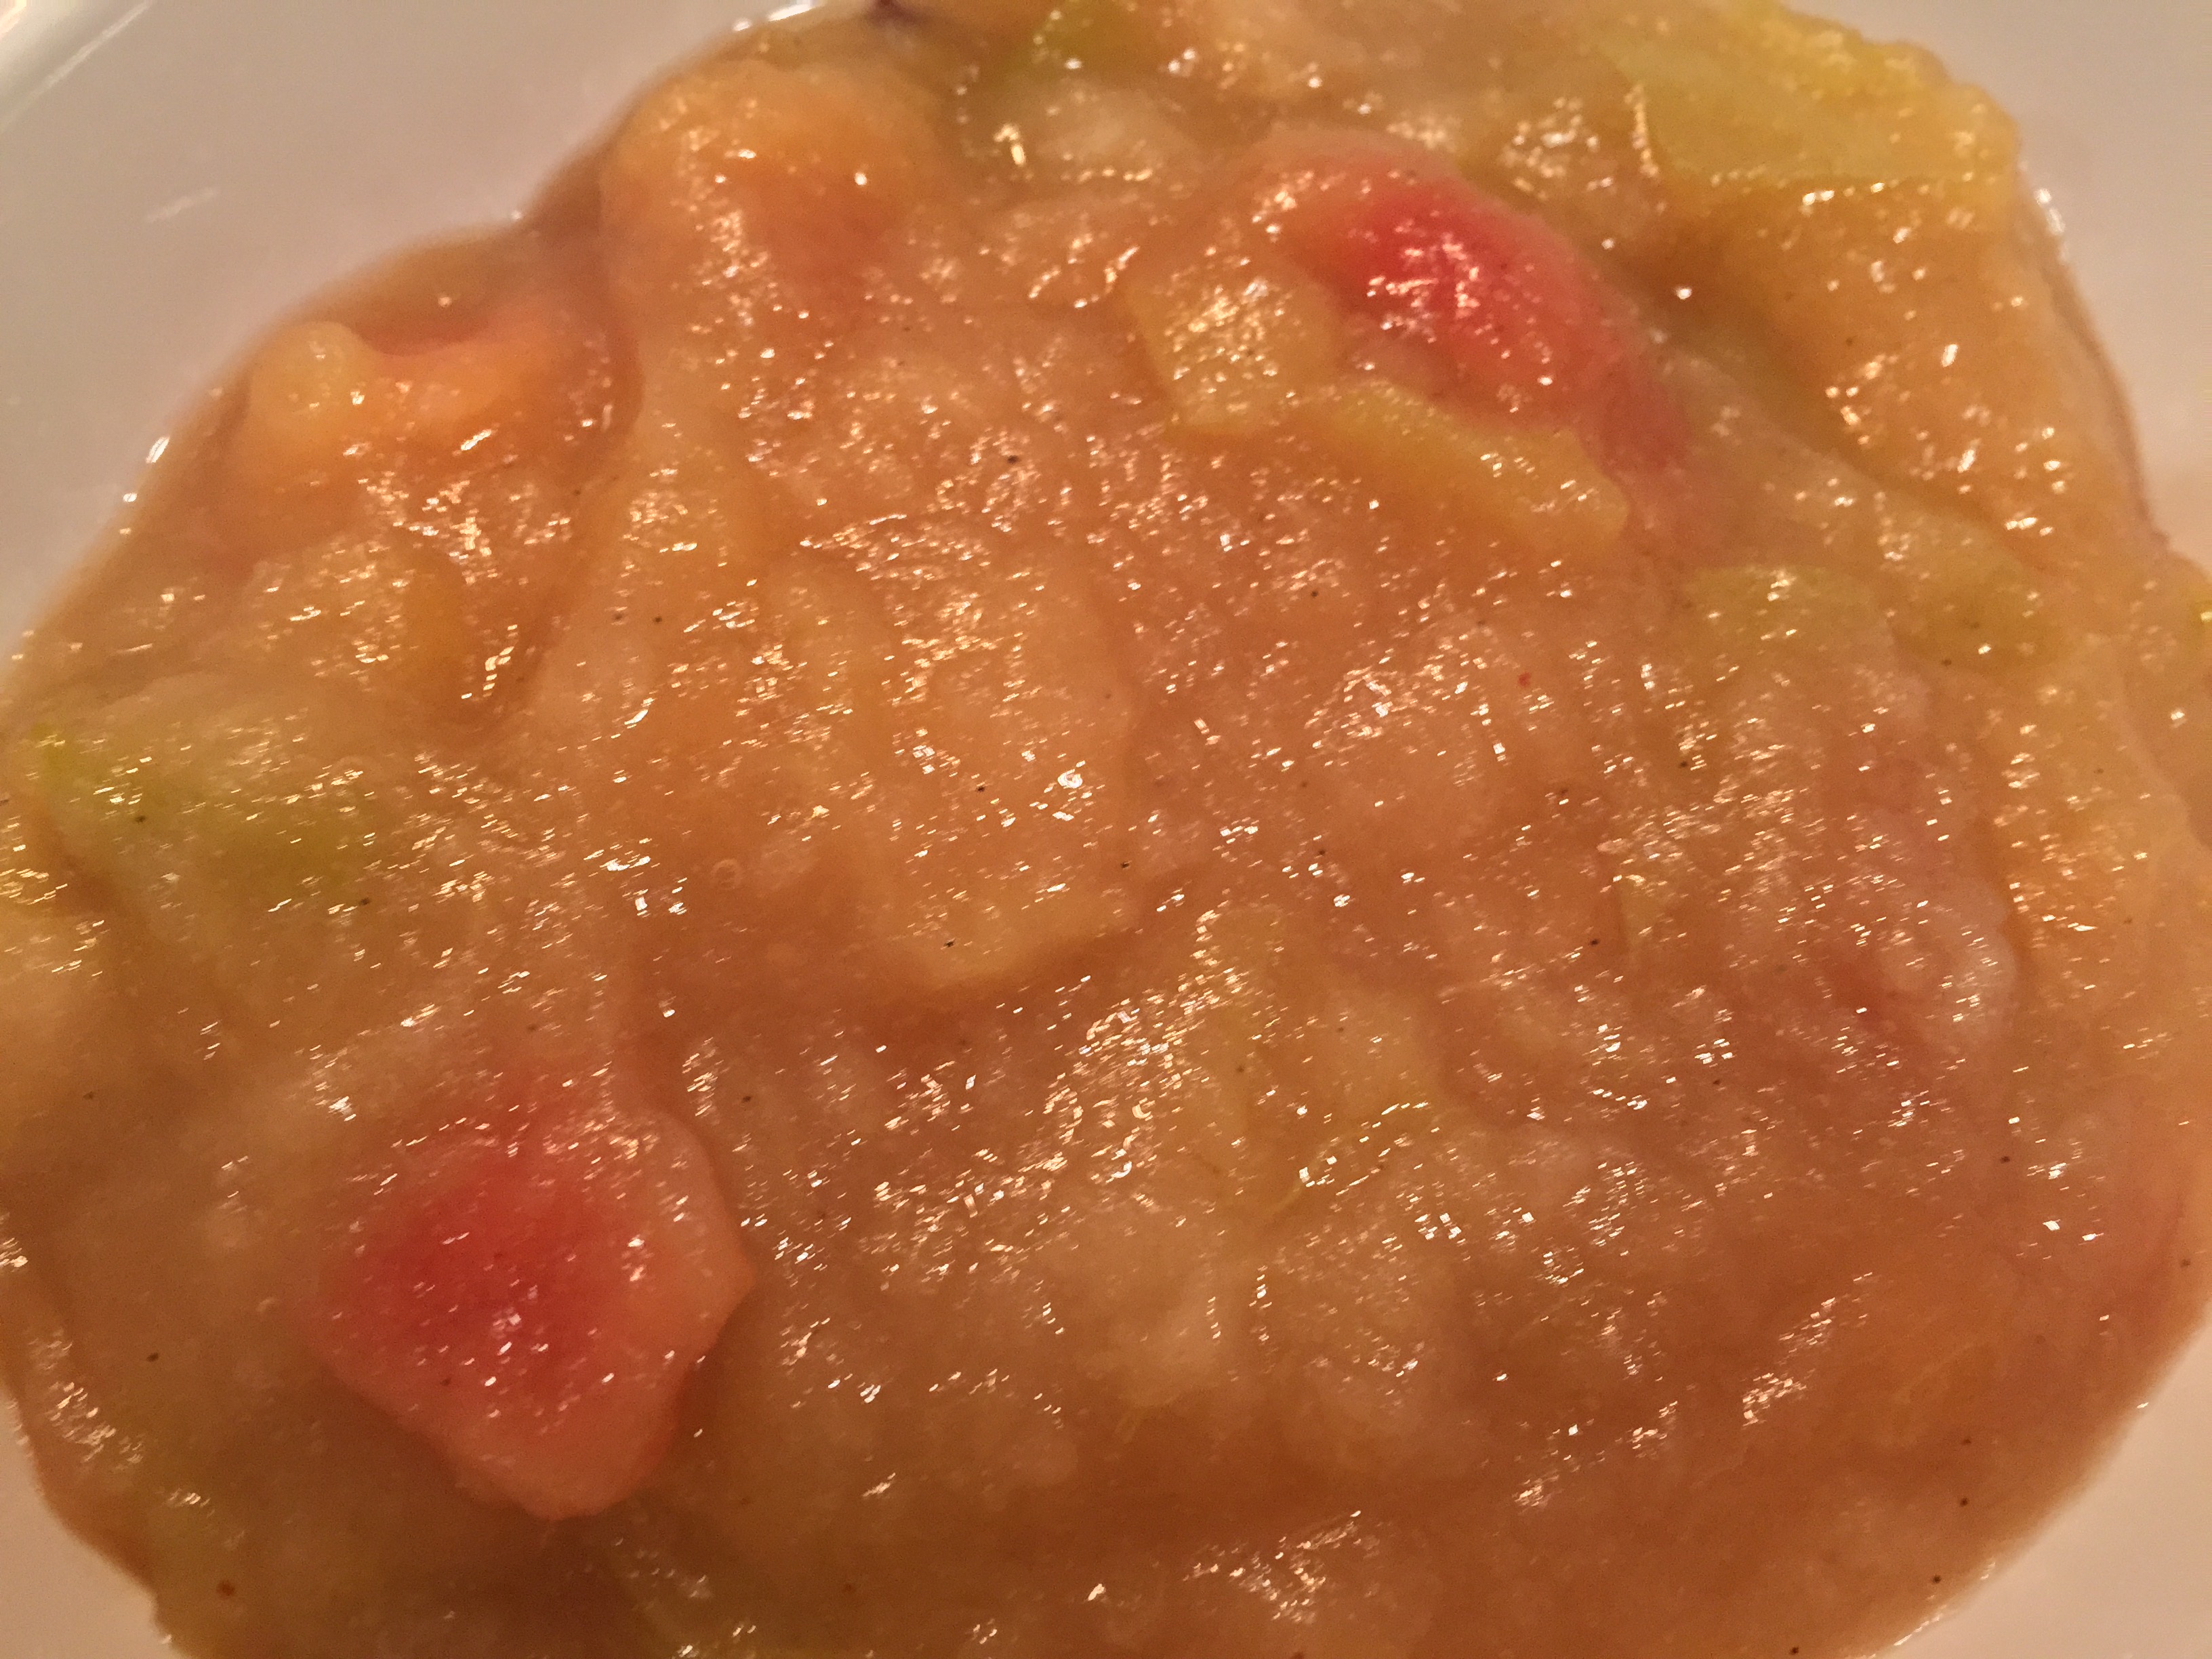
You can peel your apples and make it very smooth.  However, I choose to keep the peels on and keep the applesauce itself rather chunky when compared to the store bought version.  I’ve made applesauce a good number of times and usually it turns out great…usually.  I’ve messed a few of them up by adding too much of this or that and then the spices sort of overwhelm the taste of the apples.  So, restraint is important here…at least for me.  I’ve made this very plain with just a sweetener and a bit of cinnamon which would probably be great for most kids.  I’ve also made a much more complex tasting applesauce with ground ginger, baking spices such as nutmeg and cardamom…even a dash of cayenne pepper.

My go to, though, is the basic recipe that follows below.  It’s simple and yet has enough spice to keep it interesting.  I flavored this batch with cinnamon, vanilla bean, lemon juice, nutmeg, honey, and a dash of both water and salt.  I used a variety of apples (which I think works best as the texture benefits from the differences among the varieties of apples).  I always make sure I use Granny Smith apples as they have the tartness I prefer but from there, anything goes.  Do what I do:  simply go to the market and ask which ones are best and ask for a variety of sweet and tart to combine together.  Depending on the size batch you want to make, you are probably going to shoot for around 8-10 medium sized apples.  The good news is that you simply rough chop the apples so it goes rather quickly.  I think simmering the apples on low/simmer for about 30 minutes or so will be all that’s necessary.  However, it will vary depending on the amount of apples used.  If you make a batch in the 8-10ish apple range, you can expect about 1.5 quarts of applesauce.  You can scale up or down from there.

Hope you enjoy this…it’s very easy, very tasty, and extremely healthy!  The recipe follows after the jump.. Continue reading