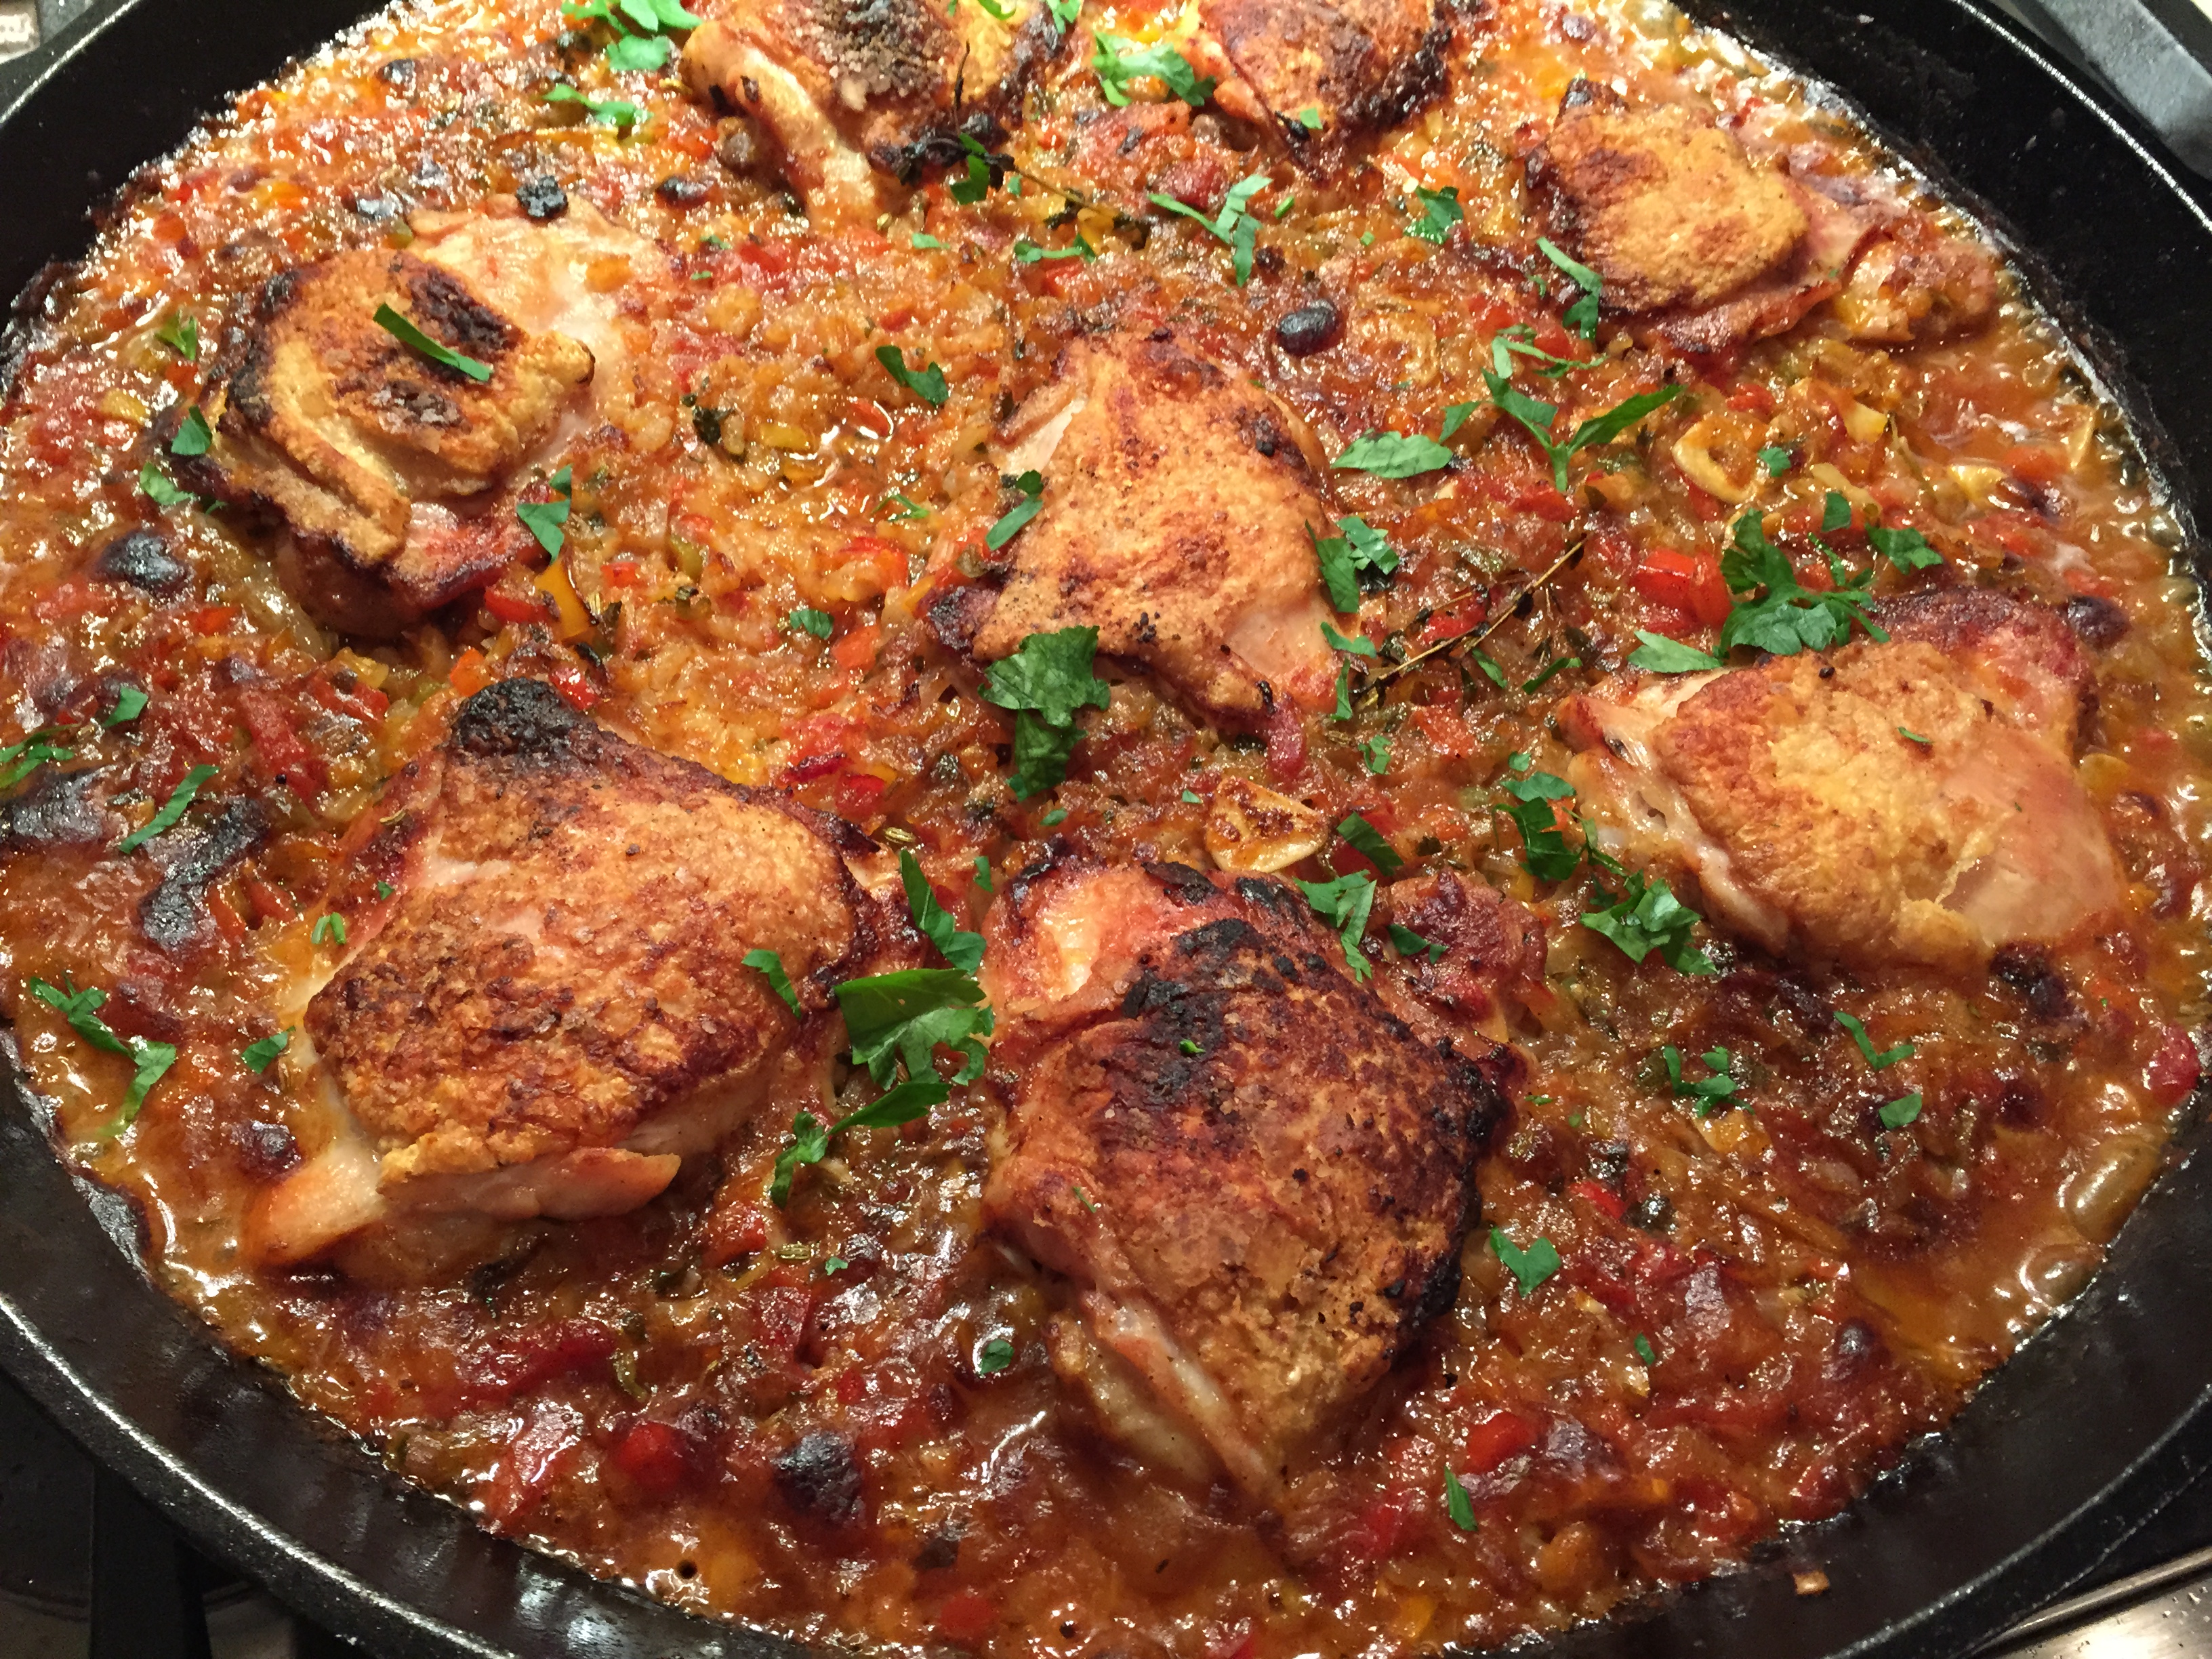
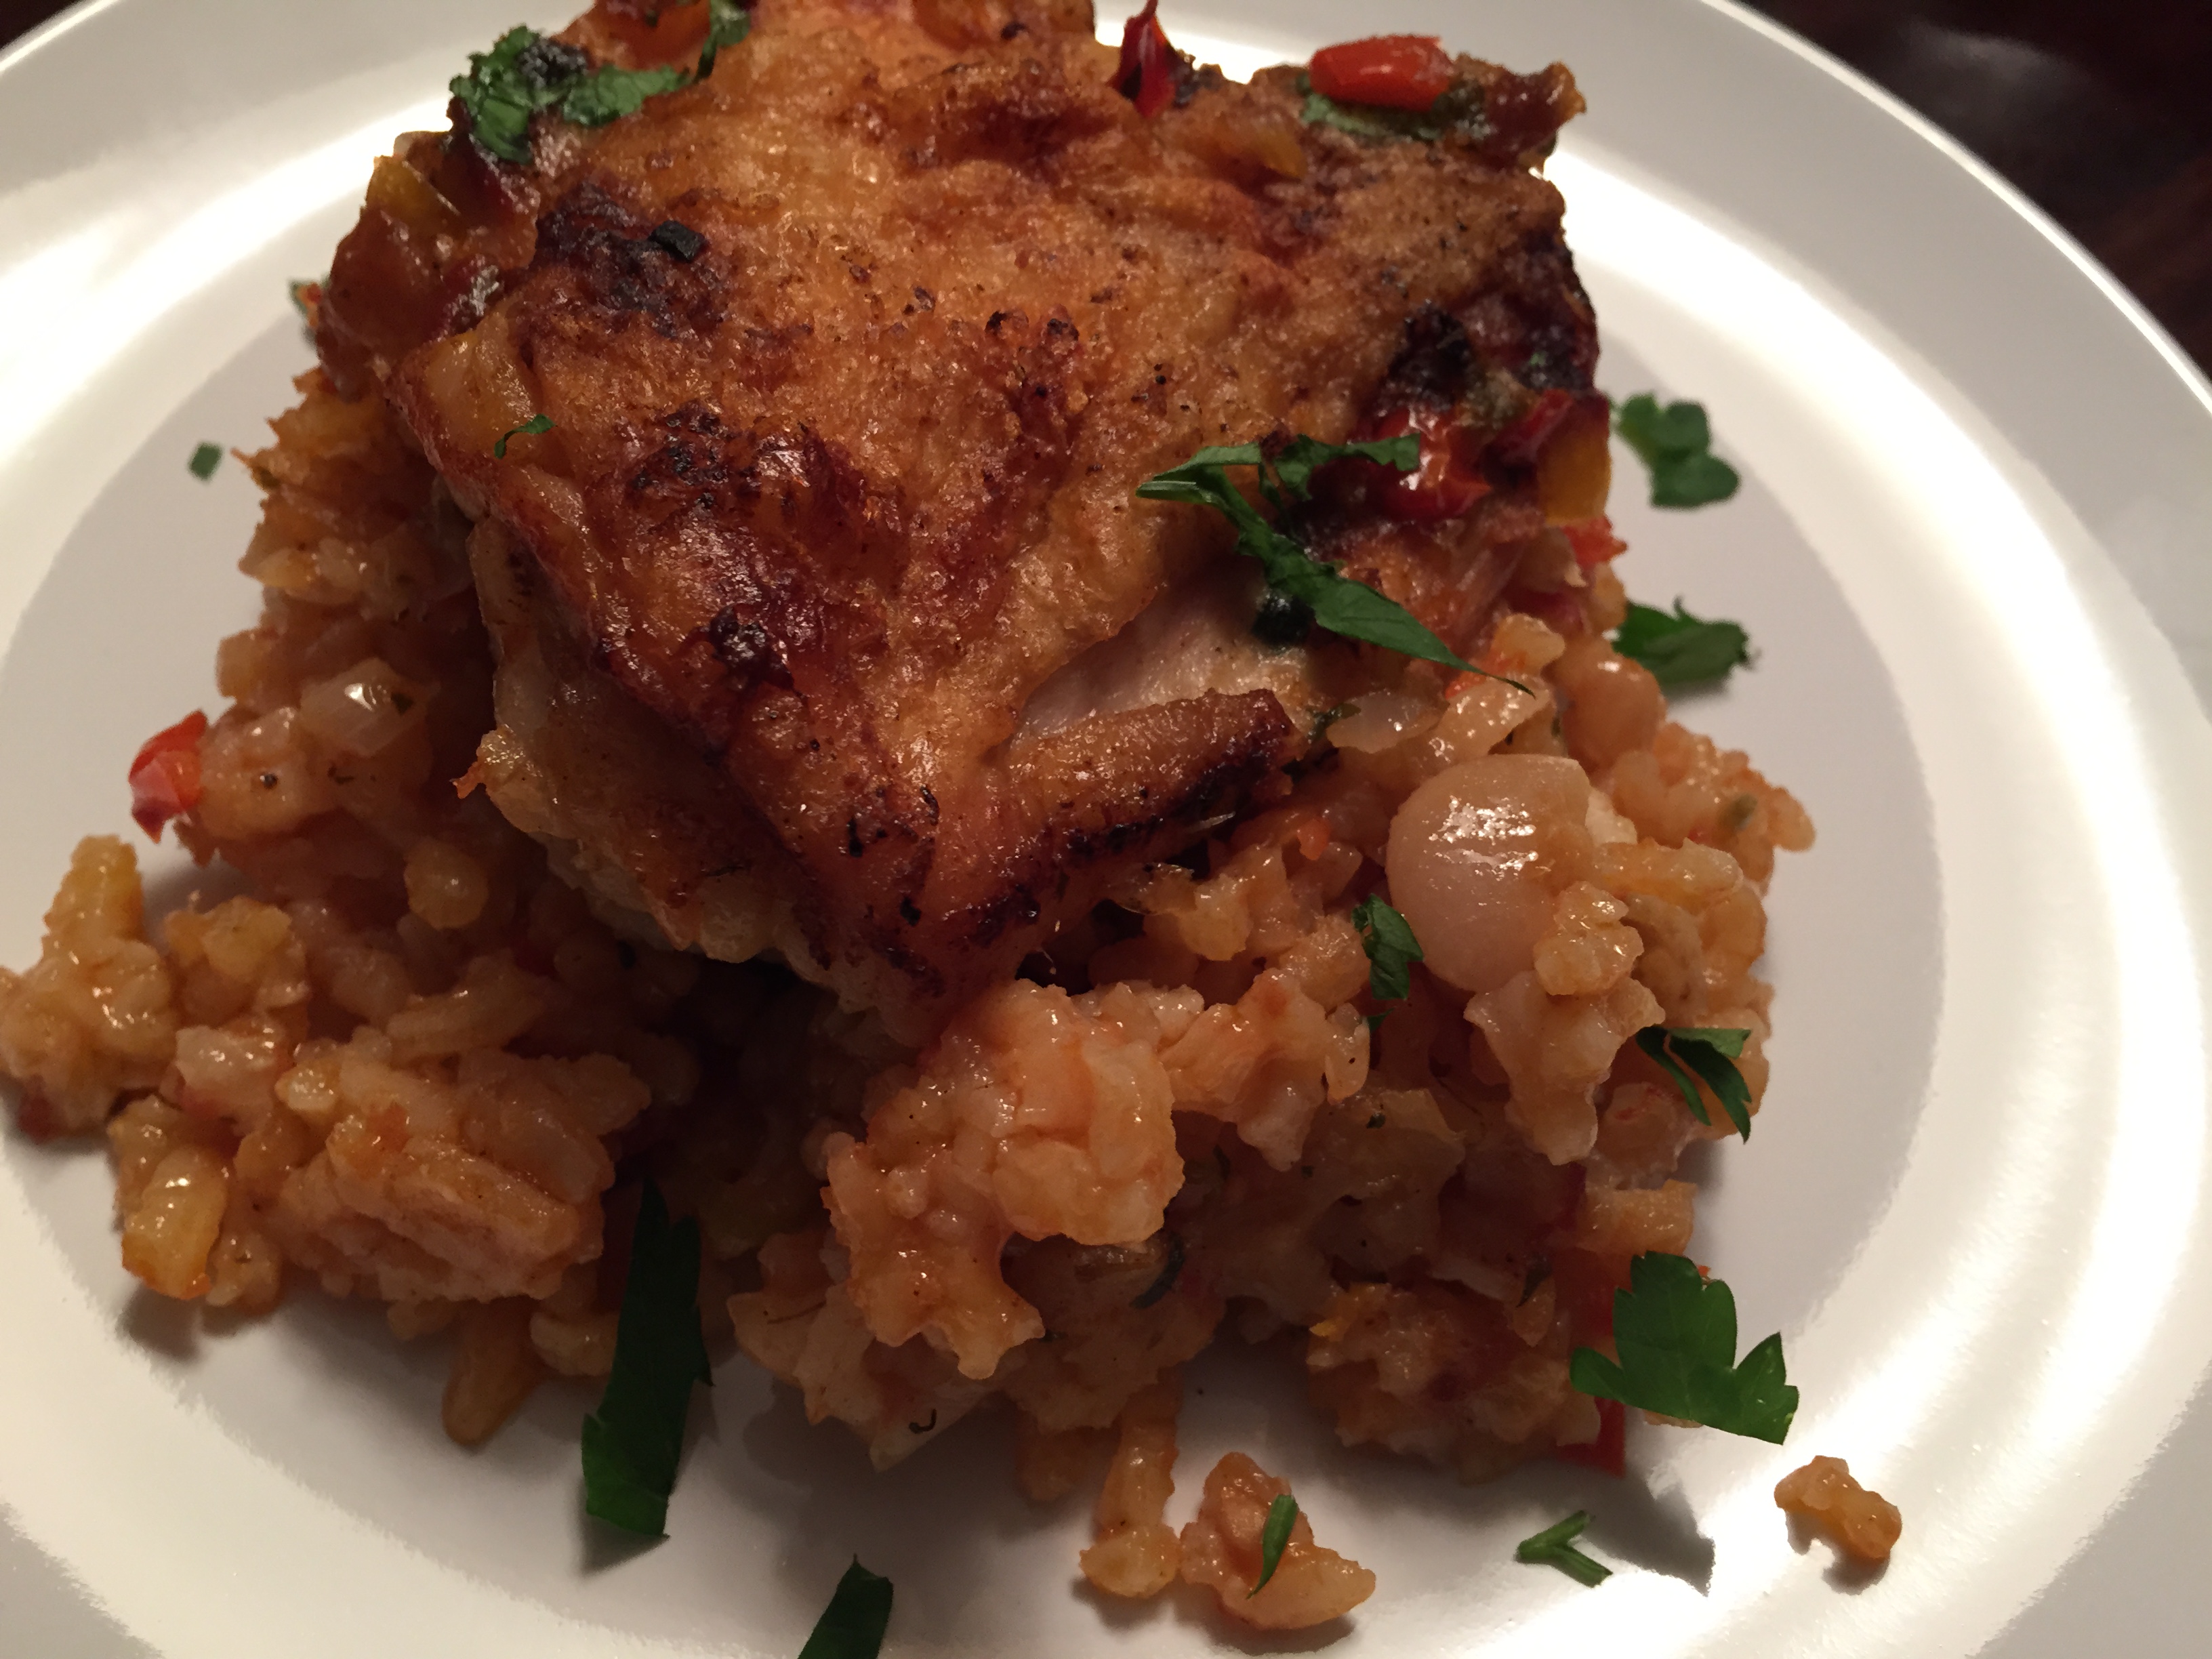
I love paella of all sorts and certainly love the traditional version with various seafood types steeped in a seafood broth scented with saffron and chorizo along with a group of vegetables collectively known as a sofrito. Here, instead of seafood, I used organic chicken thighs and chicken stock. Together with a sofrito that was spiced with a spicy pimenton (or Spanish smoked paprika), this dish came together rather well and was generally easier to pull off without a trip to a meat market to purchase the various seafood products (not to mention more economical). I used a short grain rice, like arborio or risotto rice, as it cooks quickly and soaks up lots liquid!
You can scale this up and down depending on how many people you are serving. You can also certainly use a whole leg here instead of just the thighs. However, I would stick with the thigh or the whole leg and avoid the chicken breast as it will dry out during the prolonged cooking time. Recipe follows after the jump… Continue reading →
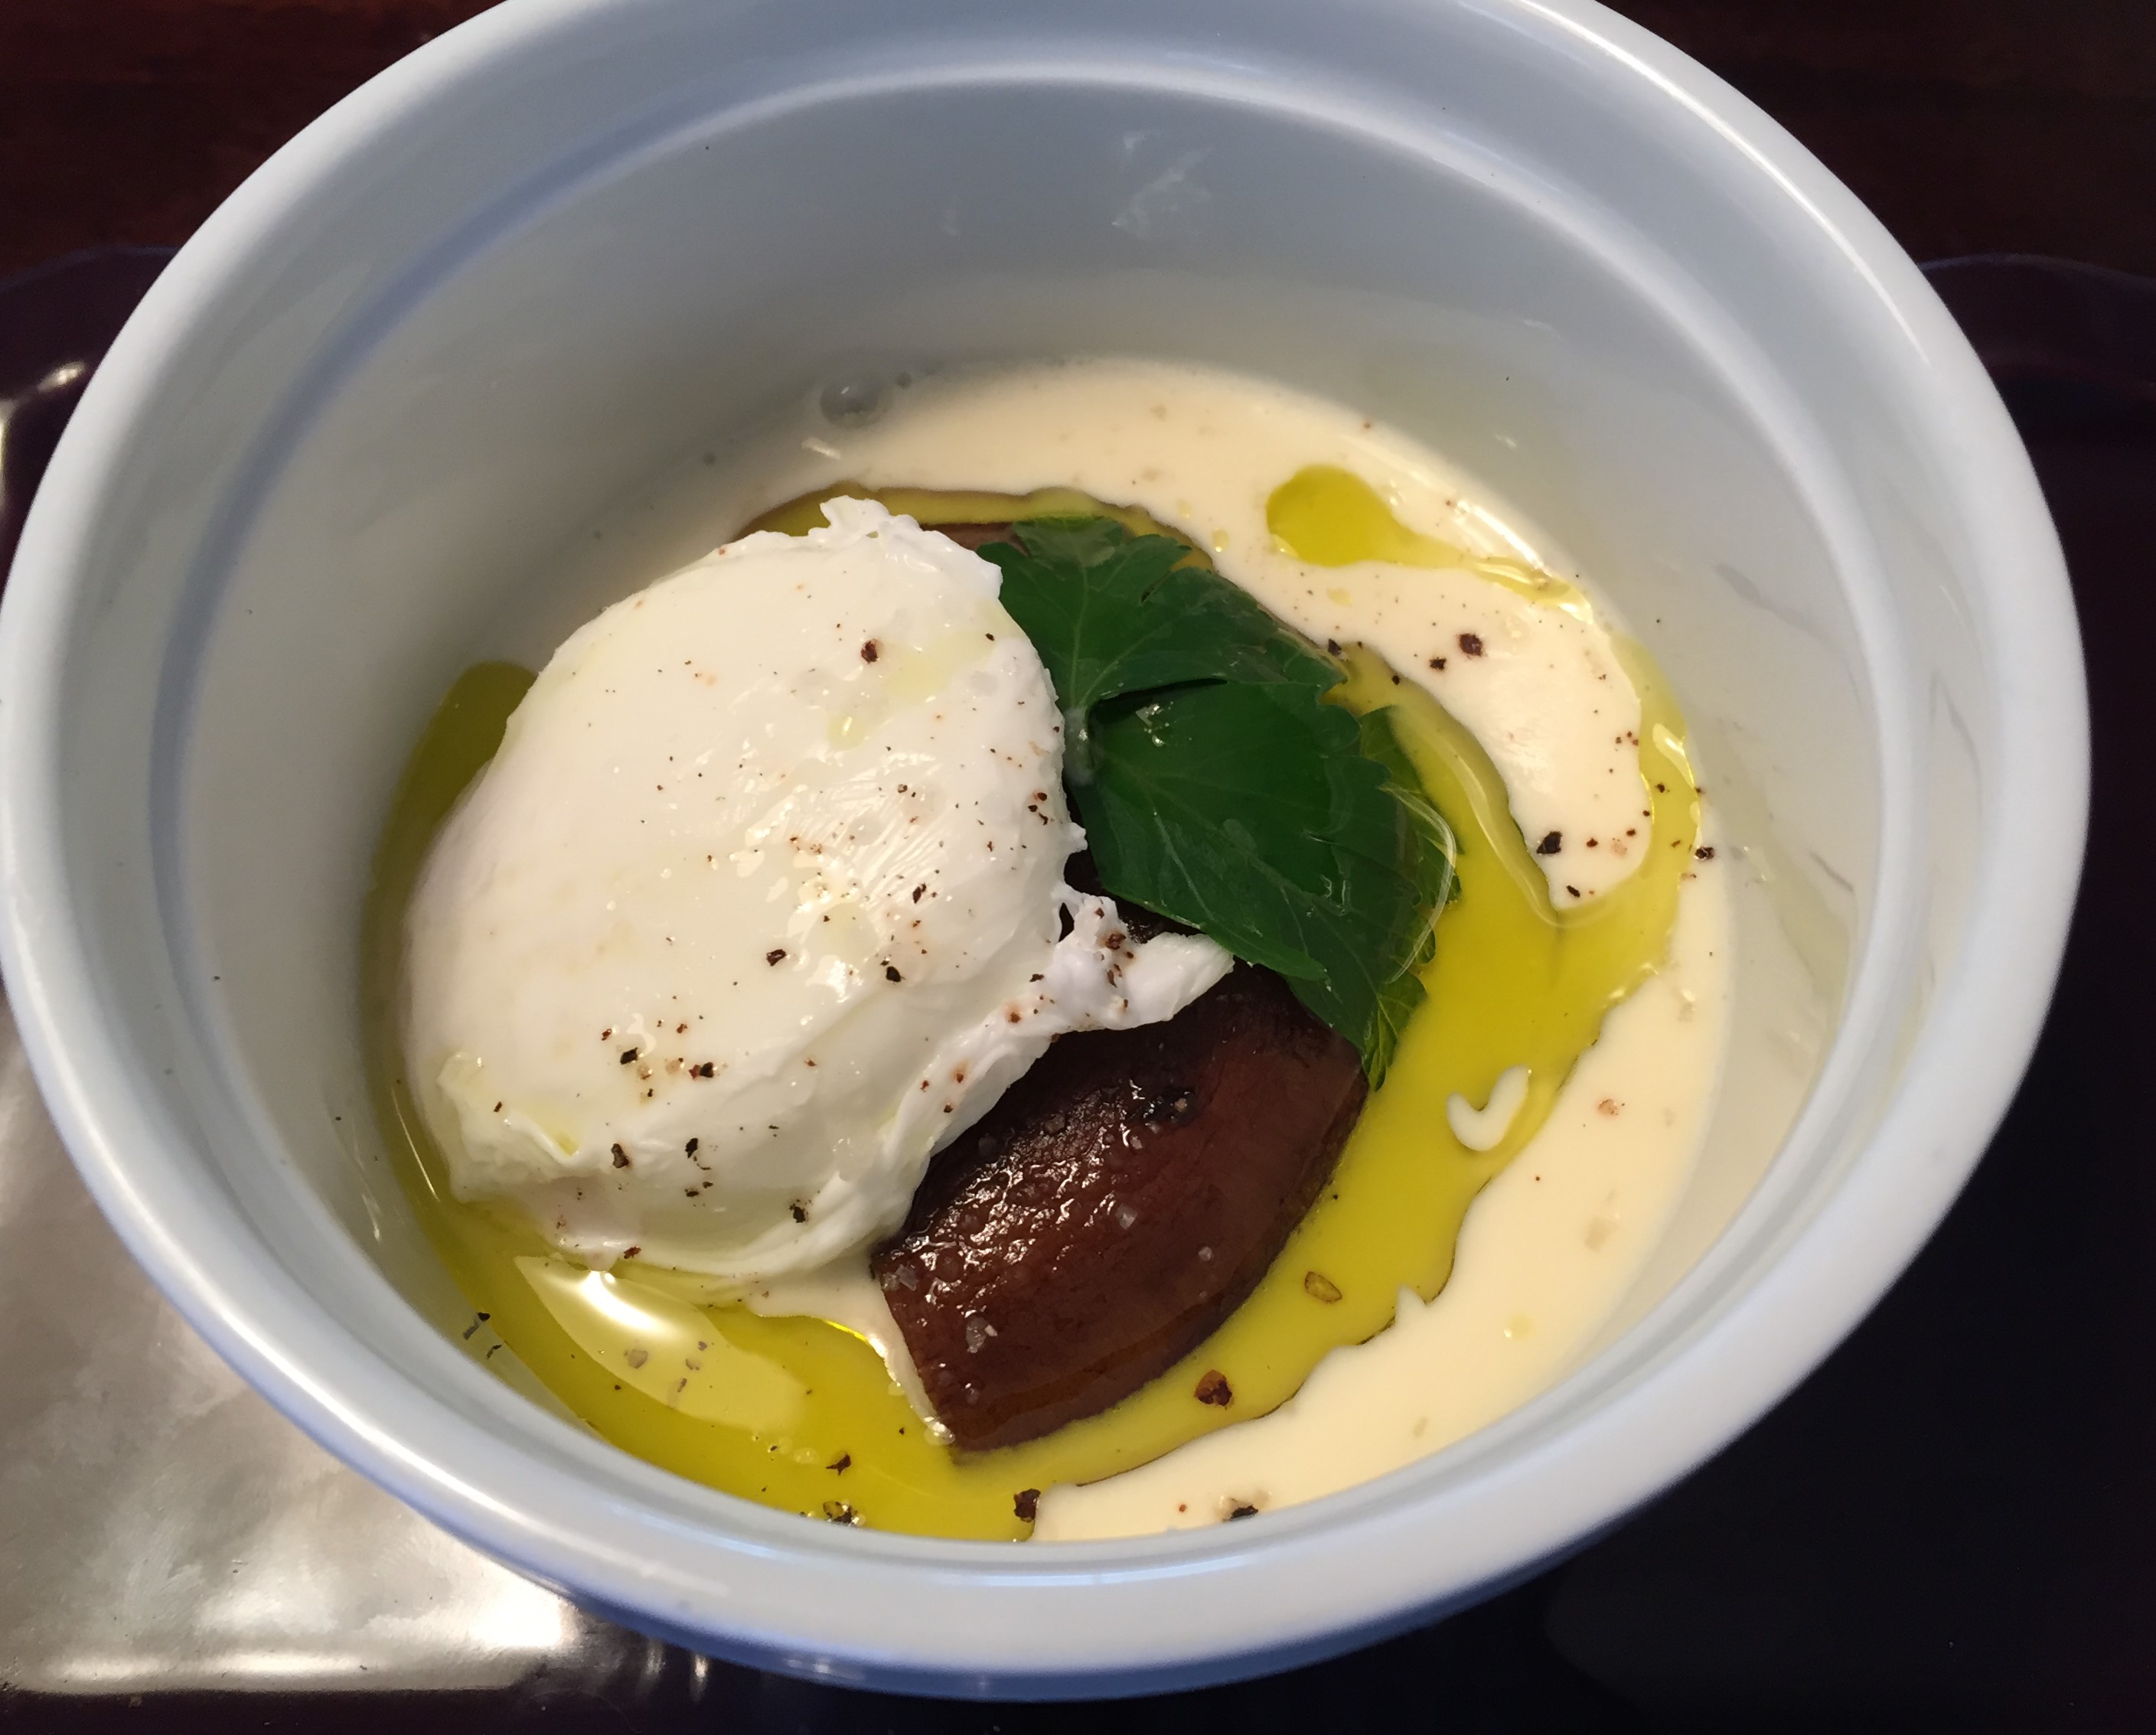
On a recent trip to Florence my wife and I stumbled across a wine shop that also served pretty extraordinary food. One of the dishes they started with was a roasted porcini mushroom with a poached egg both served atop a bit of soft pecorino cheese that had been melted with a touch of cream into almost a fondue-like texture. It seemed to me to be possibly the most quintessential Italian dish my wife and I enjoyed in Italy…and we ate a lot at a lot of different restaurants, trying the local fare on a variety of levels. Anyway, this dish is simple and elegant, using local, seasonal ingredients, and taking those simple ingredients and making them way greater than the sum of their individual parts. I tried several times to recreate this dish at home and this recipe represents the best results I’ve achieved thus far. I use Portobello mushrooms as we do not really have access to fresh porcinis in New Jersey (as far as I know) but you can certainly adapt the recipe to use whichever mushroom you like. However, I would stay away from dried mushrooms and stick with a fresh variety. As a bonus, just as our waiter told us, you can adapt this dish to whatever is in season. We were there during porcini season. They serve the same dish using asparagus, artichokes, etc…whatever is freshest and tastes best at that particular moment during the year. I love it! So, I hope you enjoy this dish as much as we did.
Serve as a starter for a dinner party or if it’s just for you and your family, serve it alongside a salad and you will be good to go. In Florence, it was served inside a small Mason jar. So feel free to use that or simply serve in a small ramekin.
Note: Look for soft pecorino cheese. The regular dry aged pecorino cheese commonly found alongside Parmesan cheese in the grocery stores simply will not work as it will not melt into a creamy fondue. Recipe follows after the jump… Continue reading →
So, I usually don’t mention local restaurants and I really don’t want to get into the habit of doing so for a number of reasons. However, I want to mention the bread from Biagio’s Ristorante as I think it’s very, very good. I hadn’t tried it before and I’d never been there but had heard good things about it. That said, a couple of weeks ago, Tara and I had a holiday party at our home and I was planning on cooking lots of things, including bread. I love making bread and make it quite often…at least a couple times a week if we are home. At any rate, as I mentioned in a previous post, I burned my hand pretty badly and I ended up having to change the menu for our party as I just couldn’t handle food in my usual manner. I definitely couldn’t handle kneading bread so bread making was out of the picture. However, we did need several loaves of bread as we were serving various main dishes and appetizers that required it. So, I asked Tara to get some bread while she was out and she suggested going to Biagio’s as she was going to be in that general area. I thought it was a great idea as I had heard they had a good product and I was hopeful that it would exceed the quality of supermarket loaves.
When Tara arrived home, I was knee deep in cooking so I didn’t really do anything with the bread except look at it (and it looked great). Tara said it had just come out of the oven and it smelled great. She also said the two people who helped her at Biagio’s were very nice and very helpful, taking time to help her despite being crazy busy due to the rush of the holidays. Later in the day, I got to the point where I needed to deal with the bread. I started cutting it and noticed that it had a nice crispy crust and an airy soft interior. I tasted it and I was very surprised that I liked it as much as I did. I don’t know the ingredients of their loaves, but I would guess there aren’t a whole lot…which is to say that it’s fresh and quality ingredients are used. That’s a high compliment for me because if you are into bread, then you know that you really only need four ingredients for a basic loaf. Usually the farther away you stray from that number, the worse the bread generally tastes and generally the worse it is for you from a health standpoint. I know, there are exceptions but for a basic loaf of French or Italian bread, four is a good number for ingredients.
I still plan to make my own bread here at home as I love it. However, if we ever need to purchase bread again, I am absolutely sure that we will go back. In fact, I’m not sure I’d bother buying it anywhere else. So if you are local to Berkeley Heights and the surrounding areas, a trip to Biagio’s is definitely worth it!
As an aside, I still have not been to Biagio’s (I plan to go sometime soon) and I have no affiliation with them. I just think the quality of their bread is worth a little space on the blog. Enjoy!
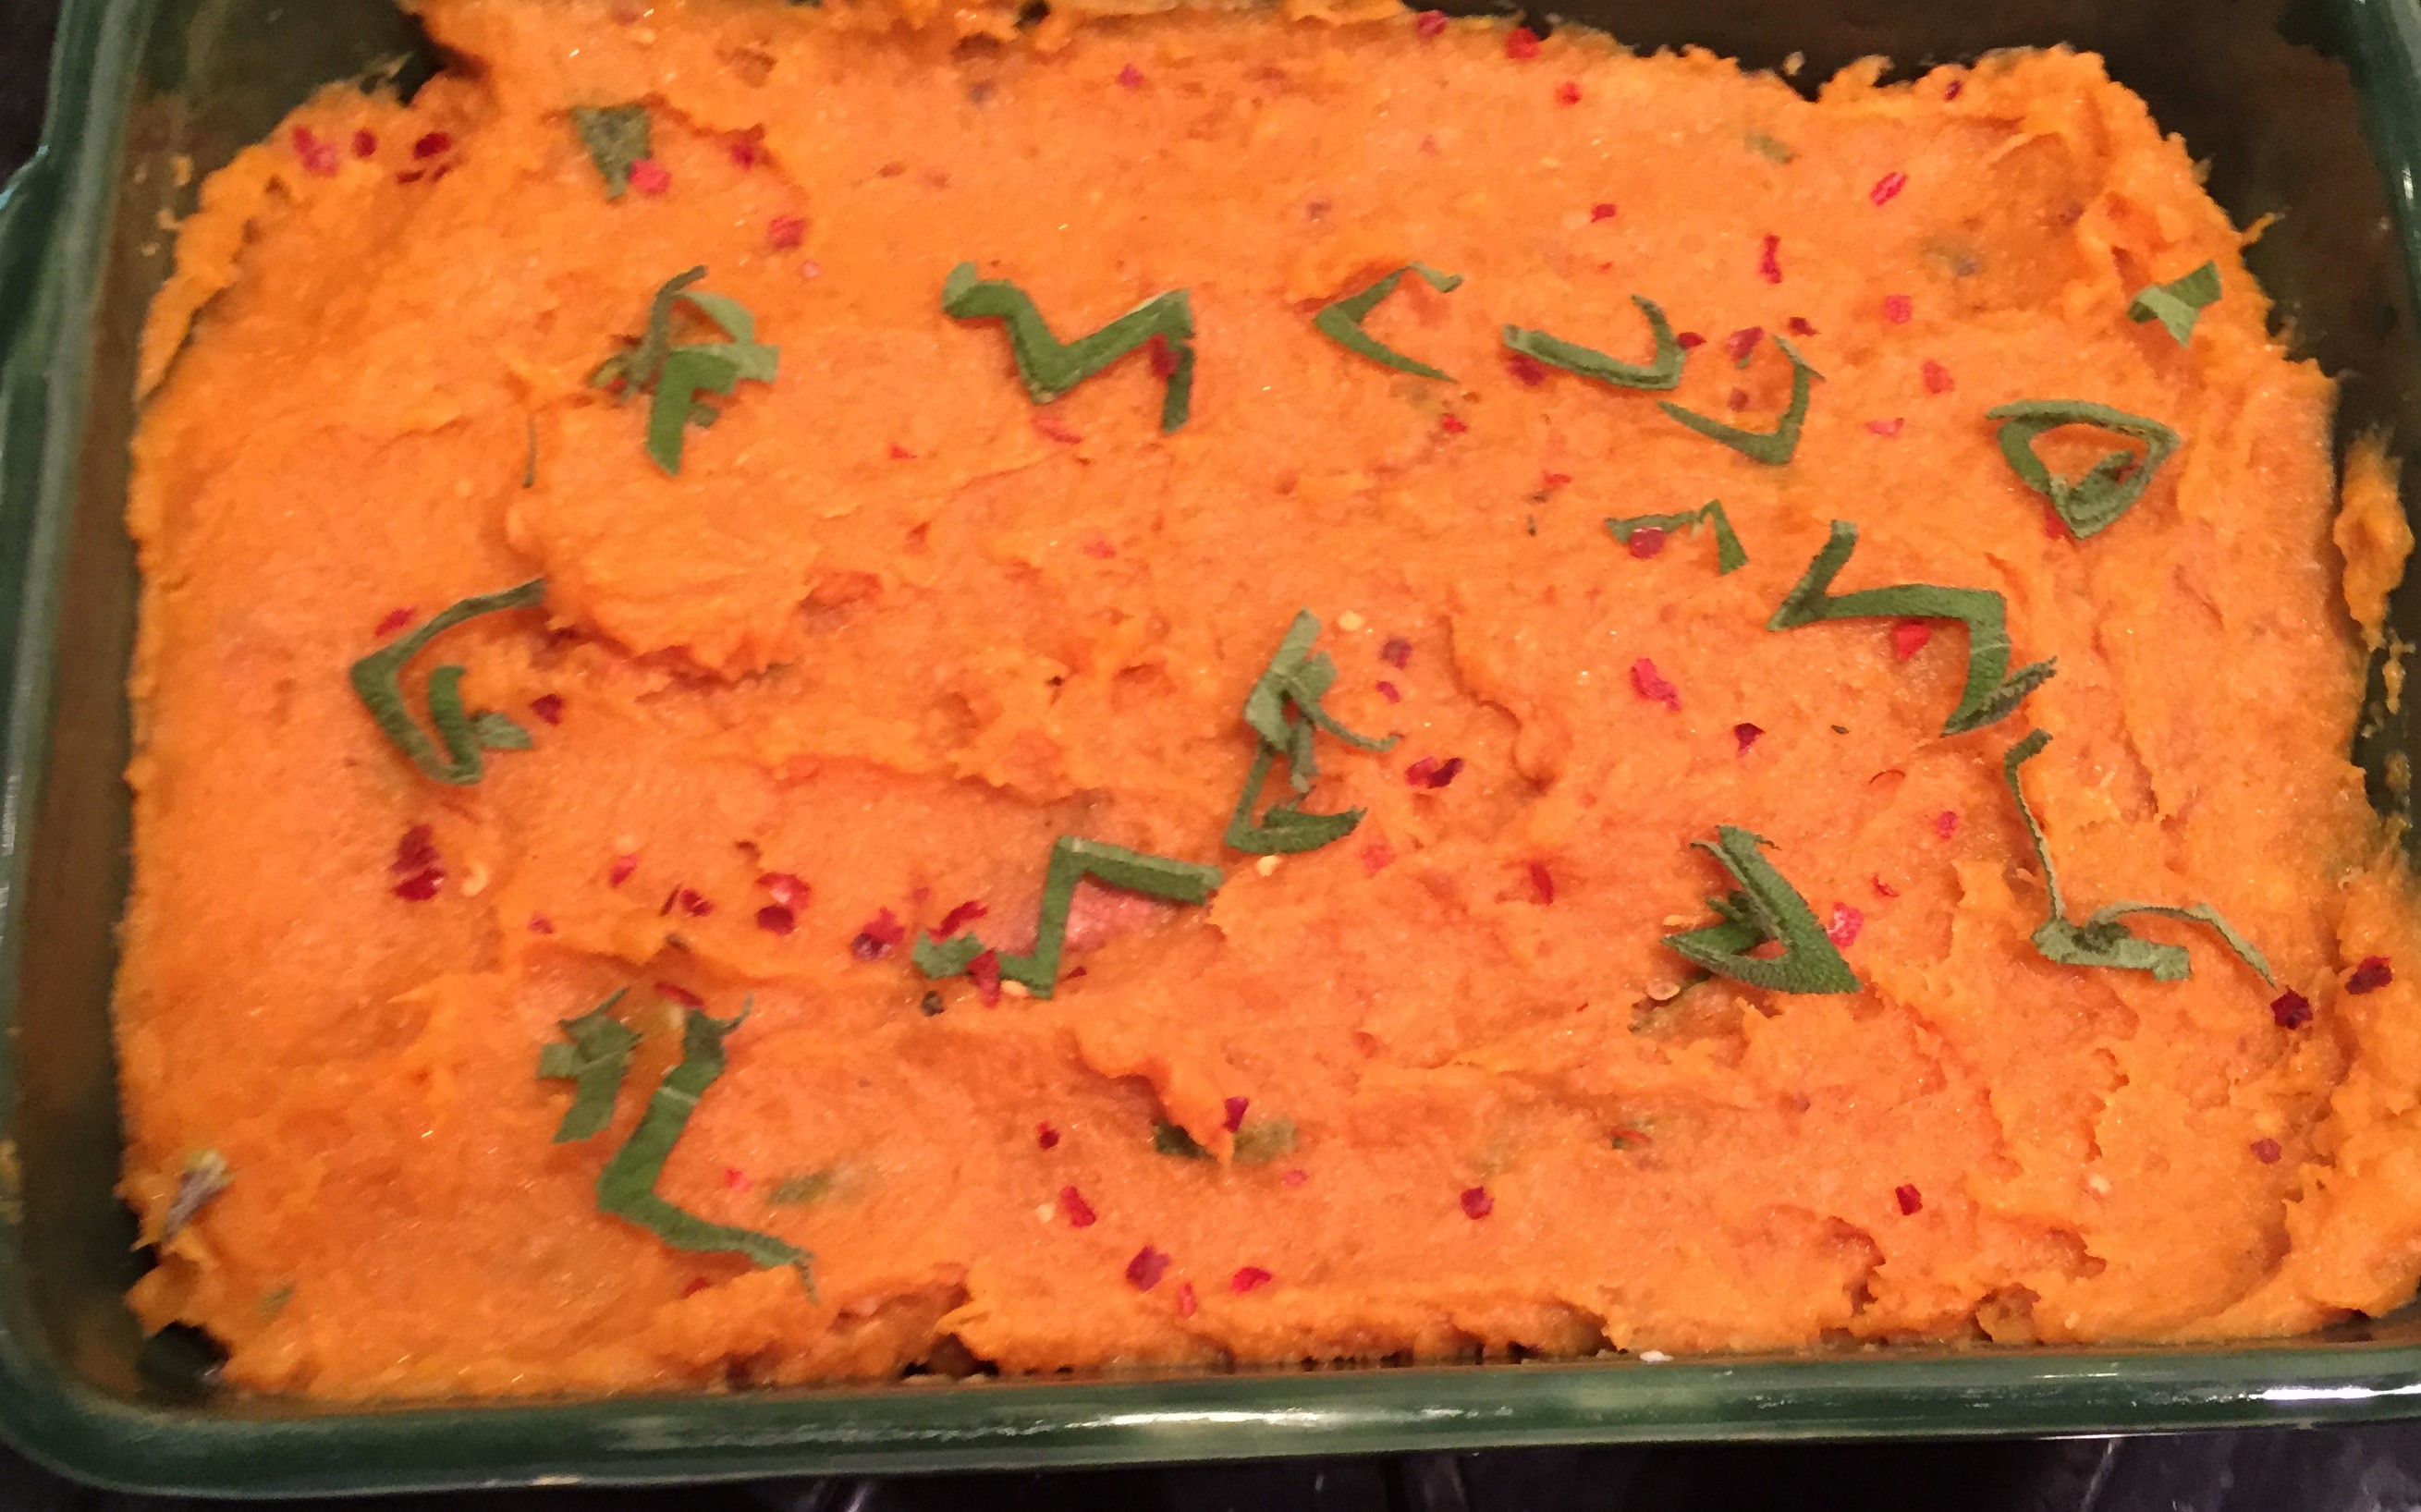
I mentioned this dish briefly during a Thanksgiving holiday post last year. I really liked it and so did the guests who tried it. So, I decided to make it for Christmas with my family in Dallas. It was a hit with that crowd too! I really love this little side dish…it’s pretty easy, very, very flavorful, and is different and a little more ‘adult’ than the usual candied sweet potatoes that find their way onto holiday menus. So, here’s a quick and easy recipe that will be sure to please your family and friends.
PS: The taste of the brown butter and sage really comes through. Add a bit of heat from the red pepper flakes to balance out the sweetness of the sweet potatoes, and you have a sweet and spicy side dish balanced with the earthiness of the sage and brown butter.
Enjoy!
Ingredients:
4-5 Sweet Potatoes
1 Stick Butter (unsalted)
1 Bunch fresh sage
Salt and Red Pepper Flakes
3 Tablespoons olive oil (if needed)
Instructions:
Preheat oven to 425 degrees. Take sweet potatoes and using a fork, puncture sweet potatoes in several places. Line a baking sheet with foil and place sweet potatoes on lined baking sheet. Roast for about an hour (could be an hour and a half depending on size), until sweet potatoes are cooked through and caramelized.
Remove sweet potatoes from oven when done and set aside to cool. Once cool, using your hands, remove the skin from the potatoes. This should be rather easy and they should slide right off.
Once skinned, mash the sweet potatoes with a fork or masher until completely mashed and there are no lumps. If they do not become silky smooth, add the olive oil, one tablespoon at a time, until you reach a smooth consistency. Add salt and a touch of red pepper flake to taste.
Heat a medium sized skillet on medium heat for a minute or two. In the meantime, take the sage and remove the leaves from the stems. Reserve the leaves and throw the stems and the butter in the preheated skillet.
Allow the butter to melt with the sage stems. Once melted, stir the butter pretty often until the butter reaches the browned stage. (Once the butter melts, it will take a bit of time for it to brown. You will notice that the butter/milk solids separate from the oil, then the whole thing will get a bit foamy. Once at this foamy stage, you are almost done. Start to watch the butter and milk solids turn brown and begin to smell nutty. As you are stirring the browned butter, look to see if the milk solids have turned brown and you notice a distinct change in smell. At this point, remove the butter from the heat.)
Remove the sage stems from the brown butter and then pour the brown butter into the sweet potatoes. Mix thoroughly. Taste and adjust the seasoning by adding salt, more chopped sage, etc.
Rough chop the reserved sage leaves and sprinkle some into the sweet potatoes. Stir to incorporate.
Place sweet potatoes into oven proof bowl. Level out the mixture as best you can and then sprinkle more chopped sage leaves over the top. Sprinkle a good amount of red pepper flakes (or less if you prefer things less spicy) over the top.
Serve while warm. This can be made ahead (a day or two). If you do that, simply preheat an oven to 325 or so and gently rewarm the potatoes in the oven until they are heated through, about 20-30 minutes.
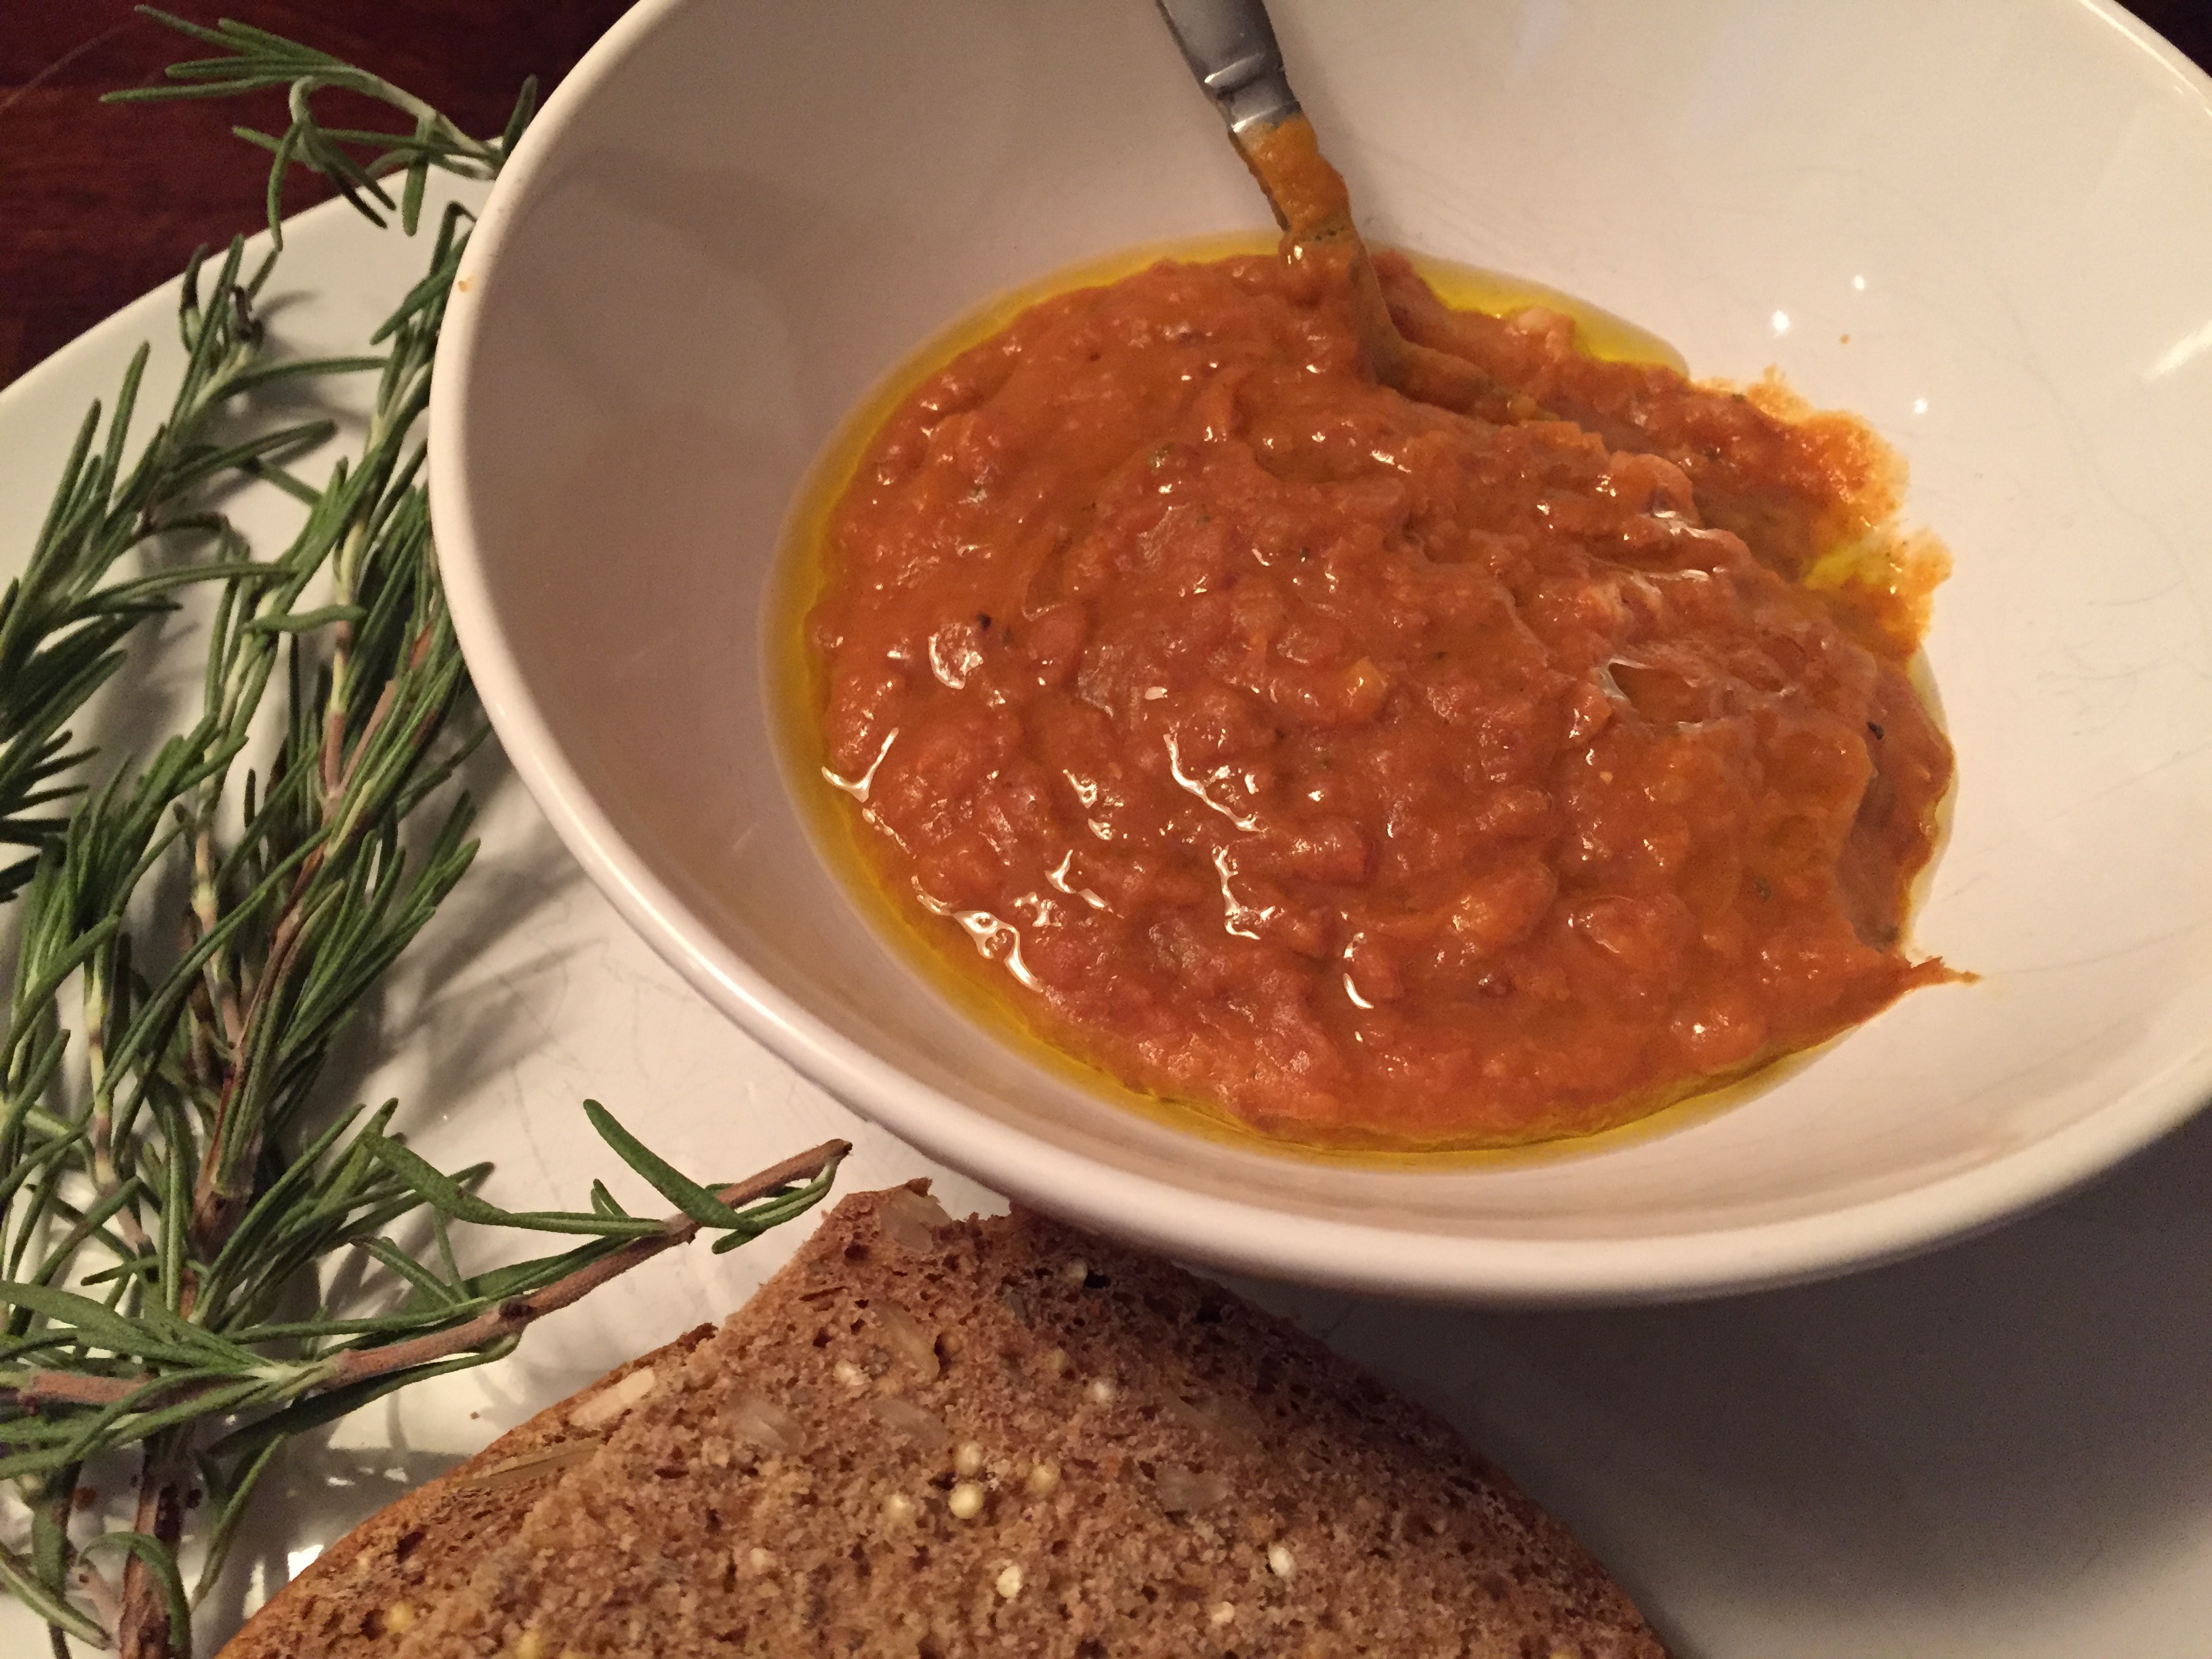
While we were in Florence and the Tuscan countryside, my wife and I ate a number of bean dishes. Barlotti beans, shown and used here, were very common there. White beans flavored simply with herbs and spicy red pepper flakes were also commonly found on many menus.
Barlotti beans can be found in most markets but they may be labeled as either cranberry beans, roman beans, or simply as barlotti. So, just be aware that they may be labeled differently. The consistency and texture of this dish is really unique. The soft, silkiness of the beans juxtaposed against the chewiness of the al dente farro is just really, really great. The whole dish is steeped with both rosemary and sage and I have to say that both flavors come through so well here. When we returned from Italy last month, I decided that I wanted to try to recreate the bean dishes we sampled in Tuscany and I came across this recipe for this dish. I followed this recipe exactly as written and it was great! We ate this dish as a main course, as a side dish, and as a hearty lunch. If you prefer a little more texture, you can leave some of the beans whole and just puree 3/4 of the beans. However, I think it’s pretty perfect as written, which is why I didn’t even bother playing around with it to tweak it, etc. Tara actually told me that she would eat this every day if she could…so I’m guessing I’ll be making it again fairly soon. Fine by me…I really loved it as well.
If you can’t find farro in the stores (which you probably won’t), you can use spelt. I found organic spelt at Stop n Shop (Bob’s Red Mill Brand in the organic section) and I also found the barlotti beans there (same section). Spelt is the same grain as farro. Italians call the grain farro and spelt is the German name. I’m not sure why the grain is labeled spelt more commonly here in the U.S., but do not worry if you can’t find farro…you’ll find spelt fairly easily. if you want something actually labeled farro, you can find it on-line. However, I looked at it and it’s fairly expensive when compared to even the price for organic spelt.
I’m going to work on recreating the simple white bean dish from Tuscany as well and hopefully will post something on that in the coming weeks. Until then, try this recipe from Food52. You will not be disappointed and in fact, you might just be like Tara and decide you want to have it everyday! Enjoy.
Update: In reviewing the recipe and thinking back to when I made this dish, I did, in fact, change the recipe a bit. I cooked dried beans from scratch. I cooked them for a little over an hour…until not quite done (a bit more undone than al dente but not much). To make the beans from scratch, just take pre-soaked beans and add them to a large pot. Add a bay leaf and an onion simply cut in half. Add enough water so the beans are well covered and bring to a boil. Add just a dash of salt and maybe a pinch of red pepper flake. Once boiling, reduce to low, cover and simmer the beans until you achieve the desired level of doneness (which for me was about 70ish minutes). Strain the beans and reserve a bit of the liquid. Add the reserved liquid to the pot with the beans and veggies at the point when it’s time to puree the mixture. In my opinion, the slow cooked beans will result in a deeper, more flavorful soup. If you are short on time, certainly canned beans (as per the recipe from food52) would work just fine…but if you are gonna take the time to make this recipe, go for the dried beans and take the time…it will definitely make a noticeable difference in the overall taste and quality of the dish. I’m pretty sure the slow food cooking movement in Italy would concur! As an aside, the slow food movement is certainly an interesting one and I am definitely interested both in it and the general ideals it tries to highlight.
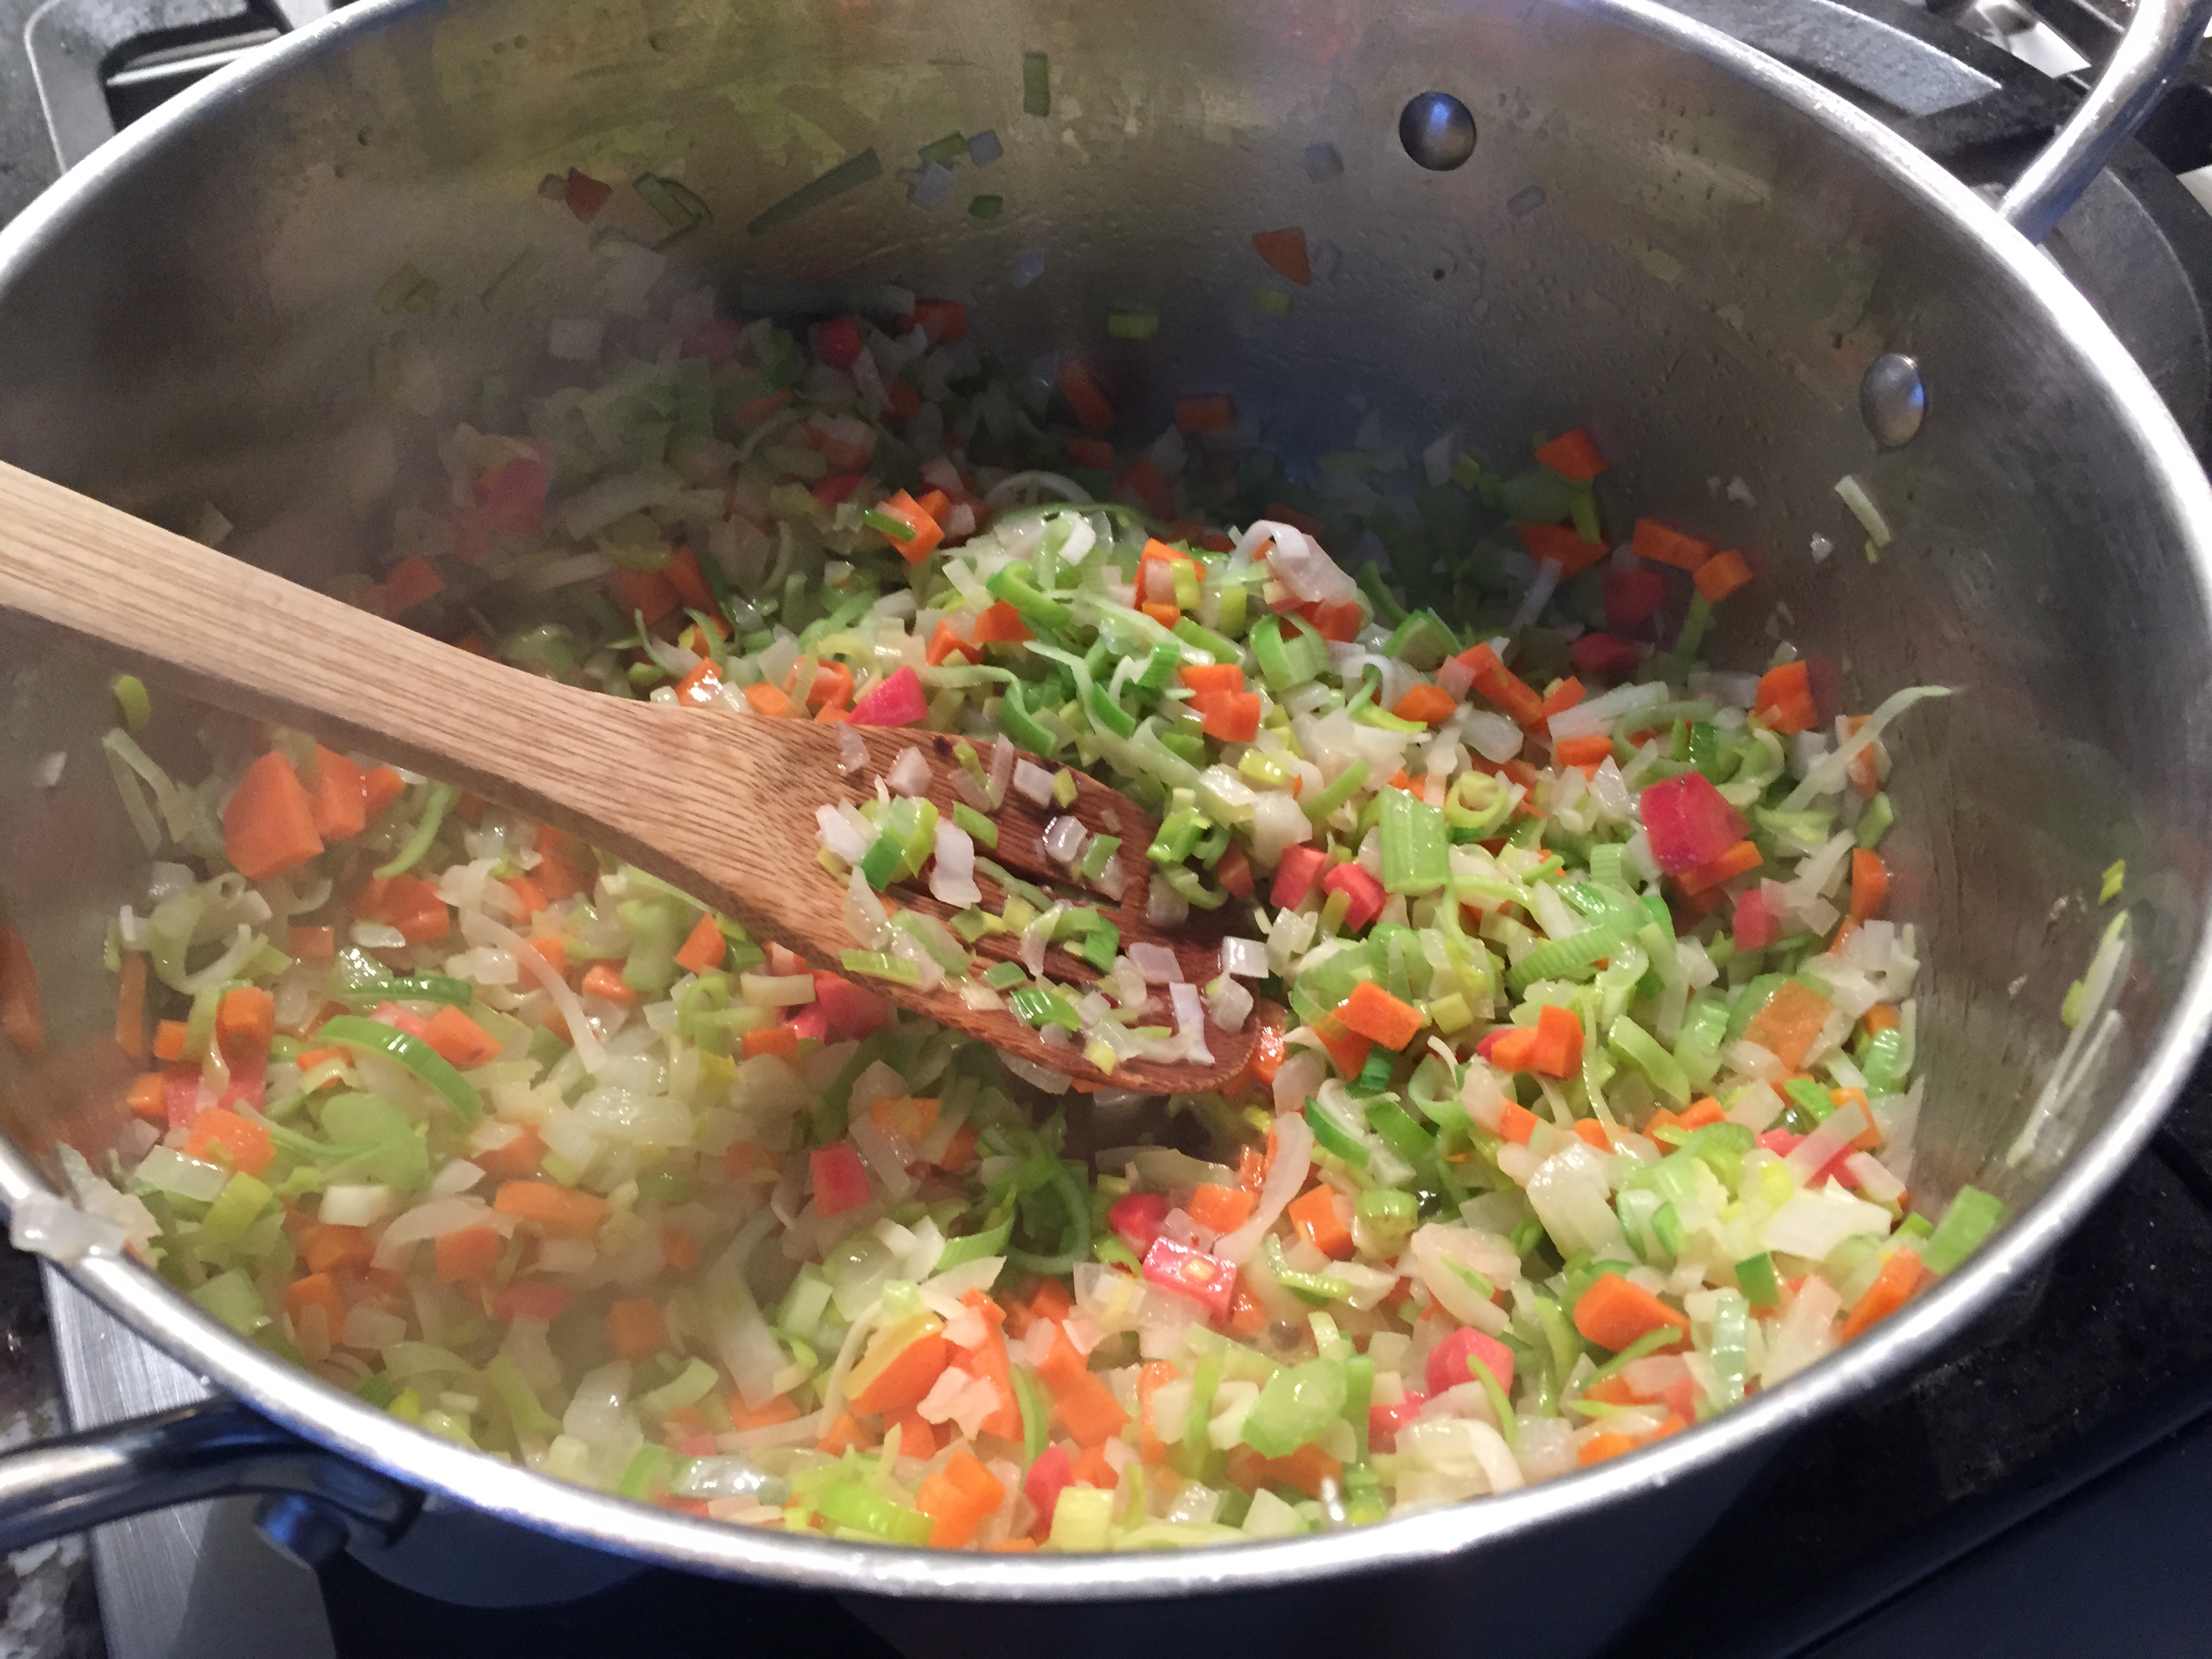
I thought I’d kick off the 2015 recipes with something I love while at the same time is extremely healthy. Lentils, like beans, are full of fiber and protein and as such, they are very filling. Using them is a great way to have a satisfying vegetarian meal. You can simply cook lentils with water and a few vegetables or you can get as creative as you’d like with different stocks or wines. They are also quite good with a bit of bacon or a ham hock if you’d prefer a dish with meat in it or something even heartier. Here, I decided to keep it vegetarian and use red wine. I chose red lentils simply because of the red wine to keep the color consistent. There are a variety of colors available at most markets and any would work here. Oh, and as a special bonus…lentils take much less time than beans to prepare. Here, the lentils simmer for 10-20 minutes or so after they are brought to a boil.
Sweating the vegetables down for several minutes develops and enhances the flavor of the dish.
Lentils and vegetables with the red wine and a touch of water added to the pan.
PS: The recipe below is a very typical French preparation. However, you can add or subtract vegetables as you prefer or based on what you have on hand. I chose these because they are what I had on hand and all are consistent with a French approach to lentils. Recipe with additional pictures follow after the jump… Continue reading →
Happy New Year! It’s been a long time and I hope you are well. I had planned on posting some additional Holiday sweets, some Holiday dishes that I cooked for a party, and what I cooked for my family but I burned my hand pretty badly and baking was put on hold for a while. I did cook over the holidays but I was severely limited with how I could use my hands. I really only did basic things and I had to use rubber gloves to go over the bandages to protect the whole thing while I cooked…no fun. My hand has pretty much healed at this point and the holidays are over, so let’s start the new year off with this: my favorite new way to brew coffee.
I bought a Chemex a few months ago and figured I’d use it much the same way as I do our French press, which is to say just from time to time. As it turns out, though, I have put our drip coffee machine away and use only this for day to day coffee. Since it doesn’t have a burner mechanism, the coffee remains pure and free from that bitter taste that distracts from the flavor of the actual coffee. Chemex comes in different sizes but the scientific beaker-like shape remains the same. You can purchase the Chemex on Amazon (which is where I bought ours) as well as William Sonoma and other kitchen stores. I also purchased a thermal pitcher and after the coffee is brewed, I pour it into the pitcher and it keeps warm the whole day.
New recipes and other kitchen experiments will start rolling in the coming days. Until then, look into the Chemex…it’s definitely worth a look.
Continuing on with the holiday baking…I had a number of parsnips from the farm and was looking for something to do with them. About a month ago or so, I remembered skimming over a recipe for a parsnip cake, so I thought that sounded like a good idea given the holidays. I googled several recipes and landed one this one. The cake turned out great with a combination of earthiness from the parsnips and pecans along with the sweetness of apples, warm cooking spices such as ground ginger, cinnamon, and nutmeg, and orange juice and zest. The filling is a simple mascarpone filling that serves a similar purpose as say a cream cheese frosting on a carrot cake. Enjoy!
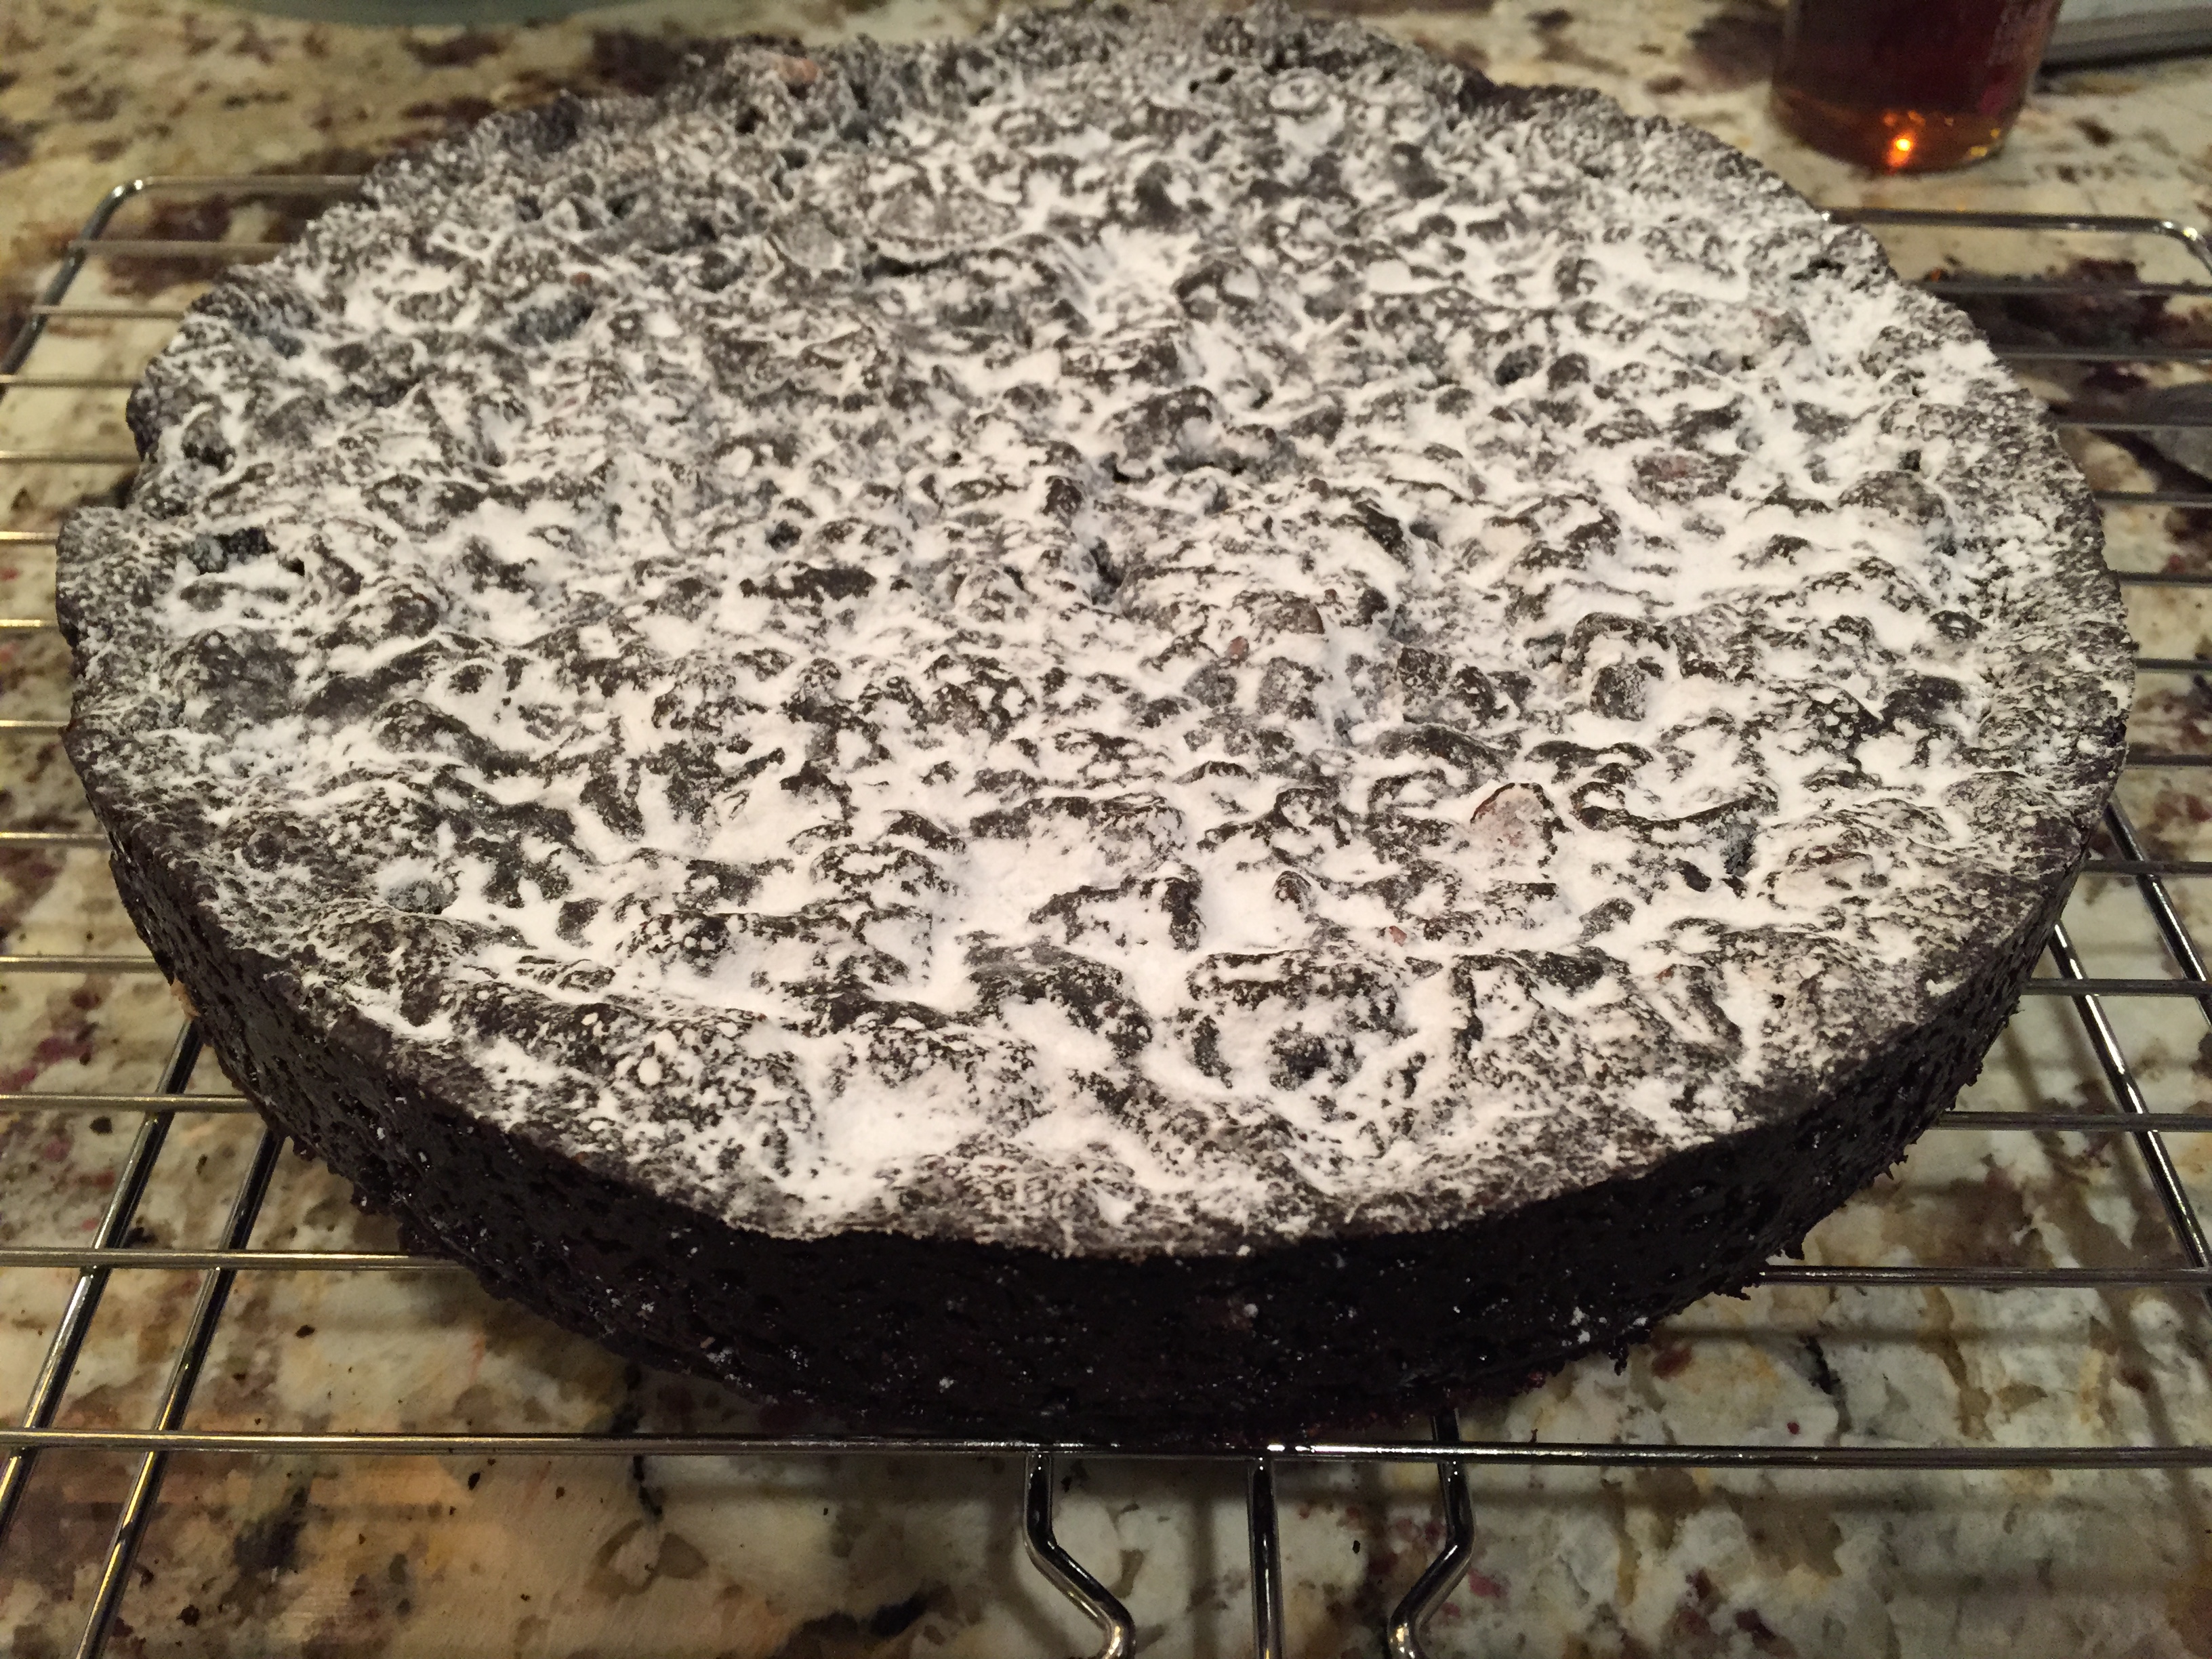
More holiday baking…this time from Sienna, Italy. Panforte is a fruitcake made mainly in the Sienna area of Italy. It’s made of mainly nuts and candied fruits such as candied citron and lemon/orange peel. Unlike traditional fruitcakes we have in U.S., this cake is complex with fruits, toasted nuts, black pepper, chili powder, and cocoa powder. It’s moist on the inside but has a hardened, crusty exterior. Surprisingly, this cake is pretty easy to make and the ingredients are fairly easy to find. The only challenge might be a spring form pan as you will definitely need one for this recipe. If you don’t have one, perhaps it’s worth the investment as you can make a lot of different things with spring form pans. You can find a rather inexpensive spring form pan at Michael’s (Whilton brand). At any rate, I used David Lebovitz’s recipe. Like most of David Lebovitz’s recipes, it doesn’t disappoint. In fact, I love his blog and his cookbooks!
P.S. as an extra bonus with this cake, you don’t have to refrigerate it. Rather, since it contains neither dairy nor eggs, it can sit on the counter, covered (I use wax paper) for several months without spoiling!
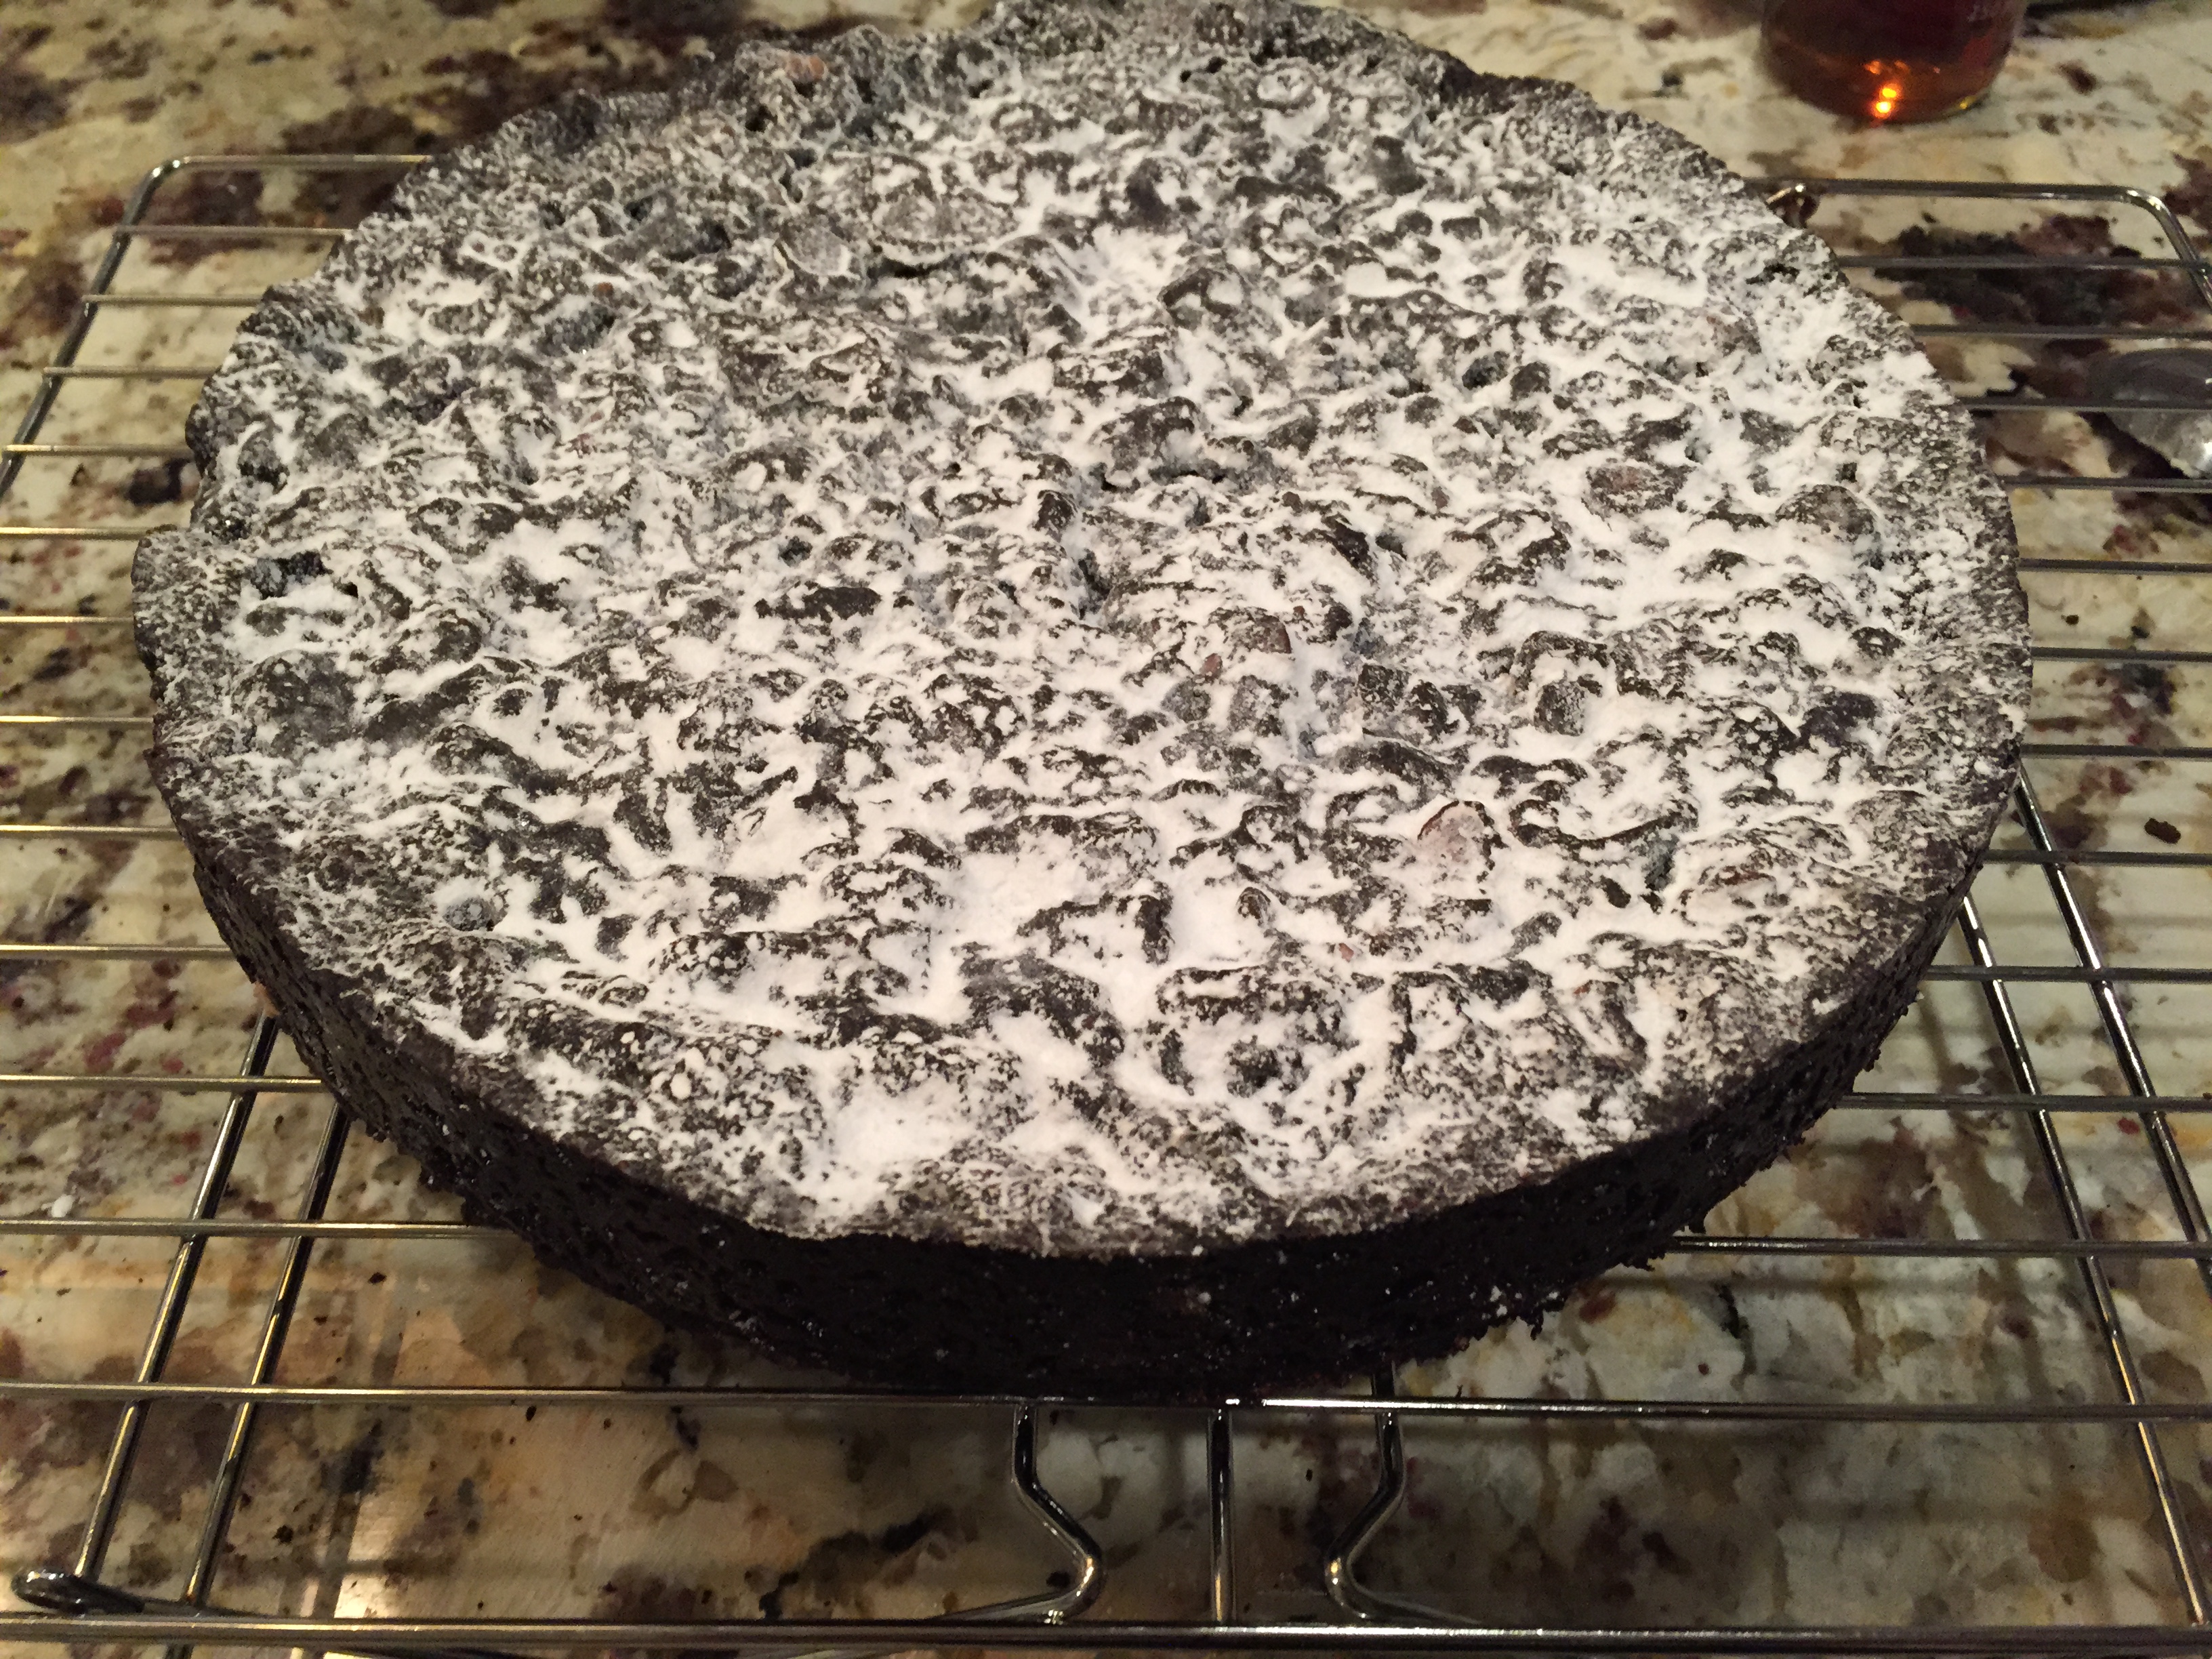
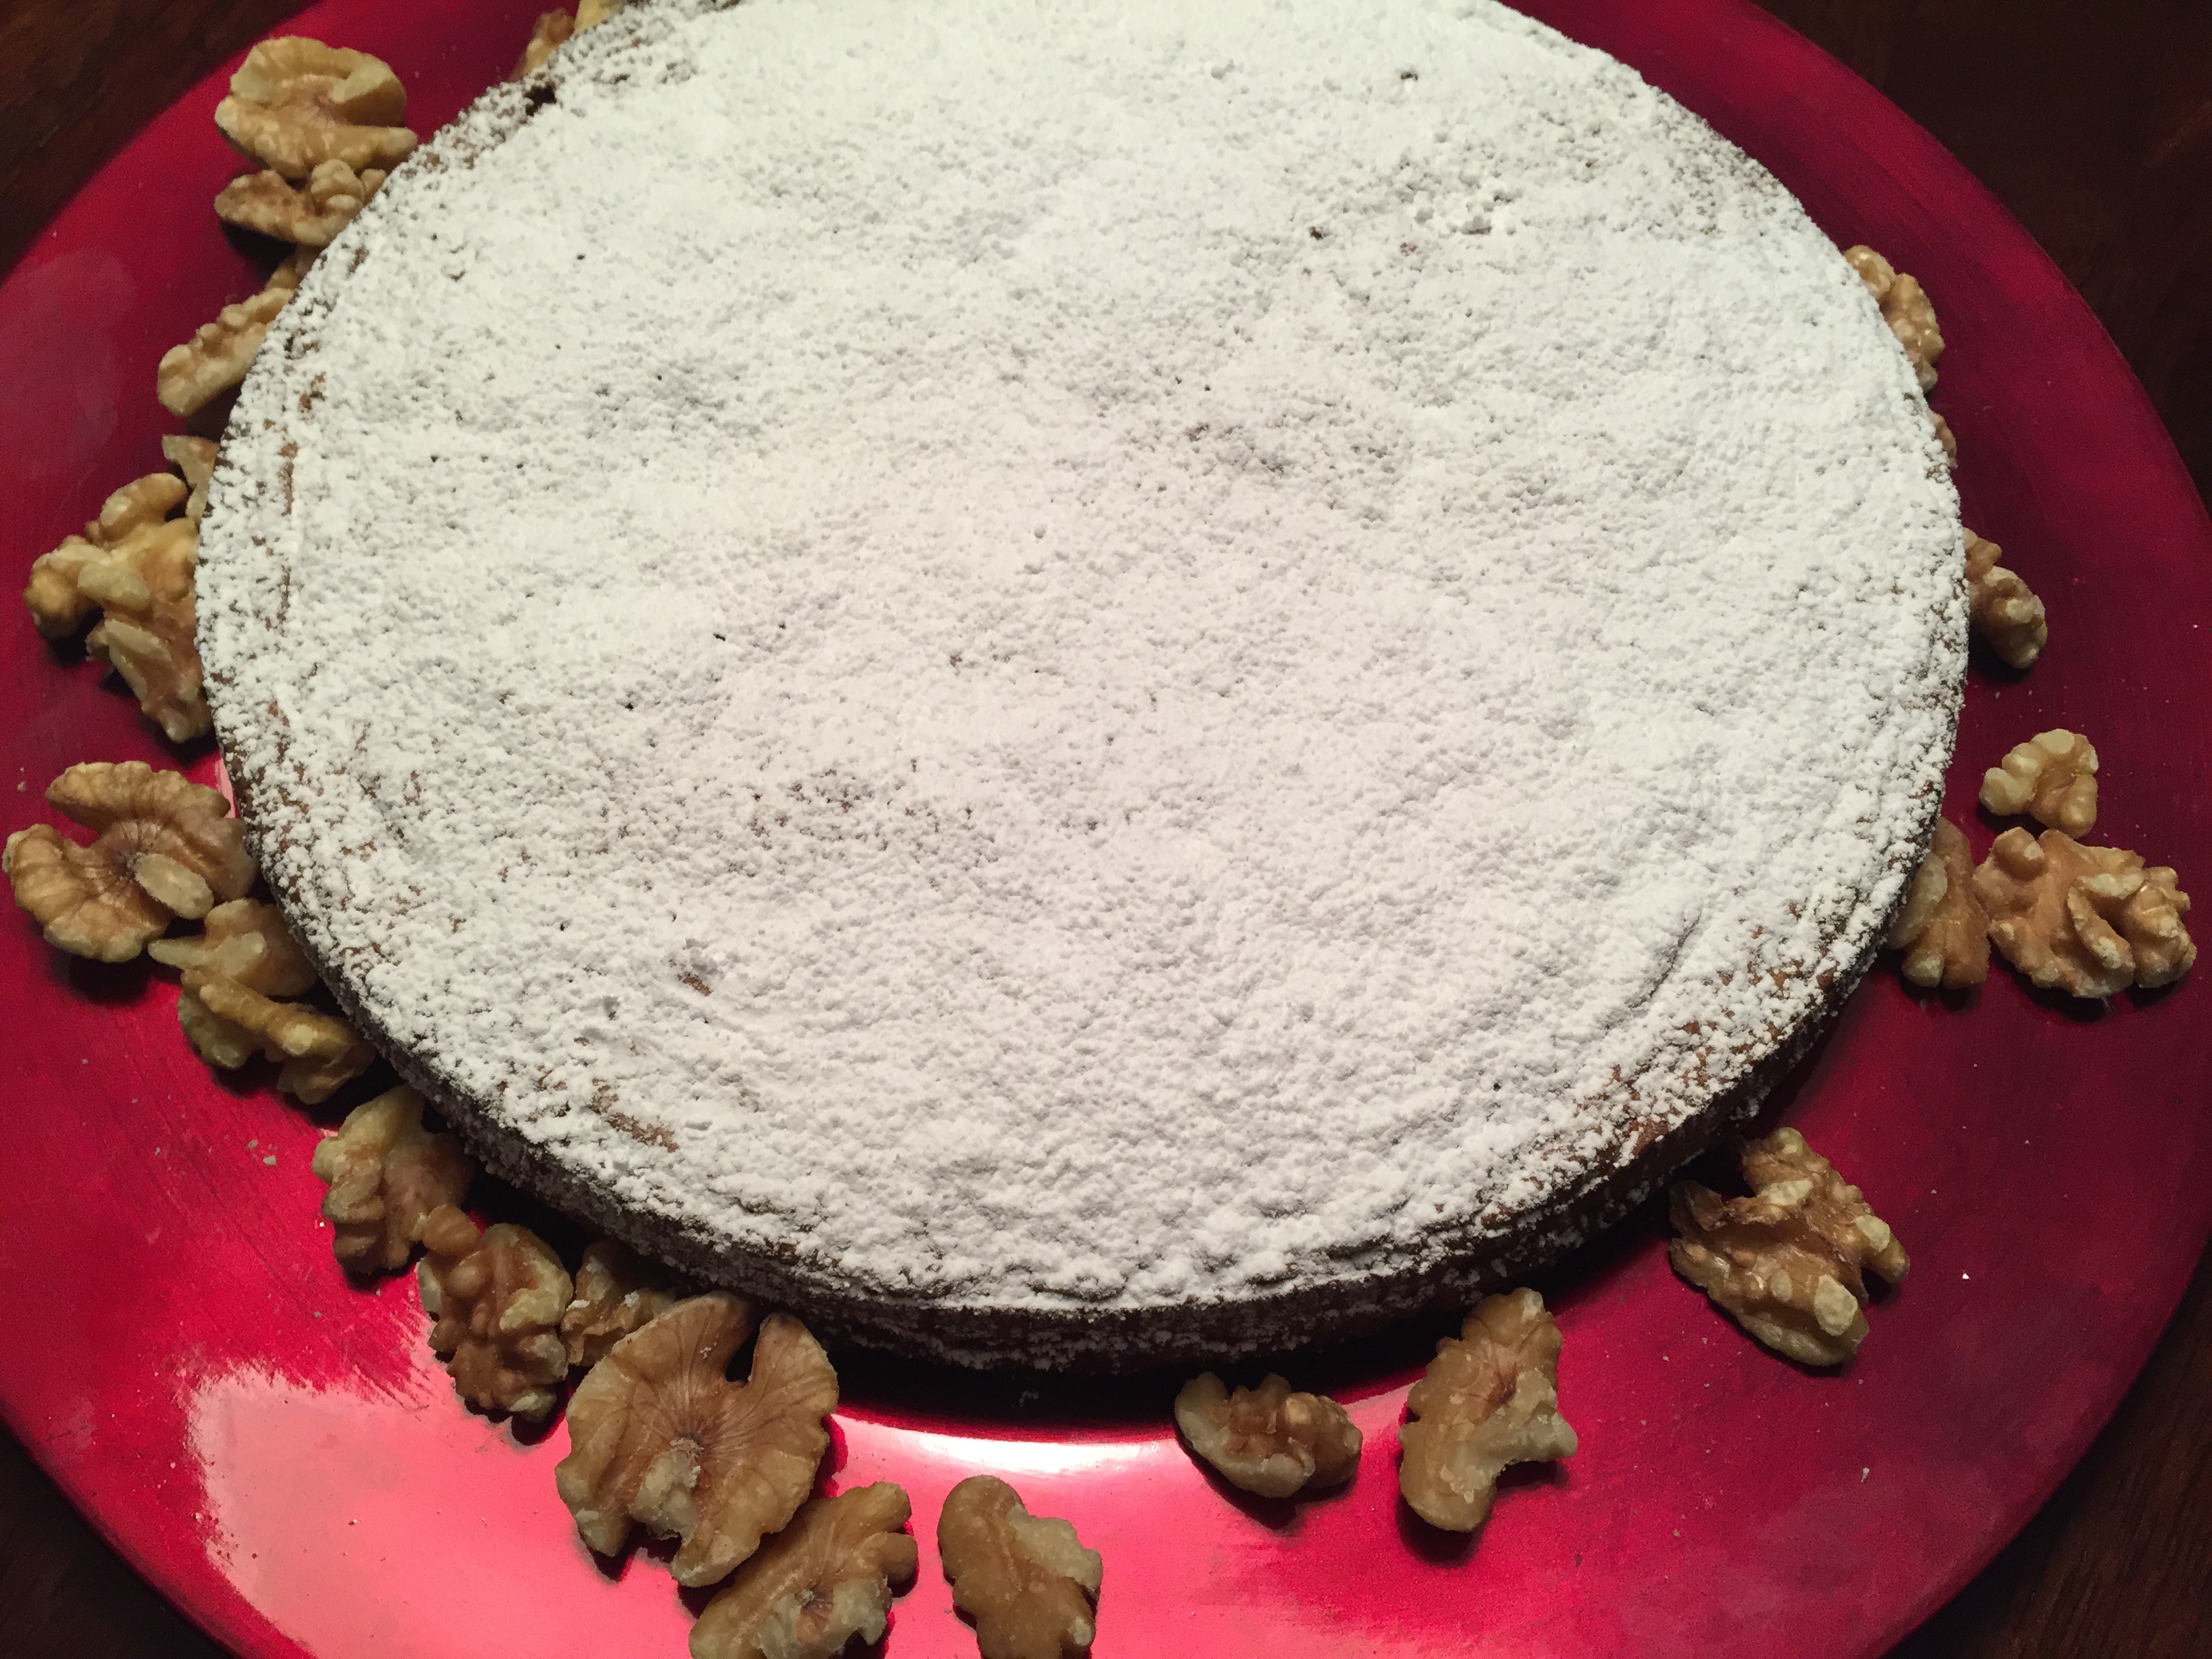
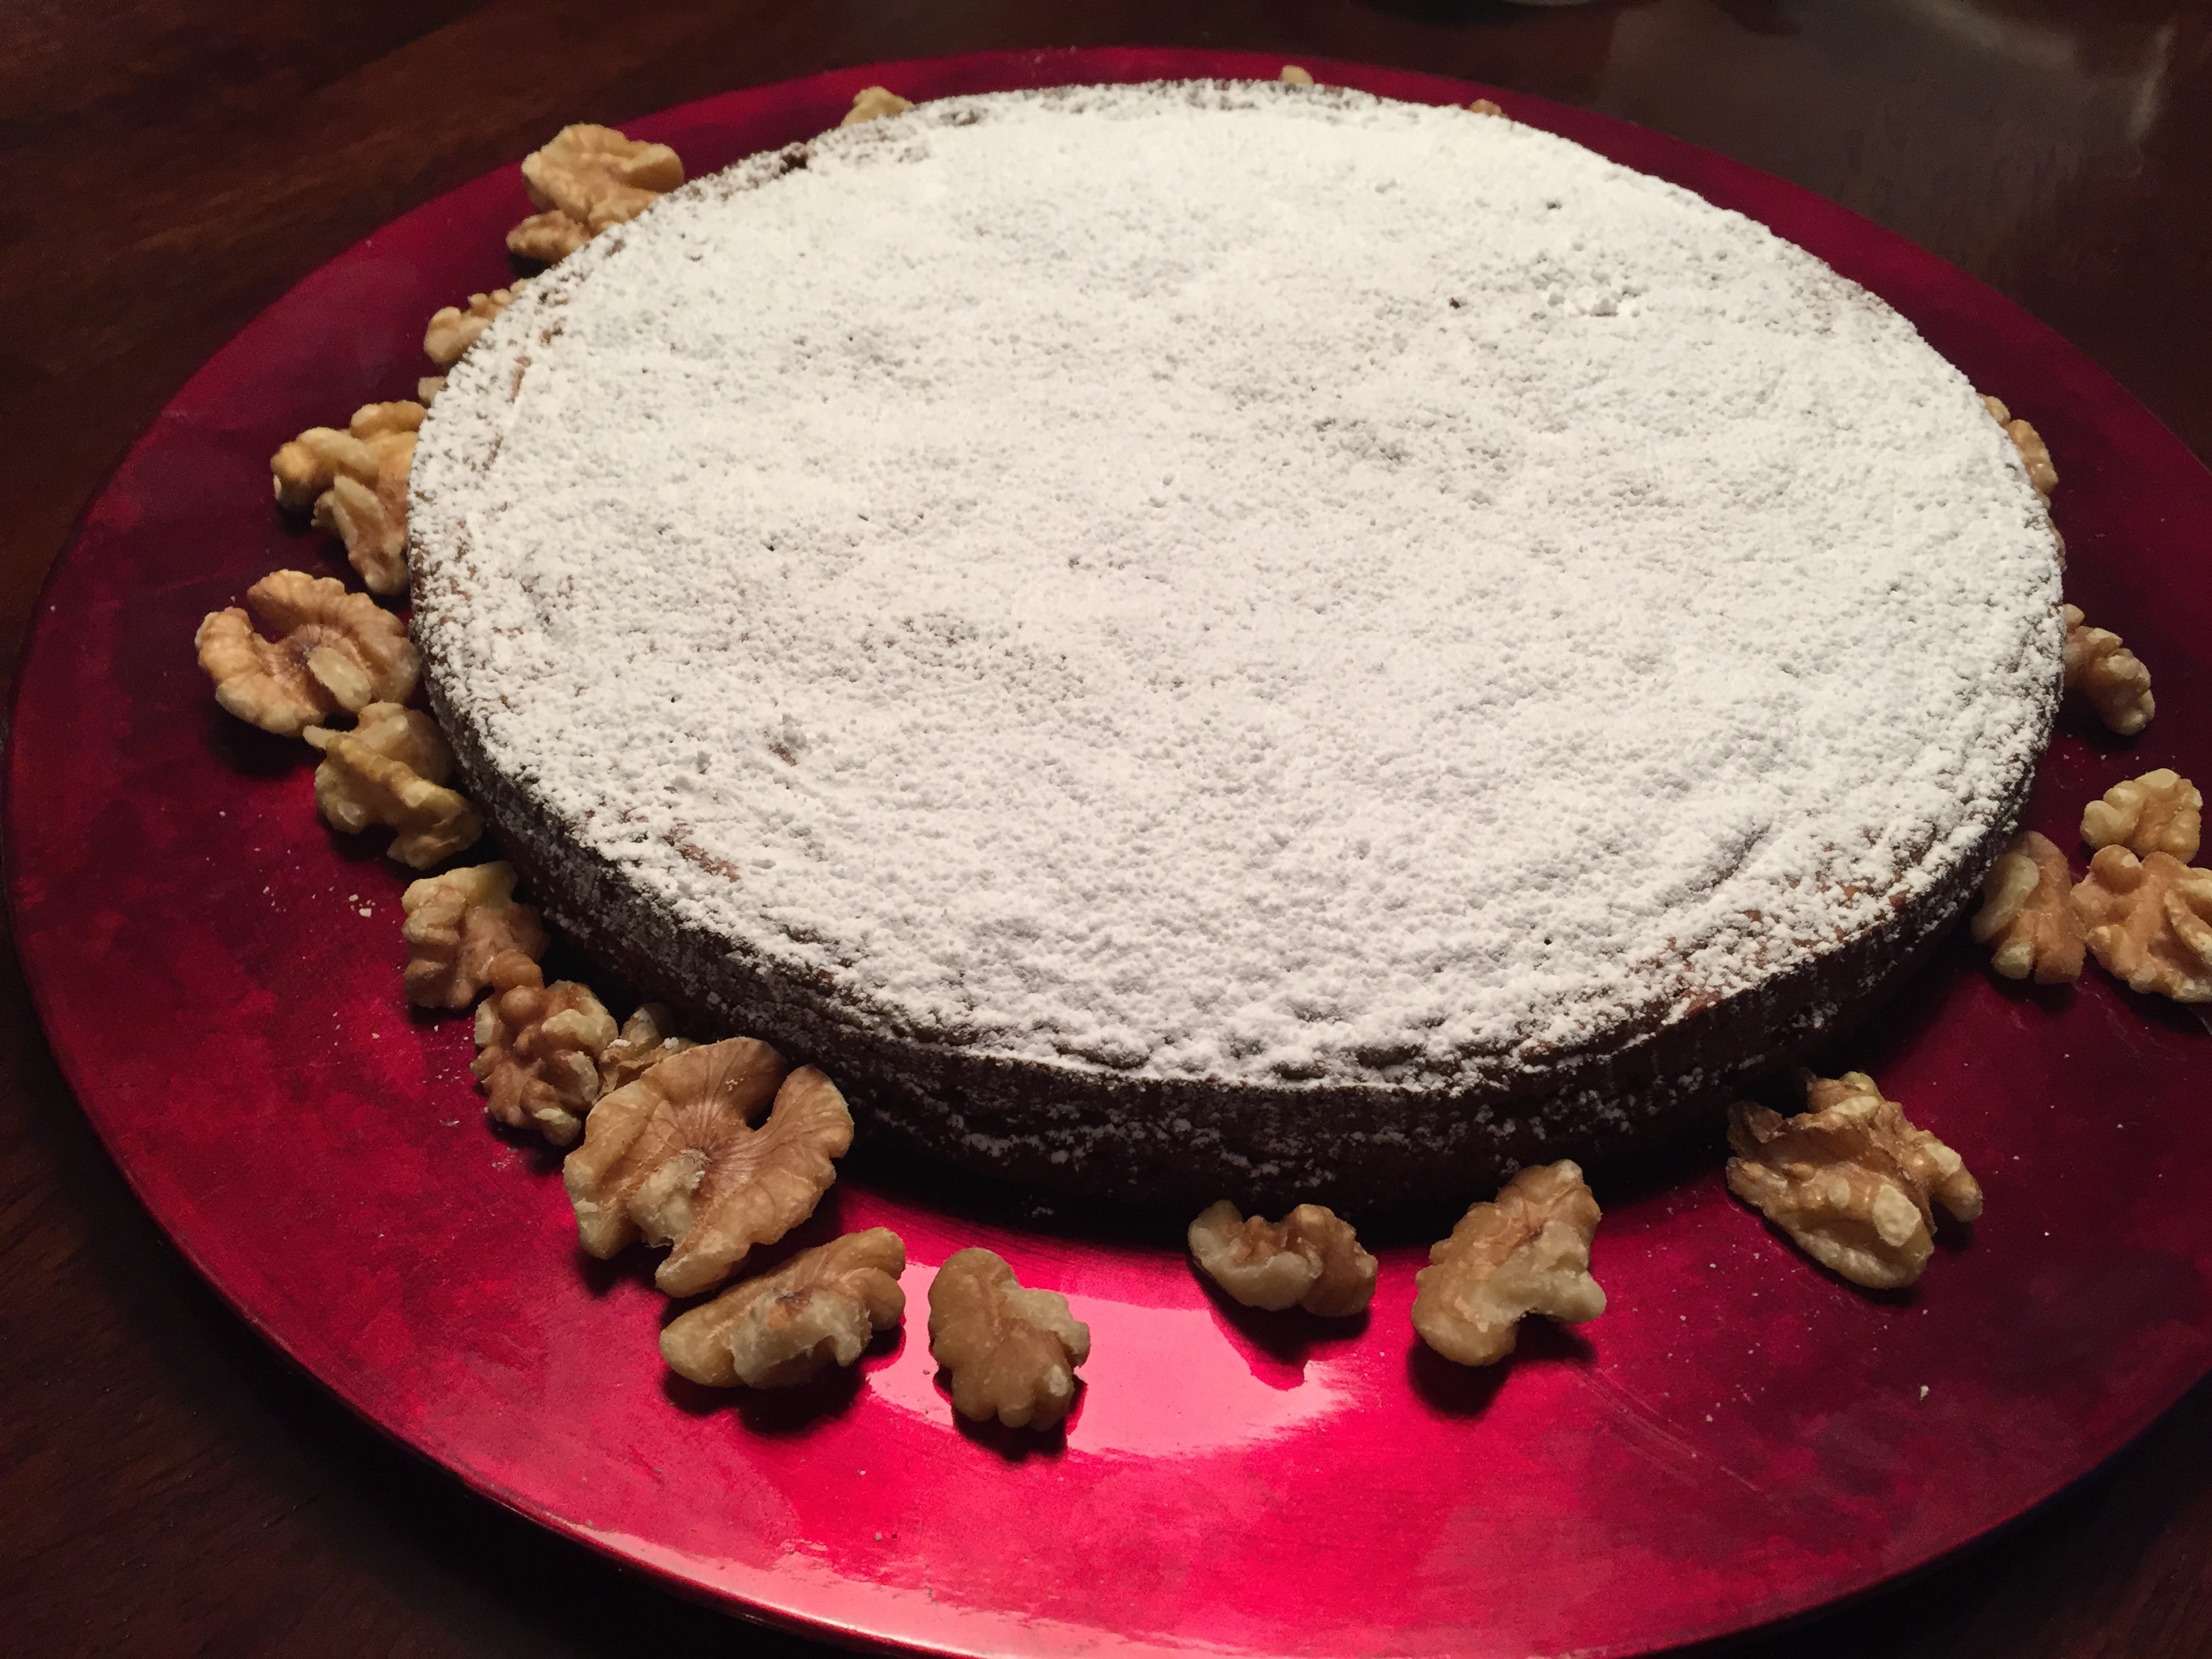
I came across this recipe before we left for Italy but wasn’t able to make it until we returned. This beauty of this cake is that it is very simple with just a few ingredients. The walnuts shine through and the cake is enhanced with a light taste and scent of citrus. The recipe calls for orange zest. Here I used lemon as my wife doesn’t really care for orange flavors in cakes. Lemon was great but orange would undoubtedly produce a more robust citrus flavor. The recipe is from Food 52 and I followed it very closely. However, I think I would add a dash of salt to the mix next time. The people who ate the cake really enjoyed it but my wife thought it could use a bit of elevation in flavor…which salt usually accomplishes with ease. Try it as written first and see what you think. Last thing: my oven runs hot so I cooked my cake about 8 minutes less than indicated. If yours tends to do the same, best to check it frequently as the walnuts will burn.
As you look over the recipe, you’ll note that it does not contain flour. As such, this recipe is gluten free…a real bonus for those of you who need to watch that.