culinary flights of fancy

Home Cooking Adventures in Berkeley Heights


Leave a comment

St. Patrick’s Day Festivities Part Two: The Menu

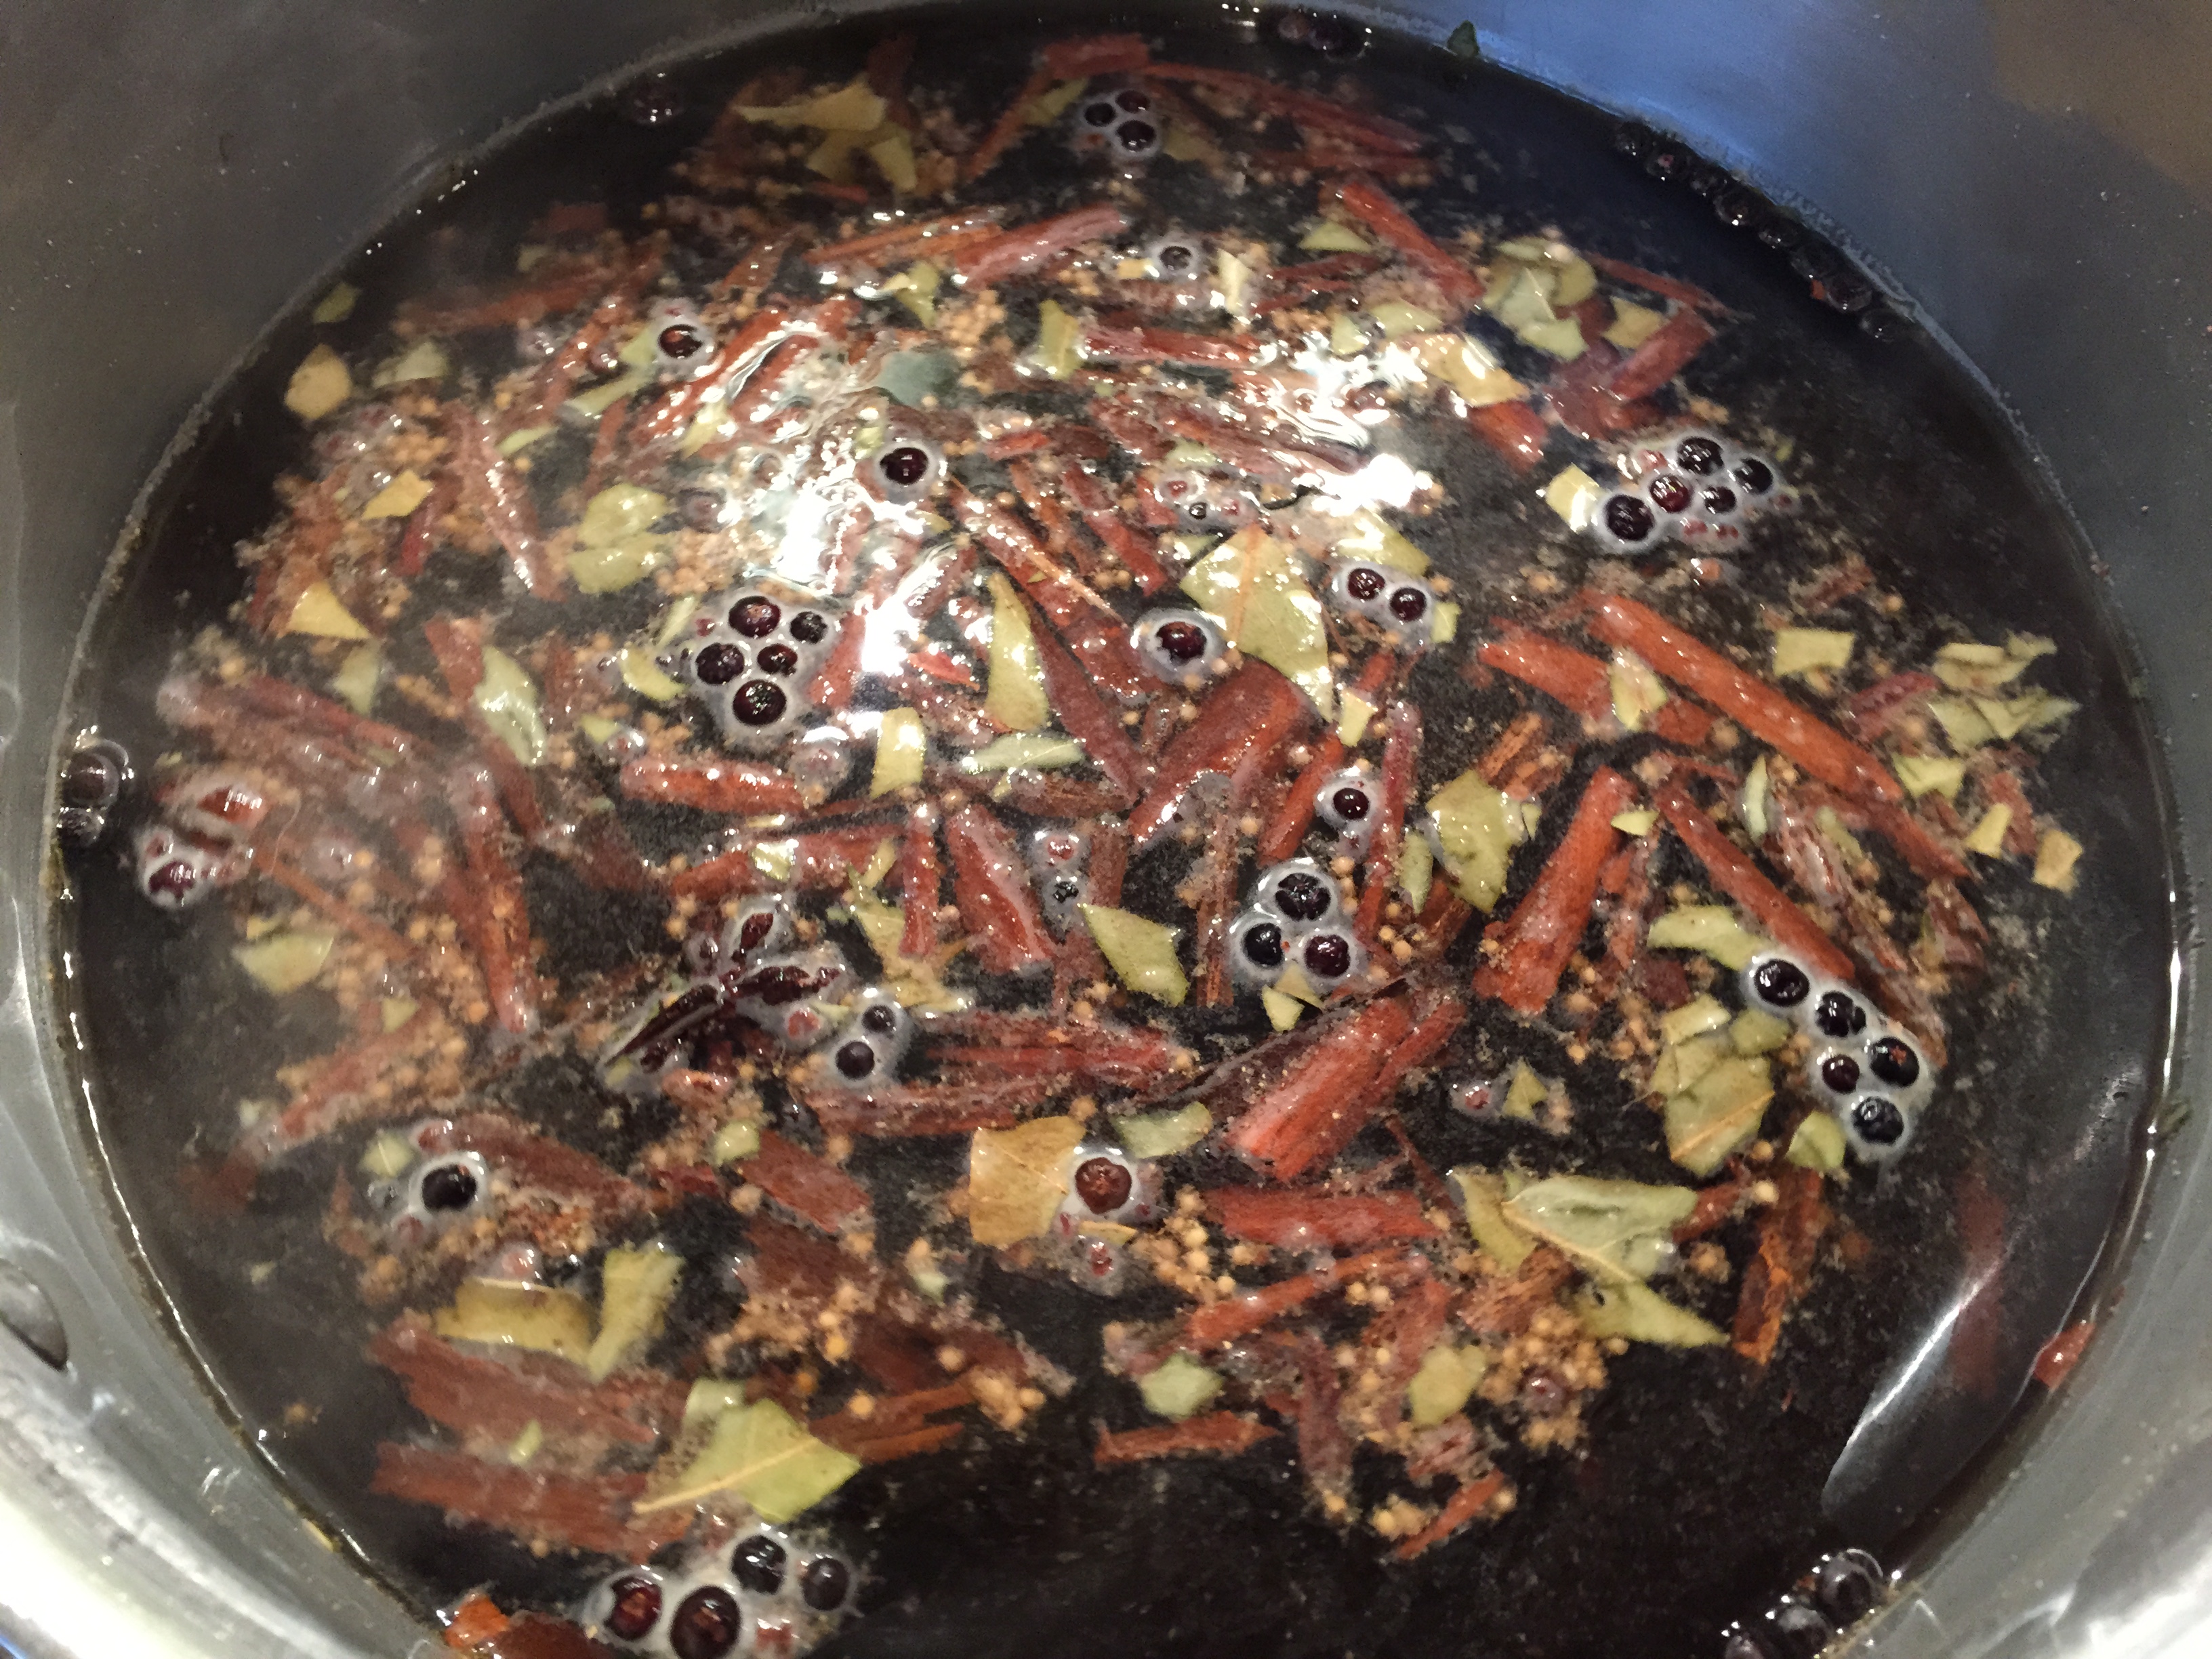
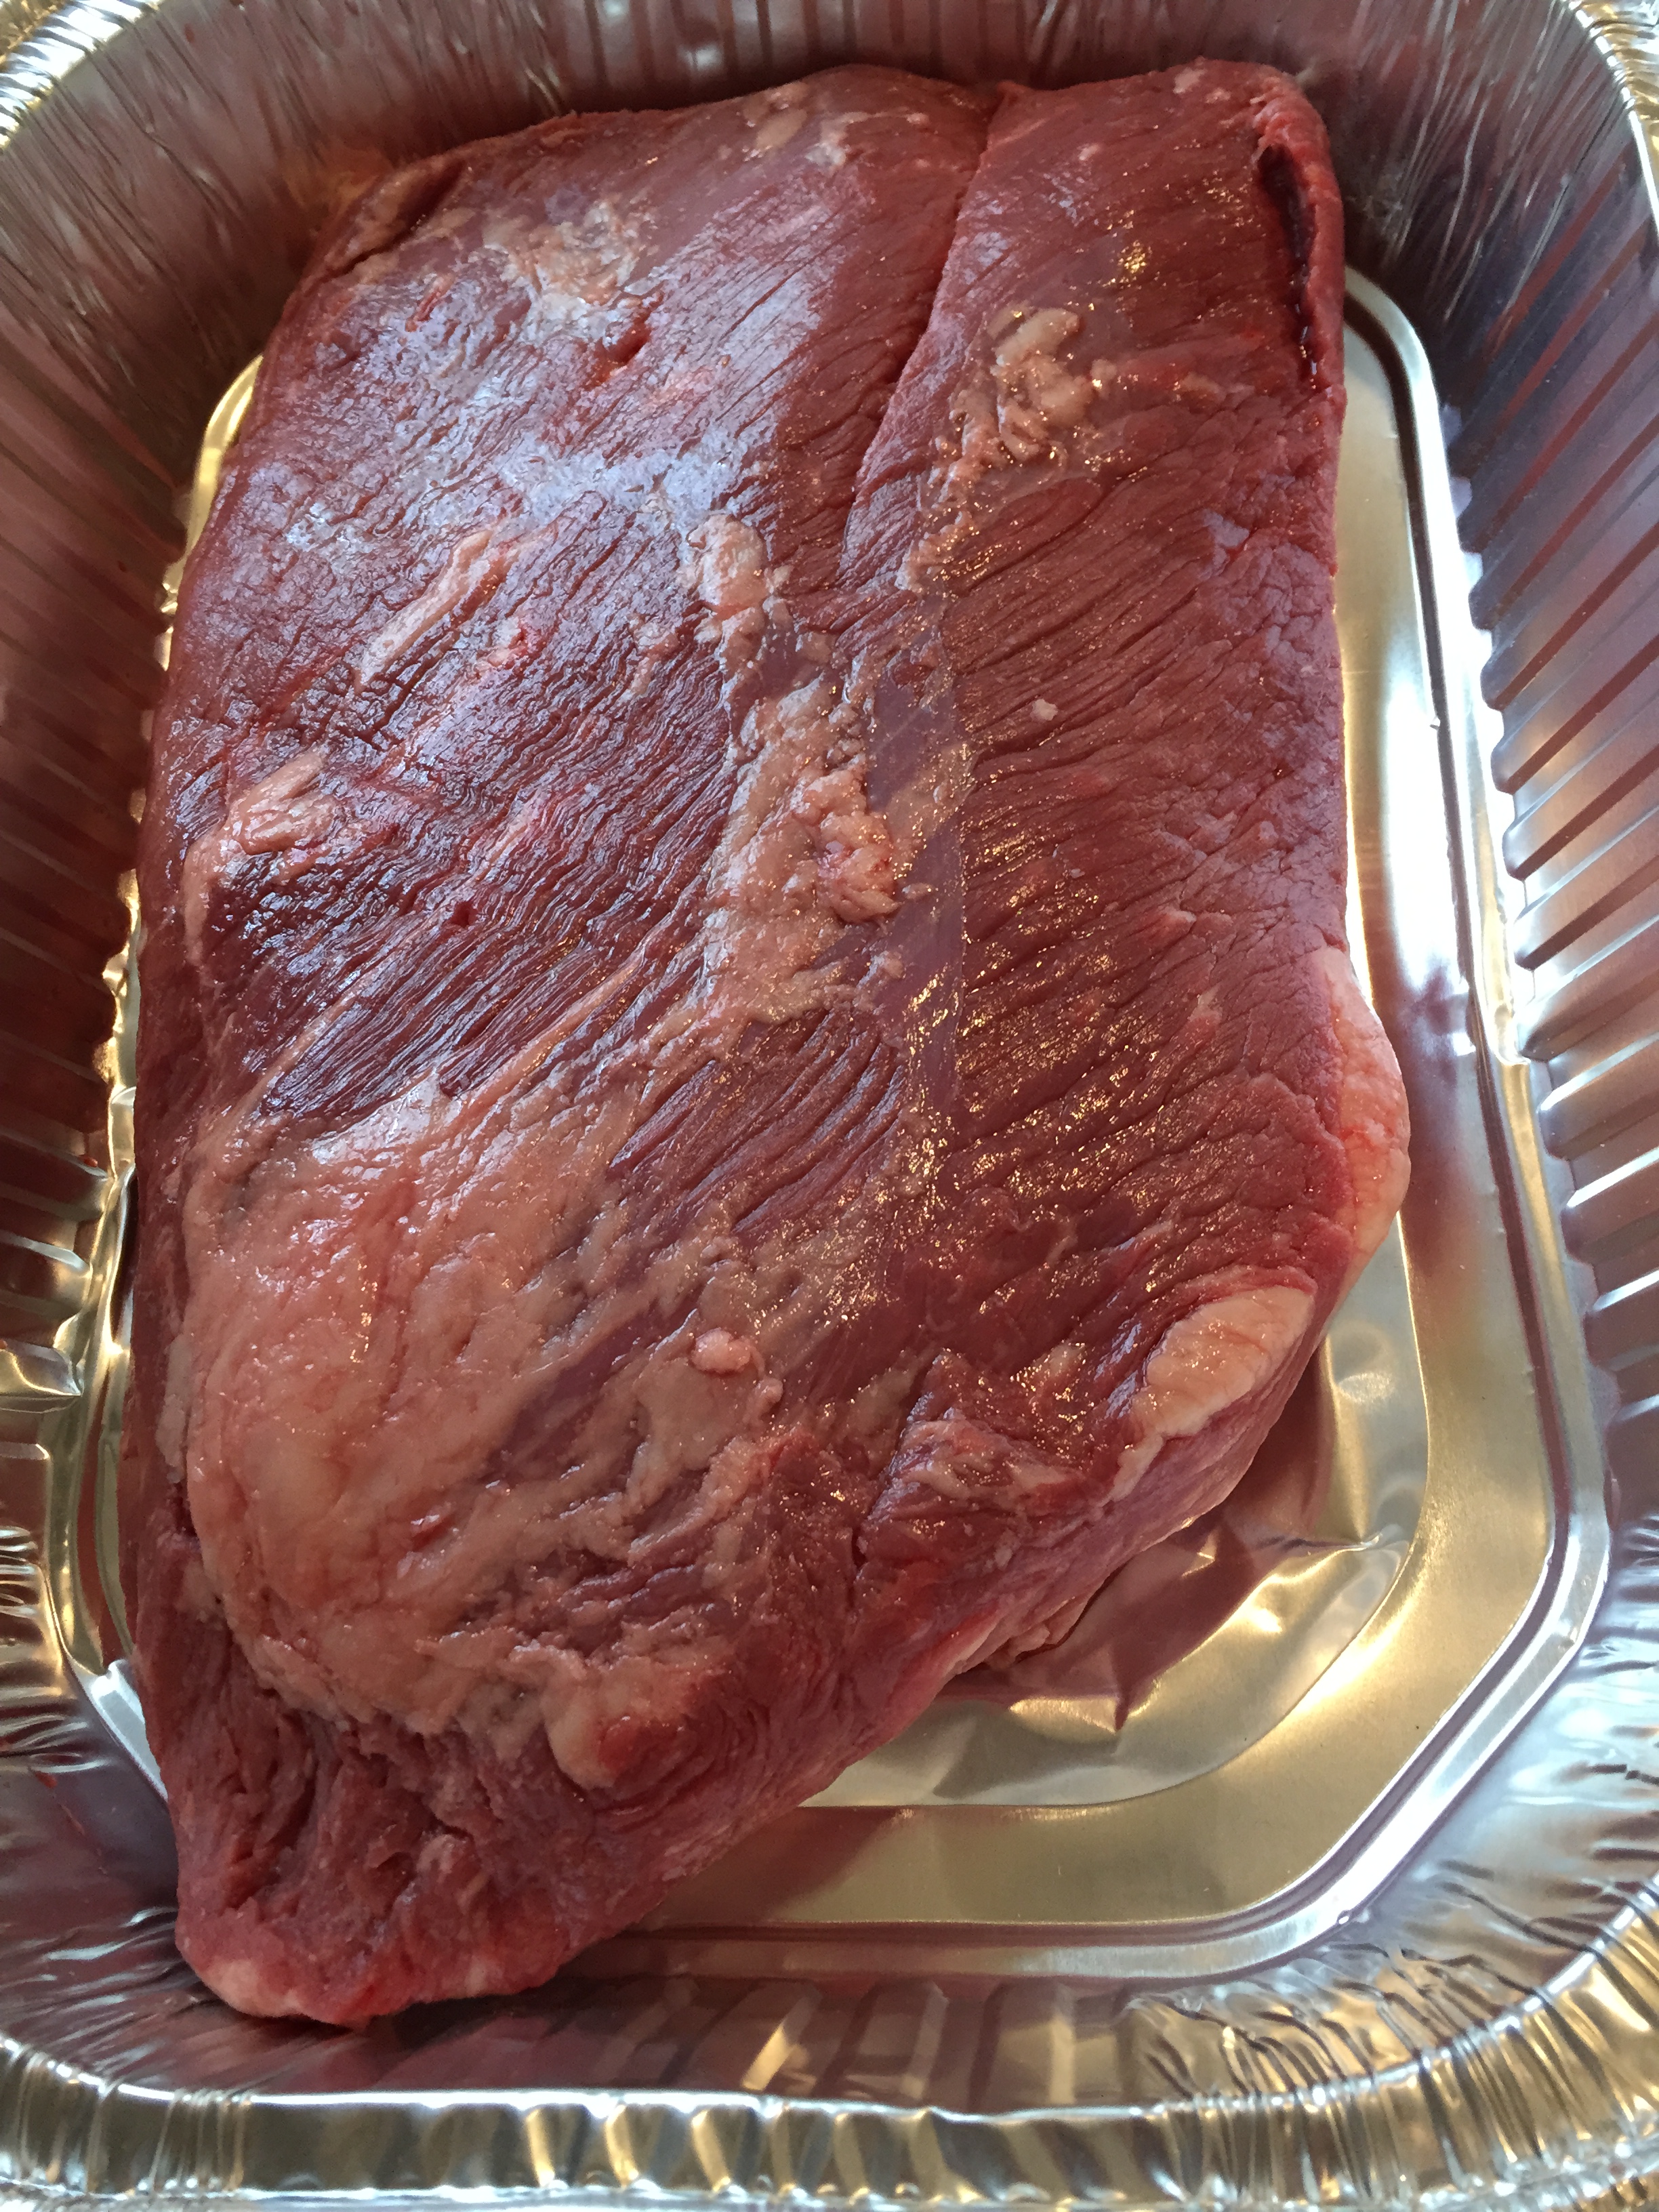
First, let me apologize for not having pictures yet for this particular post, but like a lot of you, I haven’t actually cooked our meal for St. Patrick’s Day yet.  I’ll post pictures tomorrow so you can see the end result.  As you may remember, I posted a recipe for homemade corned beef a while back and said that I had started the process of corning the beef about ten days ago.  Tomorrow, the corned beef will be cooked in a traditional Irish boil complete with red potatoes and green cabbage.

To go along with the corned beef boil, I plan to serve a traditional Irish pub salad.  I made this salad last year and it was really great.  Here is the link to the recipe I used last year and also plan to use again this year.

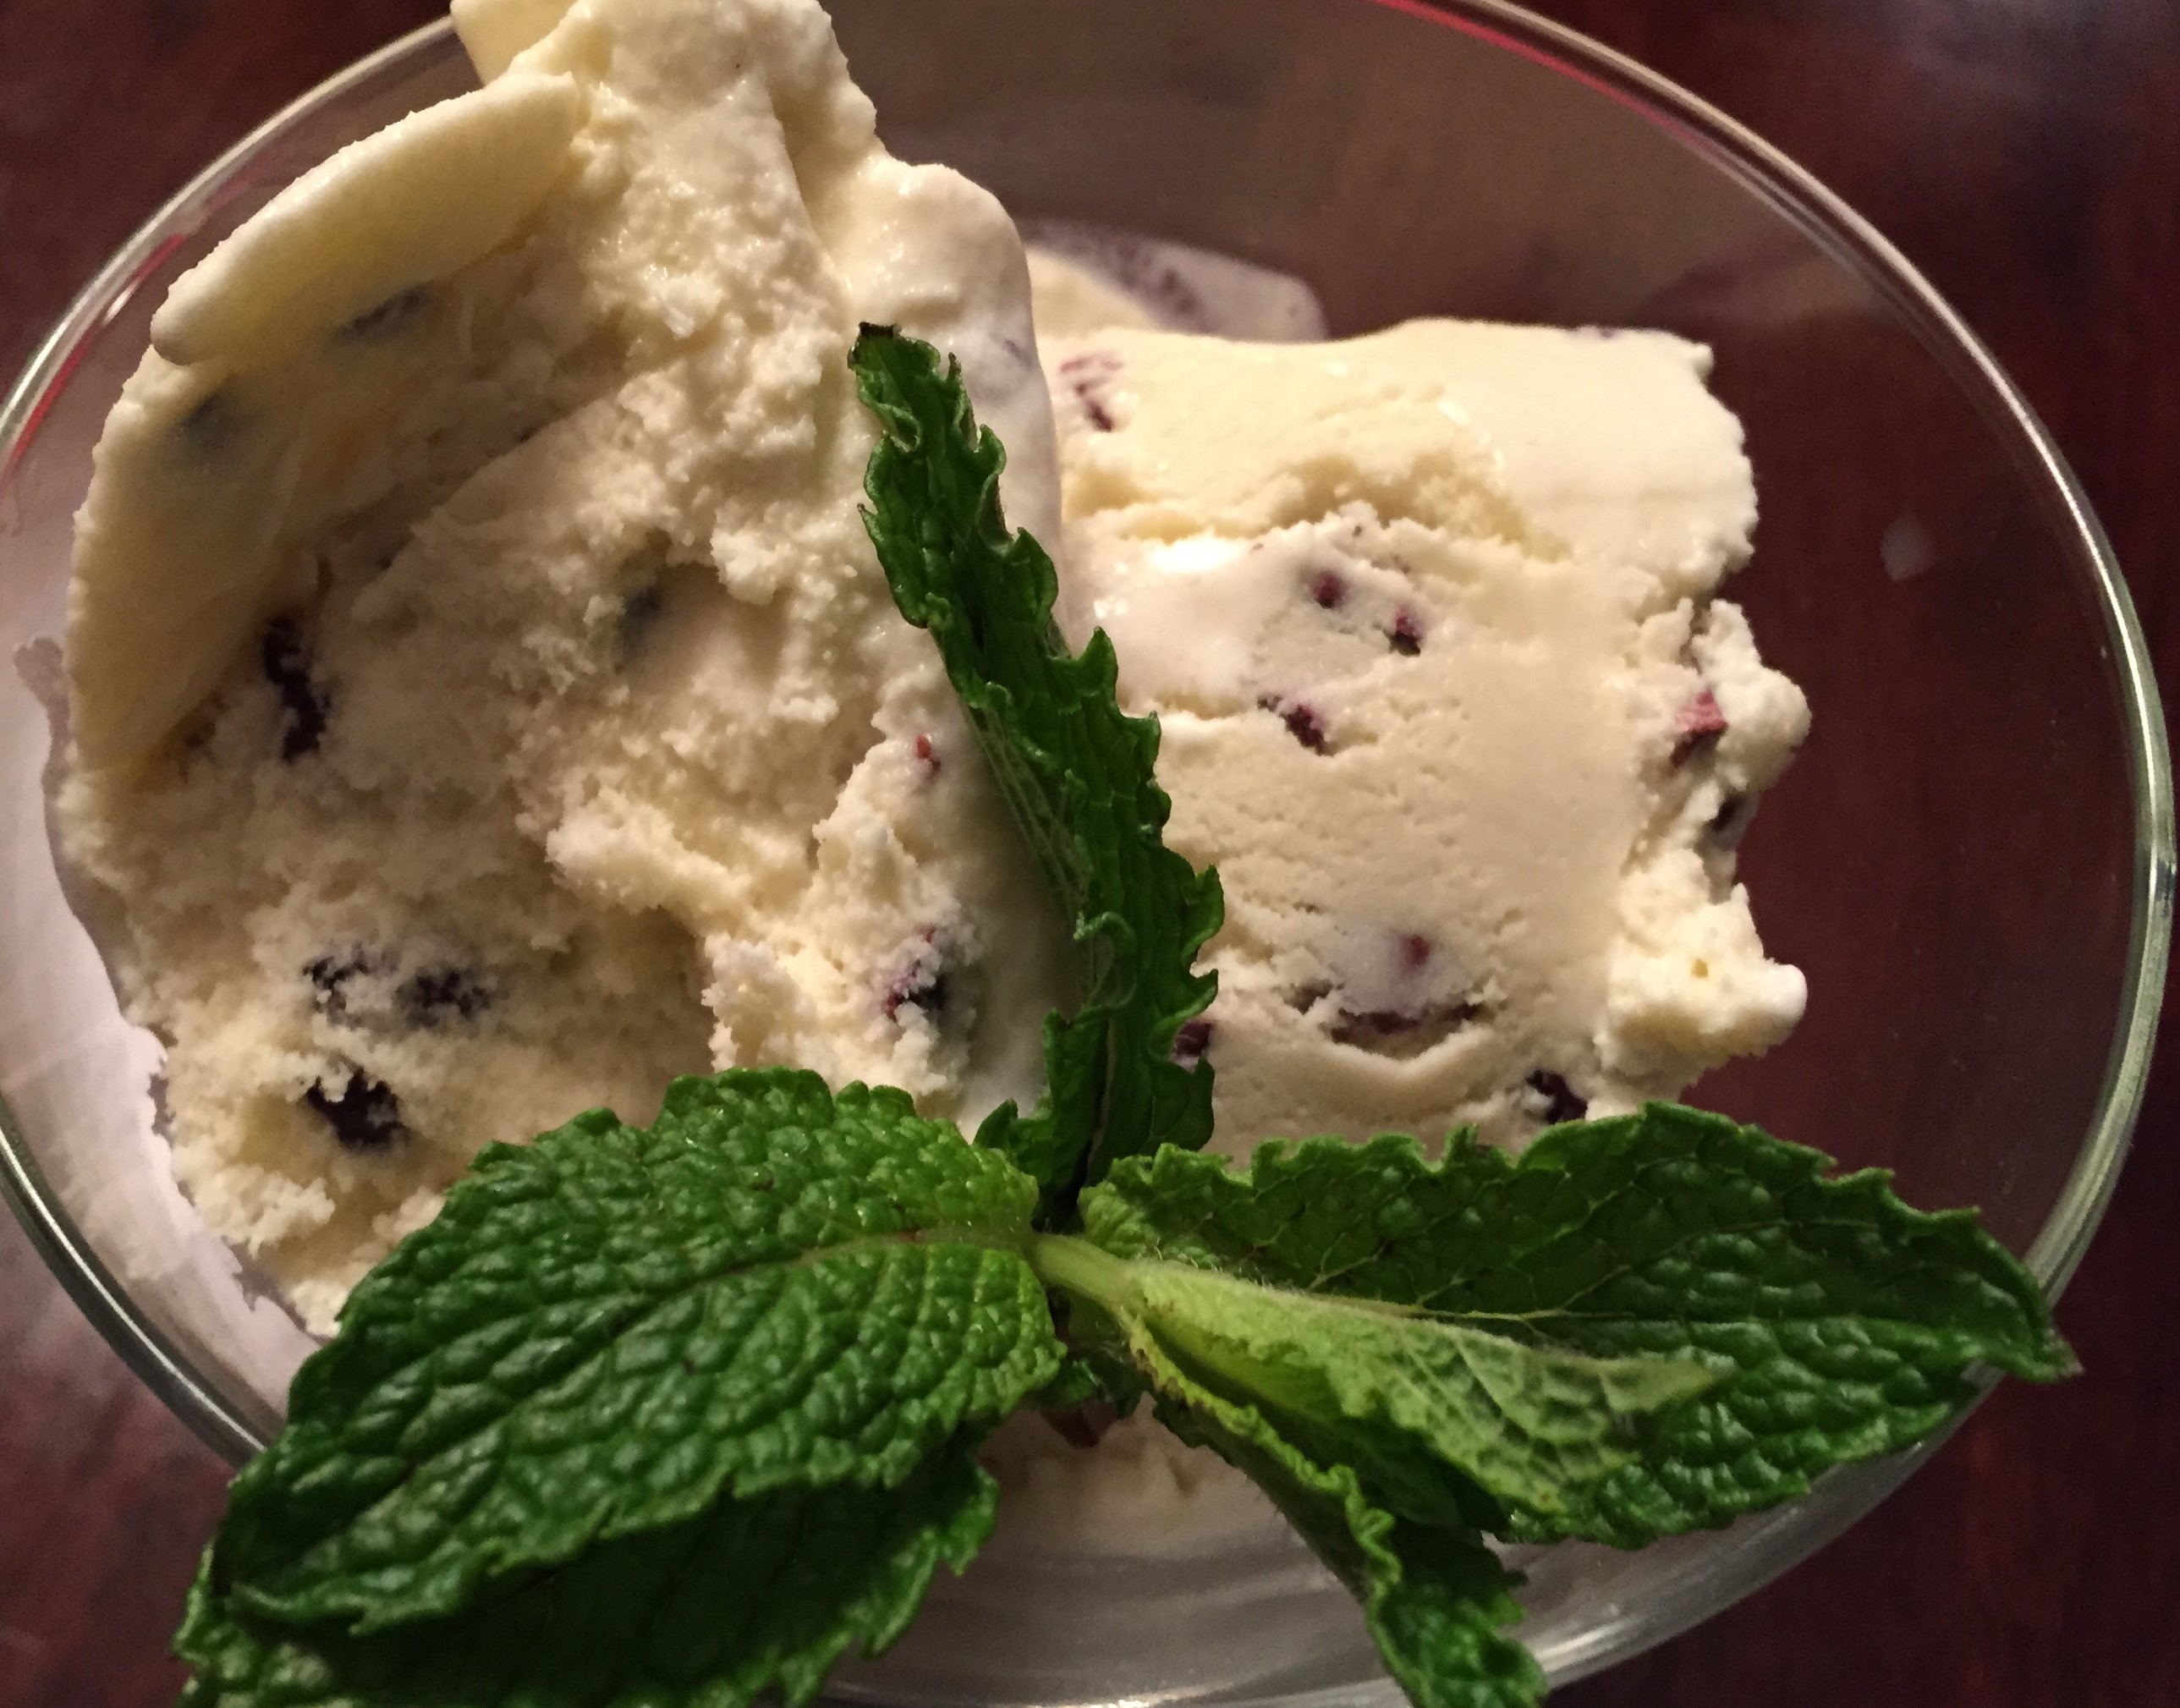
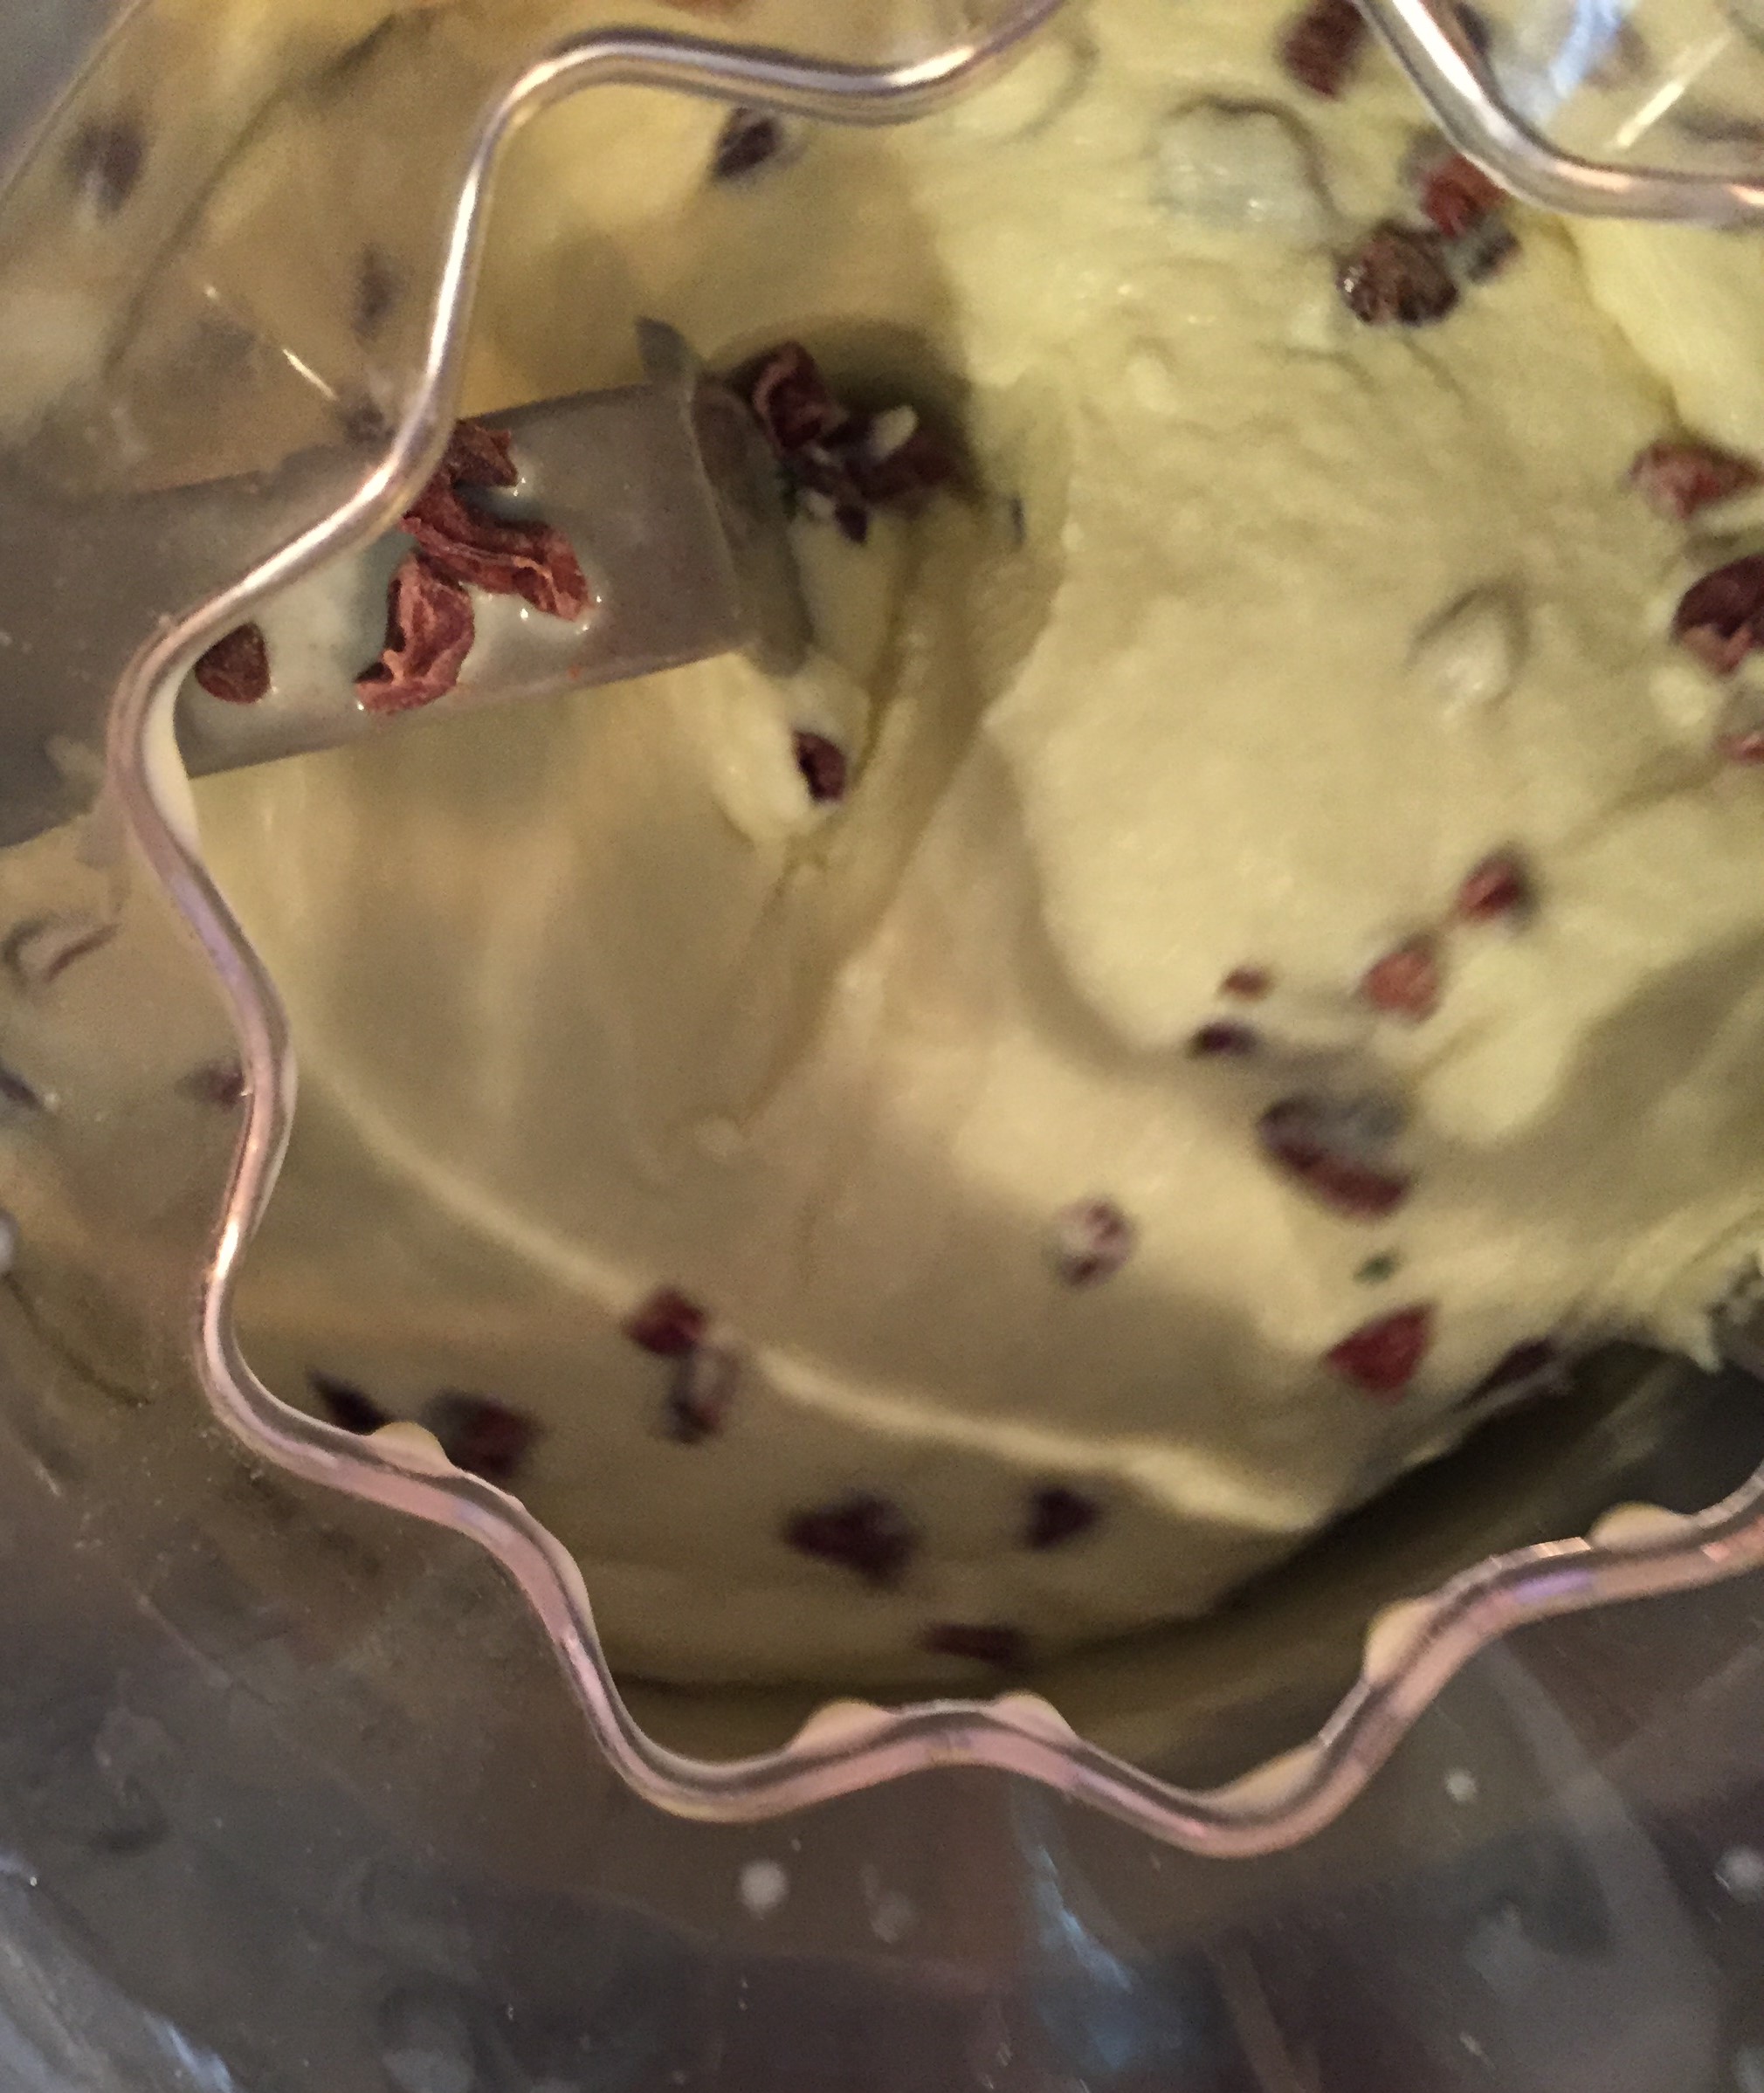
In addition to the salad and Irish meal, I plan to make an Irish soda bread to go alongside our mint cacao ice cream.  Again, I used this recipe last year and whole-heartedly recommend it this year.  I plan to make this again as well.

There will probably be an Irish beer or two consumed as well.  As I said, I apologize for not having pictures…I’ll rectify that situation tomorrow.  Until then, take a look at the recipes and try one, two, or all of them…you won’t be let down.  If you don’t have time or you don’t prefer corned beef, something like a nice shepherd’s pie using ground lamb would be a nice hearty Irish inspired meal as well.

Speaking of lamb…up next, a whole roasted leg of lamb recipe using roasted garlic, rosemary, and sage.  Stay tuned for that tomorrow.  Until then, time to get going on St. Patrick’s Day!


1 Comment

St. Patrick’s Day Part 1: Mint Ice Cream with Cacao Nibs

Mint Ice Cream with Cacao Nibs provides a nice substitution for a traditional mint chocolate chip ice cream.

Mint Ice Cream with Cacao Nibs provides a nice substitution for a traditional mint chocolate chip ice cream.

Add the cacao nibs half way through your ice cream making cycle.

Add the cacao nibs half way through your ice cream making cycle.

Ice Cream!  First one of the year and very excited about it.  My wife loves mint chocolate chip ice cream and my parents visited last weekend love ice cream as well.  So, I decided to multi-task by making ice cream that would please my wife and parents as well as serve as a springboard for the St. Patrick’s Day festivities this week.  This recipe turned out great.  The recipe I used can be found here.  I really like the technique used to extract the mint flavor in this recipe.  The good news is that this particular recipe uses low fat milk and half and half in lieu of whole milk and cream, so you can certainly use it as written for a nice, lighter ice cream.  The bad news is that I used whole milk and cream in exact increments as indicated for the milk and half n half in the recipe.  I mean I don’t make desserts very often so I decided not to skimp.  So, use the lighter version or my version…your choice.

Cacao nibs is a nutrient rich super food when eaten in its raw, natural state.  It has a slight cocoa flavor but really imparts a nice woody bitterness.  This may not appeal to you but it really helped to balance the sweetness of the ice cream while still maintaining that characteristic crunch found in traditional mint chocolate chip recipes.  To add them to the original mint ice cream recipe referenced above, simply take 1 cup of cacao nibs and slowly add them to the ice cream about mid way through the cycle of your ice cream maker.


Leave a comment

Roasted Potato Salad with Fresh Fennel in a Coarse Grain Mustard Mayonnaise

RoastedPotatoSalad.3 (3)

I am very ready for spring and all the produce that goes along with it.  This hearty side dish really serves as a transitional dish using vegetables and preparations usually associated with colder months tossed in a sauce and served cold as you would any hearty salad during the warmer months.  Hopefully you will find this dish refreshing yet filling with hints of warmer weather food that will be upon us very soon.  Recipe follows after the jump… Continue reading


1 Comment

Alton Brown’s Corned Beef Recipe

Combine all the spices with water and heat until all are dissolved and the liquid becomes less cloudy.  Pour over ice to cool and then pour the whole thing over the brisket, which is then refrigerated for 10 days.  Cook after that.

Combine all the spices with water and heat until all are dissolved and the liquid becomes less cloudy. Pour over ice to cool and then pour the whole thing over the brisket, which is then refrigerated for 10 days. Cook after that.

The brisket

The brisket

Last year for St. Patrick’s Day, I made my first corned beef and used this recipe from Alton Brown and the Food Network.  It worked extremely well and everyone, including me, was very happy with it.  I created a whole traditional meal, which I’ll talk more about in the coming days.  Last year, I only brined the beef for 8 days (instead of the prescribed 10), and it worked just great.  However, and I apologize for just posting this now, I decided to give it the full 10 days this year.  I followed the recipe exactly as directed.  All of the spices are pretty easily found, though I purchased both the juniper berries and the pink salt at William Sonoma at Short Hills Mall.  So, if you are so inclined and have time today, go get the ingredients and go for it!

St. Patrick’s Day is more fun with a big Irish meal and a Guinness!  If you don’t have time today or tomorrow but still want to do the recipe, you certainly can but give it at least 7 days or so.  As I said, last year, I did the same and it was really good.

Next up…roasted potato salad with shaved fennel bound with a homemade spiced mayonnaise with two types of mustard.  It’s really good and should be great for now and for Spring!  Being in the Jerz lately, I cannot wait for Spring…


Leave a comment

Roasted Chicken Rubbed with Roasted Garlic and Sage

Roasted chicken rubbed with roasted garlic and sage

Roasted chicken rubbed with roasted garlic and sage

Carving a roasted chicken is easy.  Follow the joints of the chicken, carefully inserting your knife between the joints to separate the various parts.  Then remove the breasts.

Carving a roasted chicken is easy. Follow the joints of the chicken, carefully inserting your knife between the joints to separate the various parts. Then remove the breasts.

If I were to ask my wife which dish I make or have made that she likes best I guarantee it would either be roasted chicken or a ribeye steak.  That response usually drives me nuts because they are so basic and given all the other things I cook around here, I would think there would be other things she prefers.  However, despite the very basic nature of a simple roasted chicken, I love it too.  It’s really hard to beat a really well executed roasted chicken.  I define well executed being a roasted chicken that is nicely browned with crispy skin while remaining juicy, succulent, and tender.  That, my friends, is not so simple to pull off.  So, despite the basic nature of such a simple cooking method, it really is not that easy to perfect.  That said, it is possible to create an approximation to the ideal of a well executed roasted chicken with practice and doing some basic things to help it along.

In culinary school, we were given a five step method for preparing and roasting a chicken.  Some of those steps are designed to help with cooking the chicken properly and some of those things are designed to improve the overall appearance of the chicken once it’s carved.  Personally, I don’t think all five steps are necessary for home cooking purposes.  I really don’t follow all the steps but I do follow a couple.  I also add in a couple of steps that I feel make a big difference.  More thoughts and basic recipe follow after the jump… Continue reading


Leave a comment

Ground Pork Lettuce Wraps with Vietnamese Caramel Sauce, Mixed Vegetables, and Radish Ginger Vinaigrette

Assembled Lettuce Wrap

Assembled Lettuce Wrap

AsianPork.2 (2)

This dish, though Asian influenced, does not really hail from any particular country or region.  However, the caramel sauce is distinctly a sauce from Vietnam.  The sauce both simple and complex imparts a subtle sweetness with hints of smoke and bitterness.  There’s really only one way to make a classic Vietnamese caramel sauce and directions for creating it can be found here.  It takes about a half hour to make but a little of it goes a long way and can be stored in a glass jar in your pantry indefinitely, so if you make it once, it will last a pretty long time.  In addition, there is a ton of different things you can do with the sauce beyond this recipe so, go ahead and make it and experiment with it!

The pork and vegetable base can be used in many different ways.  Here I simply used leaf lettuce as a wrap and garnished it with a few vegetables.  However, this mixture would be great with steamed buns, as a filling for dumplings, tossed on top of rice, or simply combine all the vegetables and pork and add more lettuce for a hearty Asian influenced salad.

There are a lot of ingredients with this recipe, but don’t let that be intimidating.  Beyond making the caramel sauce all the ingredients can be found at any grocery store and the whole thing should pull together in around an hour or so.  Also I used ground pork but this basic recipe/technique would work with diced or ground chicken, turkey, or even shrimp.

As an aside, Tara told me this was one of her favorite things that I’ve made in a very long time.  So, she really liked it.  We both really enjoy Asian influenced food and perhaps I need to make more of it since it was such a hit with her!  I thought it was great for dinner or you can certainly use it as an appetizer.  Enjoy…Recipe follows after the jump. Continue reading


Leave a comment

Classic French Onion Soup

Classic French Onion Soup

Classic French Onion Soup

I made homemade baguettes.  You can find a good quality baguette at Biagio's or Kings (they sell an organic version that is pretty good).

I made homemade baguettes. You can find a good quality baguette at Biagio’s or Kings (they sell an organic version that is pretty good).

There are a couple of keys things to consider when making French onion soup.  One, using a combination of beef and veal stock adds a depth of flavor that’s tough to beat.  Two, the onions need to caramelized for quite a long time to really develop the flavor of the onions and to provide an even deeper flavor to the stock.  With such a simple soup, it becomes really important to develop the flavors of the few individual components.  Traditionally, the soup is accented with some fresh thyme and usually a splash of either Cognac, red wine, or dry sherry to finish.  Personally, I’ve tried it with all of those and though they do add a punch of background flavor at the end, I really feel that it’s not all that necessary.  However, if you try the finished soup and feel it needs a little extra something, certainly feel free to throw in a bit of one of those.

Note:  This soup is better when prepared a day or two ahead of time, giving the combined flavors a chance to meld together prior to final serving.

I apologize for this taking so long as I promised this recipe a while ago but once again time got away from me as I juggled not feeling super well with leaving for a few days to meet Tara in Phoenix.  In the middle of that, I tried a basic Asian pork belly recipe and thought that would be ready to roll but it turns out that it’s not really ready for prime time so I will have to play with that particular dish a bit more and post the resulting recipe once I arrive at one I think is both doable and delicious.  So, stay tuned for that at some point soon!  Recipe and more photos follow after the jump… Continue reading


Leave a comment

Classic Spanish Tapas: Shrimp with Garlic and Garlic and Tomato Toasts

Shrimp with Garlic served on Classic Garlic Tomato Toasts.

Shrimp with Garlic served on Classic Garlic Tomato Toasts.

Shrimp with Garlic in a classic cazuela or Spanish earthen ware bowl.

Shrimp with Garlic in a classic cazuela or Spanish earthen ware bowl.

Classic Spanish Shrimp with Garlic with Garlic and Tomato Toasts:

I love Spanish cuisine and one of the great things about it are the various Tapas or small plates that are available at most Spanish restaurants.  Not only do they taste great individually but they also allow you to sample a few different things which affords the opportunity to get to know the cuisine a little faster.  This shrimp dish is very simple with just a few flavors taking the driver’s seat.  The bread is prepared very similarly to classic Italian garlic bread but with tomato dredged across it at the last minute.  Placed together, you get a tasty garlicky toast with which to sop up all the great tasting olive oil and garlic from the shrimp dish.  Pair this with a few tossed greens and you can make a meal of the whole thing or simply make them a tapas and enjoy the two together with friends or family as small plates.  Recipe and more pictures follow after the jump… Continue reading


Leave a comment

Valentine’s Day Part 3 Continued, The Finish: Apple Galette with Honey, Lemon, and Thyme

Apple galette with honey, lemon, and thyme.

Apple galette with honey, lemon, and thyme.

The tart shell, per the recipe, can be made in a food processor.  However, I prefer to do it by hand on the counter top.

The tart shell, per the recipe, can be made in a food processor. However, I prefer to do it by hand on the counter top.

Here is a very easy tart shell recipe that will give great results.  Beyond that, I took 4 red apples and sliced them very, very thinly.  I used a mandolin for this actually.  If you don’t have a mandolin, just slice the apple as thinly as possible going slowly so you don’t cut yourself.  Once done with the slicing, add some lemon juice to the apple slices and mix well to prevent them from browning.  About 30 minutes prior to assembling the tart, take about 1/2 Cup of honey and place it in a small saucepan.  Add a few sprigs of thyme and the zest of one lemon.  Place the pan on simmer (or the lowest setting you have) and allow the mixture to steep until you are ready to assemble the tart.

When ready, remove the thyme springs and then add all but two tablespoons to the sliced apples and toss the apples in the honey mixture.  Place the filling in the tart shell that’s been rolled out.  Place filling in the middle of the tart allowing about a two inch border.  Once the apples are in the middle, simply fold the crust up and around the apples.  Once done, brush the dough with a bit of olive oil. Bake in a 350 degree oven for about 30-40 minutes (mine took 35ish).  However start checking the tart at the 20 minute point and check it every 5-10 minutes after that until it’s well browned and done.  Once done, take the remaining couple tablespoons of the honey mix and lightly and carefully brush it over the top of the tart.  Allow tart to cool a bit before moving it to a platter to serve.  Reheat it in a low oven if you prefer to serve it warm.

I was going to do a main course for the Valentine’s Day menu but for a number of reasons, my wife and I decided to celebrate the holiday at home next week.  We are leaving town for the actual holiday.  However, I planned on serving all of this with a roasted leg of lamb.  I think any roast or steak would go very well with this general progression of dishes and certainly will be quite nice on a cold and likely snowy Valentine’s Day evening.  So enjoy the holiday and the long weekend! Next week…French onion soup is on the docket.


Leave a comment

Valentine’s Day Part 3, The Finish: Chocolate Cake with Brandied Cherries

Chocolate cake drizzled with brandied cherries.  If you don't have brandied cherries, any liqueur would work well too.

Chocolate cake drizzled with brandied cherries. If you don’t have brandied cherries, any liqueur would work well too.

Chocolate cake soaked with brandied cherries.

Chocolate cake soaked with brandied cherries.

Good news, bad news…our Internet is wonky today and I’ve been on the line with Verizon off and on this morning trying to fix it.  So, the bad news is that I really can’t post an extensive recipe today.  The good news, however, is that I can post from my phone and I can provide pictures and some basic suggestions.  The even better news is that for this one, I used someone’s recipe for the cake and used my own recipe for the brandied cherries.  I believe most liquor stores now sell brandied cherries so they are generally available for purchase.  However if you don’t have time or the inclination to run to the liquor store, feel free to enjoy the cake on it’s own or drizzle another liqueur over the top.  There are cherry liqueurs that would work great as cherry and chocolate really work well together.  Baileys, cognac, brandy, and bourbon would all work too.  Really the possibilities are endless.  So go with what you like.  Here is the link to the cake…it’s very easy and quite good.

Once the cake is cooled, add the brandied cherries liquid over the top by the spoonful until the entire cake has soaked in some of the liquid.  Allow that to sit for a bit and then take a fine mesh strainer and place some powdered sugar in it and gently shake the strainer over the cake to finish.