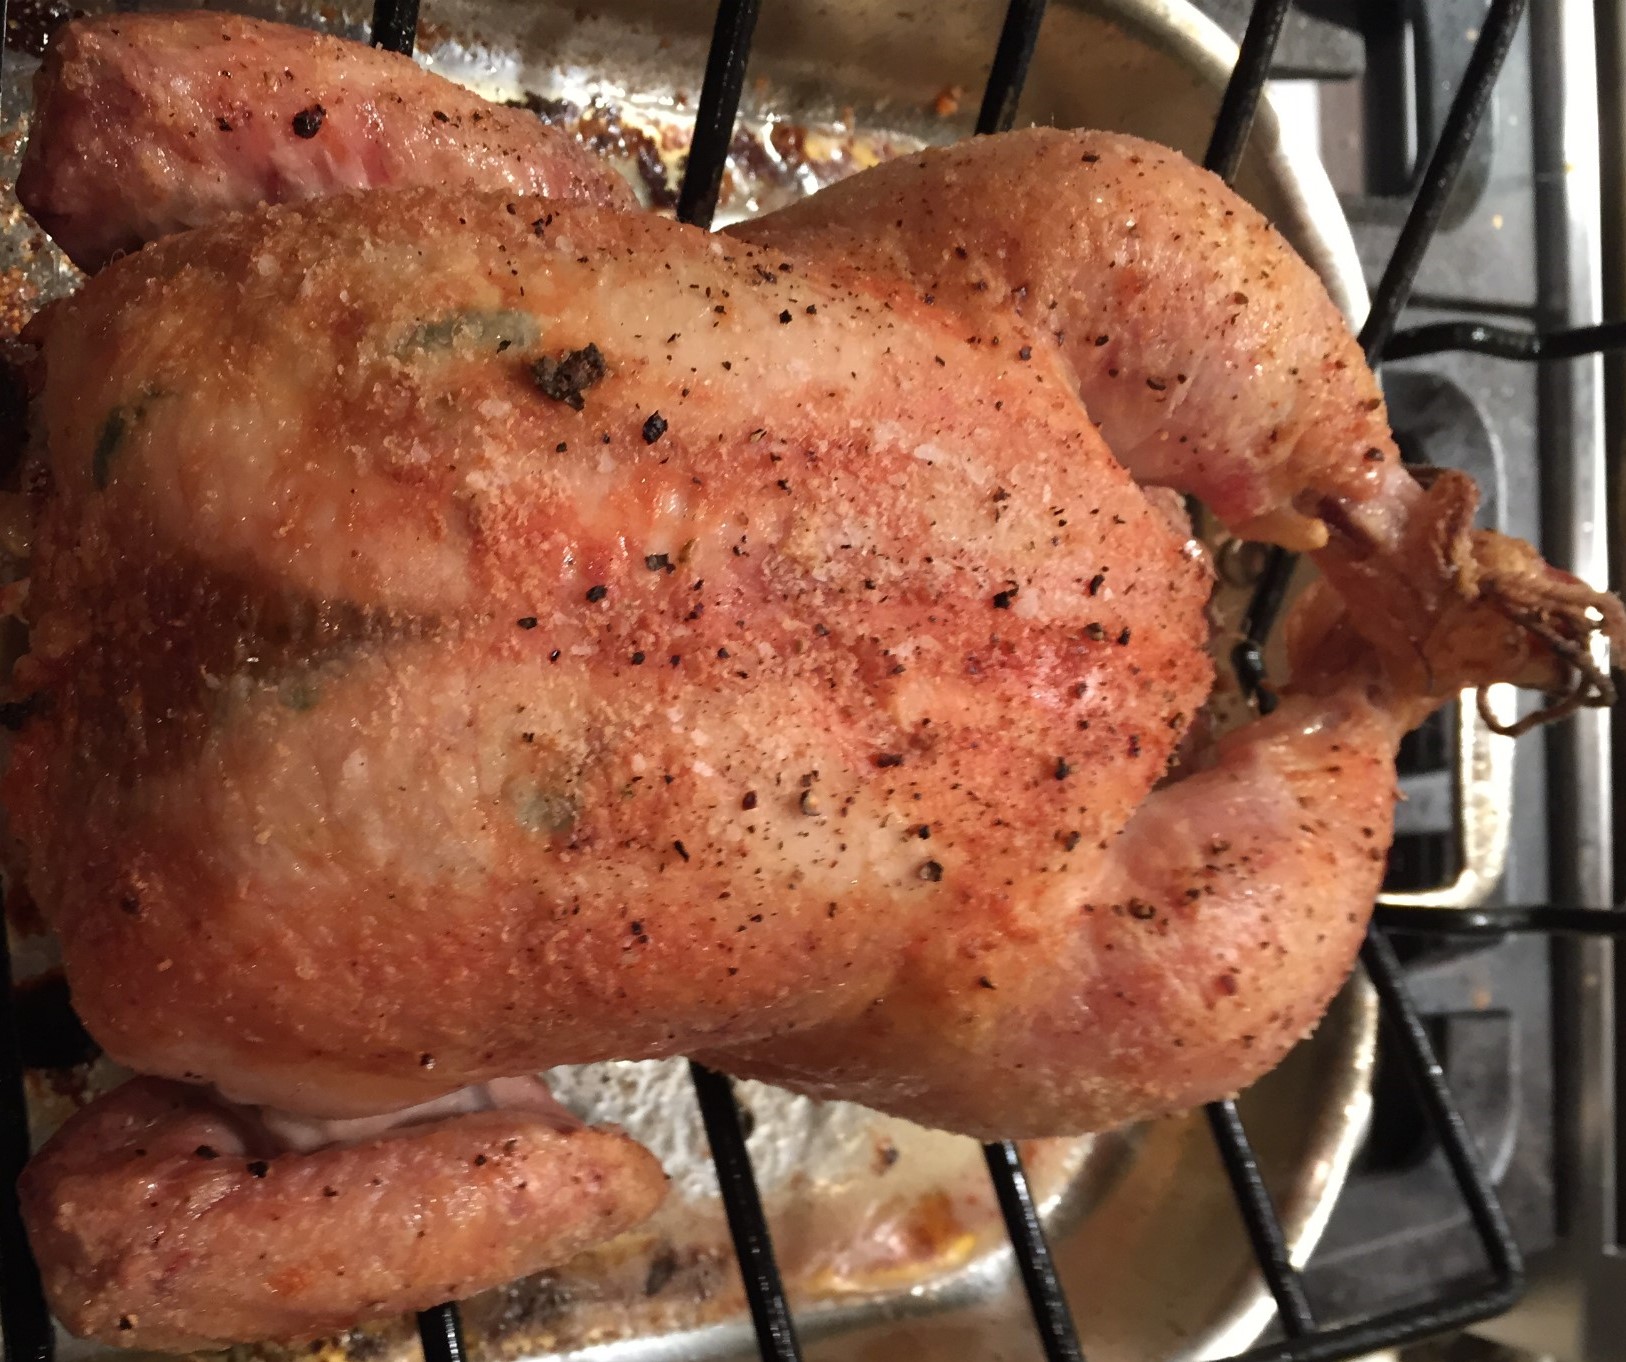
Roasted chicken rubbed with roasted garlic and sage
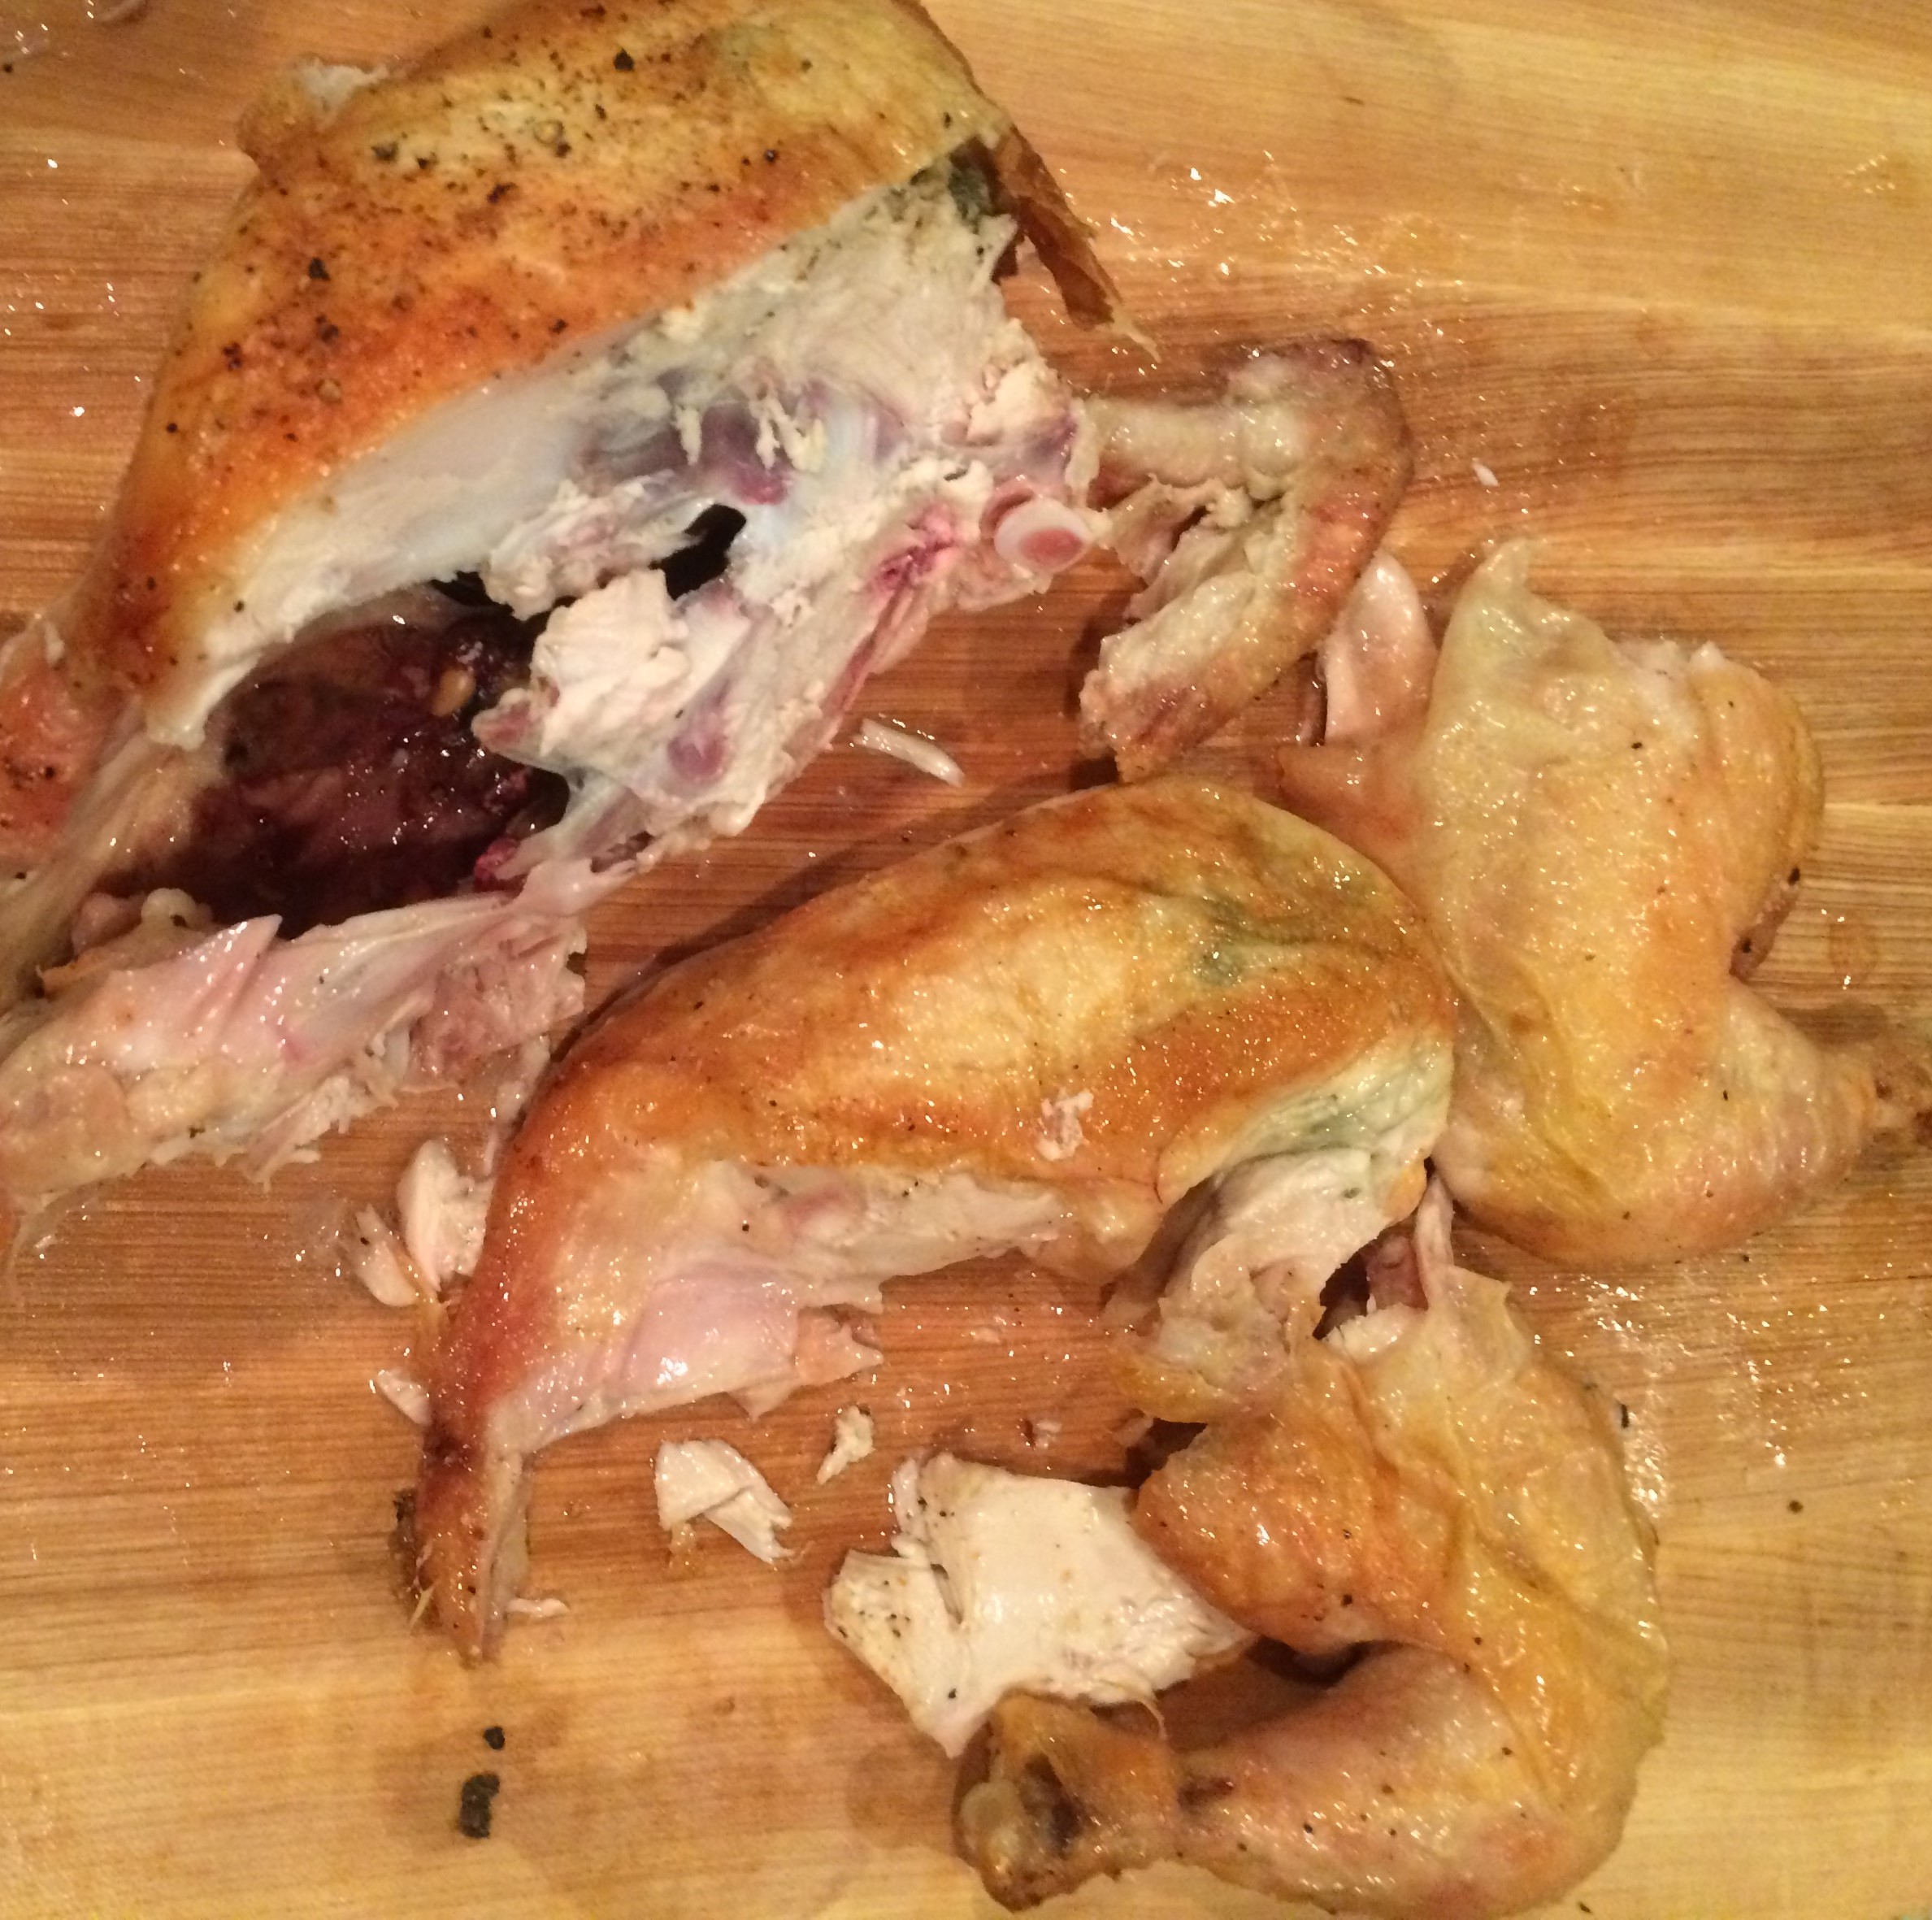
Carving a roasted chicken is easy. Follow the joints of the chicken, carefully inserting your knife between the joints to separate the various parts. Then remove the breasts.
If I were to ask my wife which dish I make or have made that she likes best I guarantee it would either be roasted chicken or a ribeye steak. That response usually drives me nuts because they are so basic and given all the other things I cook around here, I would think there would be other things she prefers. However, despite the very basic nature of a simple roasted chicken, I love it too. It’s really hard to beat a really well executed roasted chicken. I define well executed being a roasted chicken that is nicely browned with crispy skin while remaining juicy, succulent, and tender. That, my friends, is not so simple to pull off. So, despite the basic nature of such a simple cooking method, it really is not that easy to perfect. That said, it is possible to create an approximation to the ideal of a well executed roasted chicken with practice and doing some basic things to help it along.
In culinary school, we were given a five step method for preparing and roasting a chicken. Some of those steps are designed to help with cooking the chicken properly and some of those things are designed to improve the overall appearance of the chicken once it’s carved. Personally, I don’t think all five steps are necessary for home cooking purposes. I really don’t follow all the steps but I do follow a couple. I also add in a couple of steps that I feel make a big difference. More thoughts and basic recipe follow after the jump…
First of all, I think buying an organic, free range chicken makes a huge difference in taste and outcome. It literally looks different (as do organic chicken livers to those produced by conventional means). They are more expensive but given you will get a better tasting meal likely with leftovers as well as the opportunity to use the bones to make stock later, it’s still a real bargain. I also shoot for a chicken that is no more than around 5 pounds. 4.5 pounds is usually the range I shoot for. The actual size of the chicken usually has more to do with how long the chicken is alive. The larger the bird the older it typically is. So, is age a bad thing? Not really, but the older the bird, the tougher it usually is and as such, it requires different cooking methods. So, if you are serving a family of four, a 4.5-5 pound bird usually works great for roasting. Even smaller chickens in the 3-3.5 pound range are great and are exceptionally tender. As I said though, I usually go for a bit larger bird.
Steps…let’s get back to the step of preparing the roasted chicken. If you scroll down and notice a ton of steps, don’t worry, it’s not that complicated and certainly does not take a ton of time. I suggest some steps that you may not have done before but these steps do not take long and when taken individually step by step, is certainly not difficult.
- First, preheat your oven to 450 degrees and allow for a very long preheat. The oven needs to be screaming hot so I usually allow 45 minutes for it to heat. As an aside, I keep my pizza stone in the oven at all times. It absorbs heat really well and helps the oven retain it too.
- Second, after removing it from the packaging, don’t forget to remove the neck, liver, etc. (sometimes they are in a bag and sometimes they are not).
- Next, completely dry the chicken inside and out. This step is very important because if you don’t, the chicken will steam from the moisture instead of roasting and the browning and crisping the skin will be much more difficult.
- Then, once dry, I either tuck the wings behind the bird so they are nicely snug against the bird or I remove the two wing joints completely and use them later for stock.
- Once the wings are situated, I cut slits on both the top and the bottom of the chicken legs (drumsticks). I then generously salt the inside cavity using kosher salt.
- Located the wishbone on the bird and cut slits on the inside and the outside of that bone, being careful not to tear the flesh too much. Carefully remove the wishbone by simply pulling it out. It may take some effort but it shouldn’t be too difficult. This helps with carving the chicken later (notice on the picture that the little wing bone is attached to the breast, French cut restaurant style. Removing the breast bone allows you to carve it that way.
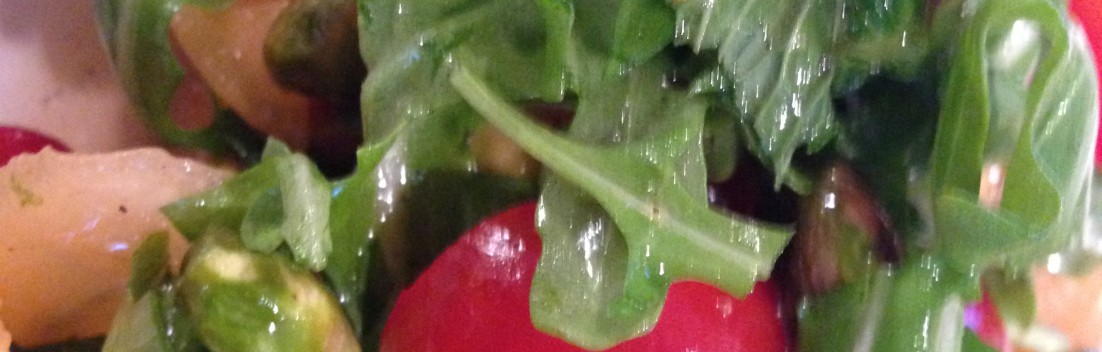
- If you plan to use herbs or other seasoning with the chicken, now would be the time. So if that’s the case, carefully loosen the skin from the breast meat so that pockets are created, being very careful not to tear the skin. Then rub your seasonings inside those pockets and all over the outside of the bird if you choose. If you wish, you can stuff the cavity with a lemon or other citrus half, some garlic, an onion half, etc. Sometimes, I stuff the bird and sometimes I do not. The chicken pictured above was not stuffed at all.
- Now that the chicken is either stuffed or not or seasoned with herbs or not, it is now time to move forward with tying the chicken. I don’t truss at home. Lots of people will say that it’s definitely a necessity and if you are using a pan that does not hug the chicken to hold it in place, you might think about it (google trussing chickens…there are step by step videos that are easy to follow). That said, I don’t truss. However, I do tie legs together. The slits we made in the legs a few steps before allow the string to stick to the chicken without having it slip off (which is super annoying if you’ve ever tried doing it that way).
- Once the legs are tied together, Generously salt the outside of the bird all over with copious amounts of kosher salt. I put lots of salt on outside of my roasted chicken. If you are doing this for the first time, you will think you are really over salting it. However, just go with it…use lots of salt. Grind some coarse black pepper over the top of the bird. (NOTE: I usually do not rub the outside of the bird with oil. However, some people do as it does help with allowing the salt and pepper to adhere to the skin as well as aiding with browning. If you do this, use an oil that can withstand a high roasting temperature. Olive oil is not great with this recipe as the chicken roasts at a pretty high temperature and smokes easily).
- So, the bird is tied, seasoned and ready to roll. Place in a roasting pan outfitted with a nice rack that keeps the chicken snug and allows enough space underneath to allow for relatively even browning.
- Once the chicken is then situated on the rack, then take a look at it. Sometimes the skin over the breasts will have slipped on one end or the other, exposing skin directly to the air. Carefully readjust the skin so that the flesh of the chicken is completely covered. Finally, the chicken is ready! Reduce the oven to 425 degrees and place in the oven.
- For a general rule of thumb, I usually roast a 4.5-5 pound bird for around 1 hour, turning it in the oven once or twice to help with even browning. If you have a thermometer, even better. The internal temperature should reach around 160 degrees. To find that, insert the thermometer in the thickest part of the thigh without hitting the bone. I usually remove the chicken from the oven at 145 degrees or so as the chicken will continue to cook a while once it’s removed from the oven. I err on the side of 145 as I can always put the chicken back in the oven to finish if needed but once it’s overcooked and dry, there’s no fixing it!
- Finally, once you have removed it from the oven, it’s time to allow it to rest. I would allow it to rest at least 20 minutes before carving it. Frankly, I allow mine to rest at least an hour and prefer to serve it just warm or at room temperature. Doing so allows all the juices to reincorporate and stay inside the chicken meat instead of immediately running out onto your carving board and leaving the chicken completely.
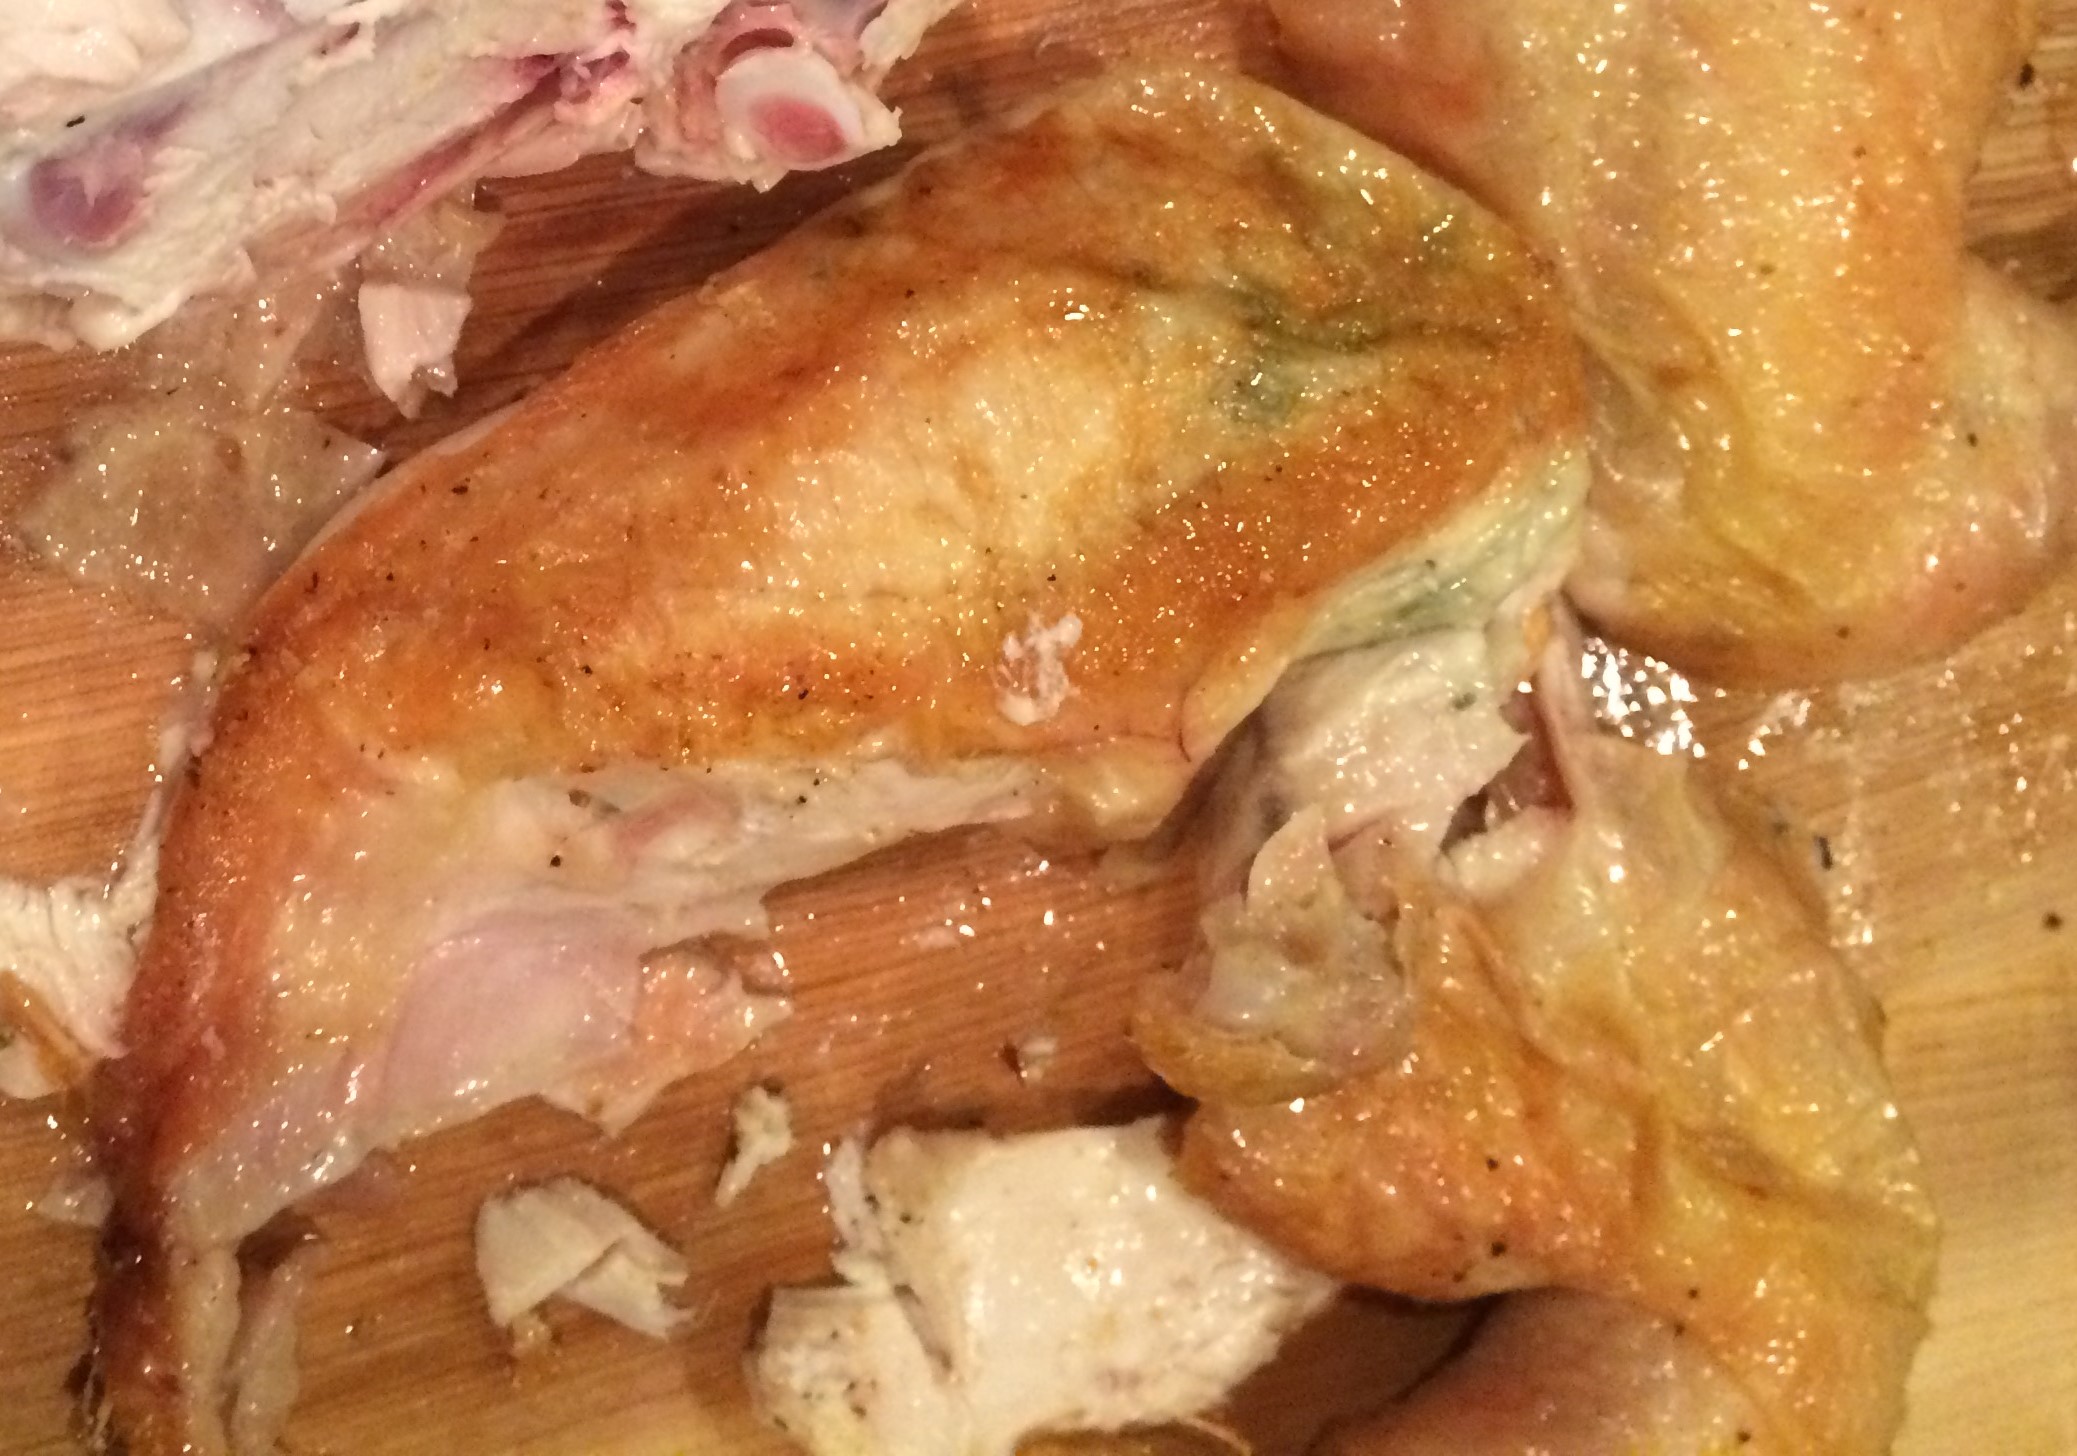
- When well rested, carve the chicken starting by moving a sharp knife between the leg and the side of the bird. Slide the knife down until you hit the joint between the thigh and the bird. Place the knife between those joints and separate it from the bird. Likewise do the same on the other side. Then remove the first two wing joints from the bird if you haven’t already done so. That then leaves the bird with a small wing drum joint. Carefully place your knife along the breast bone and slide the knife down along the carcass bones of the chicken carefully separating the breast from the carcass. Once the breast is mainly removed, slide the knife between the wing joint and the carcass and separate it, leaving the breast with wing joint in place. Do the same on the other side. Turn the chicken over and remove as much meat from the back as possible. Turn it back over and finish removing any remaining meat pieces on the top of the bird.
- Reserve the carcass and as many bones as you can. Freeze them. Once you have two or three carcasses, unthaw them and make chicken stock. You can use chicken stock to make soups, sauces, etc. This, to me, is one of the main benefits of making roasted chicken and certainly increases the value of the chicken as it creates multiple meal opportunities.
Last note: I usually do not bother using a brine. Lots of people, including most chefs, will almost insist that roasted chicken require a brine (wet or dry brine). Sometimes I do brine. However, it takes around a day to do and to me, I think the simple method outlined above really creates a very juicy and delicious product on it’s own. So, if you prefer, brine or not. Just know that you don’t HAVE to do that in order to cook a great tasting dish.

