culinary flights of fancy

Home Cooking Adventures in Berkeley Heights


13 Comments

Housekeeping

Image

So, I won’t be posting anything new until around the 8th of July.  Stay tuned though as that week will feature a rustic French country chicken dish with duck fat potatoes and a simple spinach salad.  I will also start a series of posts about kid friendly vegetable dishes and who knows what sort of fun stuff I’ll find in the Just Farmed box of produce, etc.  So, lots more to come.  Enjoy your 4th of July holiday! 


2 Comments

Grilled Corn with Honey Lime Butter, Cilantro, and Queso Fresco


Image

Grilled corn with honey lime butter, cilantro, chili, and queso fresco:

Prep Time: 20 minutes

Cook Time: 15 minutes

Total Time: 35 minutes


This simple dish is a great side dish during a meal or eaten as an appetizer the same way you would at a street fair. Loaded with flavor, this sweet and savory dish, should please children and adults alike! Since Jersey corn is plentiful, inexpensive, and delicious, this is a great option to feed the family a budget friendly dish that tastes great.

Ingredients:

4 ears of Jersey Corn (husked, silks removed)

4 tablespoons room temperature unsalted butter

Zest of one lime

1 generous tablespoon honey

1 bunch fresh cilantro- chopped

1 teaspoon chili powder (ancho or chipotle is ideal)

6 Tablespoons queso fresco

2 Tablespoons Vegetable Oil

Kosher Salt and Fresh Pepper

Instructions:

Preheat grill to 450 (or so)- about 20 minutes if using a gas grill.

Gather all ingredients as the grill comes to temperature.

Remove husks and silks from ears of corn.

Cut each ear of corn in half.

Combine zest of one lime, with softened butter, honey, and a touch of salt and pepper in a bowl and whisk to combine. (if the butter is not soft enough to easily combine, simply put it in microwave on 15 second intervals until it is virtually melted and can be whisked). Set aside.

Take a handful of the cilantro and chop coarsely.

Take Queso Fresco and grind it up between your fingers leaving small to medium sized balls or chunks. Set aside in bowl.

Take vegetable oil and rub all over hands. Then use hands to rub the ears of corn to coat all sides. After that, add salt and fresh pepper to coat.

Take Corn and bring to grill. Place the seasoned corn halves on grill and grill for around 10 minutes turning occasionally so that it doesn’t burn. However, you want there to be grill marks and a small amount of blackening as it brings out the natural sugars in the corn and makes for a nice presentation.

Once ten minutes have elapsed, check the corn for doneness. You can either poke the corn to see if a fork easily enters the corn or simply taste an ear. Remember that the corn will continue to cook even after it is taken off the grill so cooking this just through is fine. If corn is done, take off and bring inside. If not done, continue to cook, testing every couple of minutes for doneness until completely cooked through.

When done, take the corn and bring to your prep area with remaining ingredients waiting. Take honey lime butter mixture and whisk again, reincorporating ingredients that may have separated.

Place each half ear of corn on a small piece of tin foil (enough so that it can fold across the top of each ear).

Take a brush and brush butter, honey, lime mixture over each ear of corn. You don’t need a lot for each individual piece of corn; you just need enough to coat each piece.

Take the chili powder and sprinkle across the top of the corn. If you like it spicier, you can sprinkle the powder on all sides of the corn.

Add a little cheese across the top of each piece of corn.

Finally, sprinkle cilantro over each piece of corn and serve corn half wrapped in foil so that the ingredients stay in the foil as the corn is picked up and eaten.

Image


Leave a comment

Grandma Thiebaud’s Cinnamon Rolls, Adapted


Image

Grandma Thiebaud’s Cinnamon Rolls

One of the fondest memories I have growing up is making cinnamon rolls with my Grandma Thiebaud and my sister. My Grandma would make the dough, roll it out, and make a simple filling out of butter, cinnamon, brown sugar, and pecans. Actually she would make two batches: one with pecans and one without as some people didn’t prefer pecans. She would make these little breakfast treats and give them as gifts to relatives or friends at holidays or special occasions.  They played a bit part in my family’s Thanksgiving and Christmas Holiday experience.

I usually don’t make a lot of sweet dishes. In fact, it hasn’t been until very recently that I’ve even really bothered with making desserts, sweet breads, etc. Generally speaking, I think I was a bit intimidated by the precise nature of baking. I am a little of this and a little of that sort of cook, using whatever I have handy instead of following recipes. So, I always thought baking to be too restrictive for my cooking style. However, like everything, the more I bake (whether it be bread or desserts), the more I’m finding that assumption to be absolutely false. I’m finding that following exact recipes has been a good starting point. However, I’m also finding that if I pay attention to the ratios of flour and dry ingredients to the general quantities of liquid ingredients, then you can play around with the rest. All that is a long way of getting to my main point here: I have taken my Grandma’s general recipe and adapted it a bit. I use additional spices, scent it with vanilla powder and citrus juice and zest, and utilize different sugar(s) to create a different depth of flavor. That said, the basic technique, look, feel, and smell while baking still takes me right back to my Grandma’s kitchen with my sister, when we were young, just watching and helping sprinkle sugar over the yellow pastry before rolling it. If you have kids, and try this, I hope you consider sharing this experience with them. It would please me and I know it would please my Grandma. Enjoy!  Recipe follows after the jump… Continue reading


1 Comment

Ancho and Guajillo Salsa with Oven Baked Tortilla Chips

This recipe is being published in the Alternative Press (www.TAPinto.net) tomorrow.  Here is the recipe and an alternative picture.  Enjoy!

Image

Tortilla chips with Ancho and Guajillo Salsa:

I lived in Texas for a good number of years and from time to time I crave good quality chips and salsa. Given we are nearing the July Fourth holiday, bringing backyard barbeques and family gatherings to the forefront, I thought I would share a very easy salsa recipe that is part Texas, part Mexico and part Spain. The ingredients aren’t too difficult to find. I found the dried chilis at Penzey Spices in Summit but I also know that Garden of Eden in Berkeley Heights sells them as well. This salsa is slightly hot and slightly sweet with hints of lime and garlic. The texture is thick, almost jam-like, and it is certainly a salsa that can be enjoyed both as a dip and a sauce.

Personally, I don’t care for store bought tortilla chips. I think I became spoiled in Texas as many grocery stores make their own fresh tortillas throughout the day and you can always either buy freshly made chips or make your own from their fresh tortillas. Since that just doesn’t happen in New Jersey, I simply purchase a package of flour or corn tortillas and make my own chips from there. Any brand of tortillas will work great. I prefer flour for chips but feel free to use the method for corn or make a combination of flour and corn. Making the salsa really should take around 30 minutes to put together, though the flavor will improve over a few hours or even overnight. It will last around two weeks when stored in an air-tight container. The chips should take 10-15 minutes. So, this is a perfect quick and easy little snack that is packed with flavor for your Fourth of July celebrations! Continue reading


6 Comments

Easter Celebration Menu: Fresh ham with Provencal Herbs and basted in French wine

Image

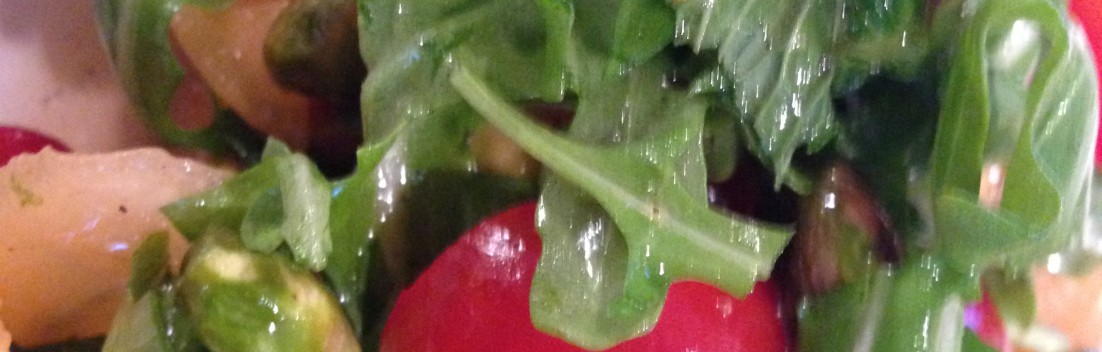
Try this for your Easter celebration on Sunday.  It’s very easy, feeds a crowd, and is unbelievably good.  I used a red wine here but a good French wine will work just as well.  I plan to make a Swiss chard gratin, salad, bread, and some other sort of vegetable dish to be determined.  I haven’t sorted out dessert yet either but will post the full menu once I figure it out.  Until then, check this recipe out and give it a try!  PS- this is a recipe from last summer.  I’m reposting it because this is the dish we landed on for Easter this year…my Italian Easter Pie idea was nixed (boo!).

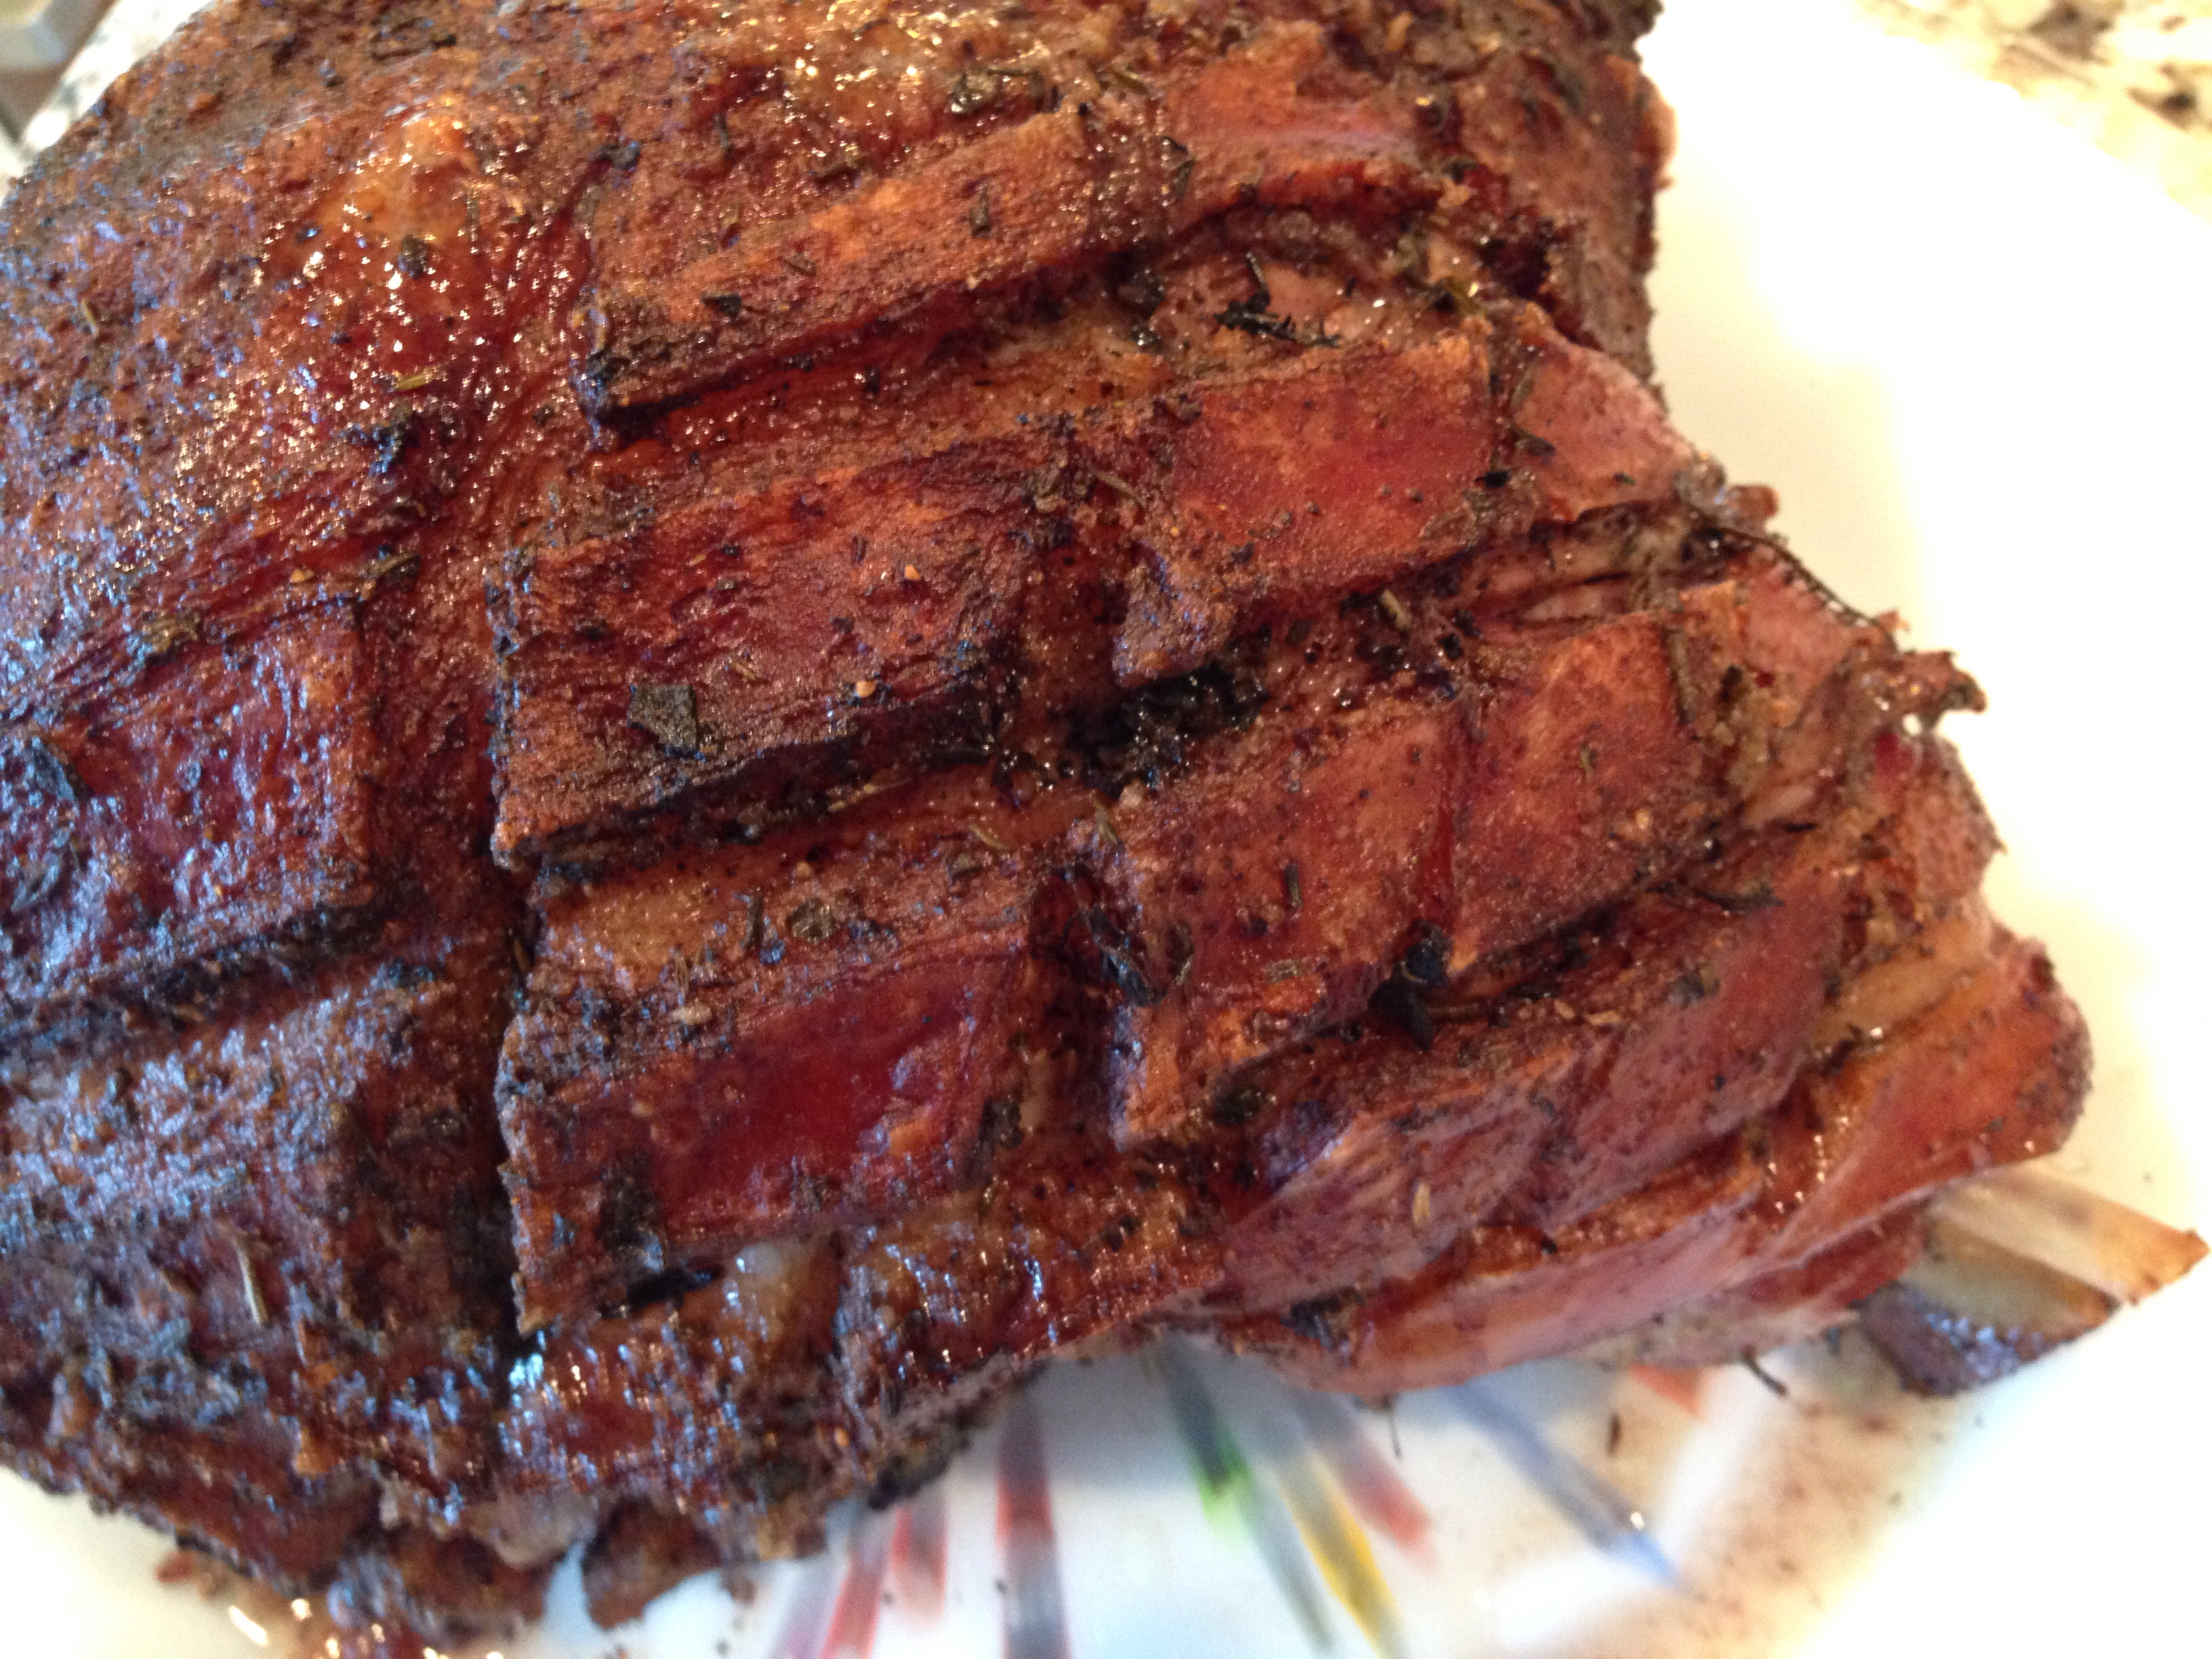
I don’t have a lot of experience with fresh ham. This is actually only the second time I’ve cooked one, though it’s such a massive piece of meat, you can adapt all sorts of recipes for leftovers after your initial meal. For me, there are a few advantages of cooking a fresh ham. First, and foremost, you get a lot of bang for your buck. It’s a great value and it’s sort of a showstopper for a dinner party because it doesn’t really look like a ham and if well roasted, it looks great and tastes really good too! In fact, if you have never had a fresh ham, it really tastes more like a pork loin roast than a typical ham. That difference in taste stems from the fact that it’s fresh or raw. In other words, most hams in grocery stores are usually cured for a number of days in a salt, sugar, spice and who knows what else mixture then slowly smoked. The fresh ham has not had anything done to it so the pork flavor takes center stage. Another really great thing about a fresh ham is that you can ask for the skin to remain on, thus giving you a crispy, browned outer crust. Underneath the crust you get a nice layer of fat that keeps the meat moist and succulent. Basted with French white or red wine, it takes on a nice natural sweetness and acidity as well.

The first time I made a fresh ham it was for a large dinner party for my wife’s co-workers and I made a 20 pound ham. It was huge, barely fitting in our oven. However it did and it worked out great. It easily fed the dinner party and we had lots of leftovers for sandwiches, etc. I actually made homemade Cuban sandwiches with some of the leftovers, complete with homemade Cuban loaves of bread and homemade yellow mustard. It was pretty great. Another little nerdy chef-y benefit to the fresh ham is that I get a fairly large leg bone (yep, the ham is a portion of the leg) that I can make stock out of. Last time I had one, I made a really great combination stock with the pork leg bone, the bones of one chicken, some beef bones with marrow still intact, and rounded out with a bunch of aromatic vegetables and herbs. I use this stock all the time…it made a ton and it’s super tasty. It imparts a great flavor to sauces, braises, stews, etc. Who knows what sort of stock I’m make with this leg bone, but I certainly will make some sort of stock with it!

This time, however, I chose to make a fresh ham as we are having a few relatives over for a number of days and wanted something that we could quickly pull out for dinner, have for lunch, or use for breakfast. I went with a 13 pound ham this time but will cook it in the same manner…rubbed with homemade dried herbs and sea salt, roasted slowly, and basting in a red French wine flavored with thyme, fresh bay leaves, and other aromatics. Luckily it won’t take four to five hours like the 20 pounder did!

I purchased both hams from Barth’s Meat Market in New Providence. They are definitely my go to butcher shop. I made pate the other day and needed ground pork liver…they procured it for me and ground in their grinder despite the fact that they definitely had to disassemble and clean every piece of the machine once it was finished. They did all of that for one customer and I only needed half a pound of the stuff. Talk about a business going above and beyond for a picky but very grateful customer! Anyhow, Barth’s makes their own regular, traditionally smoked hams that they have available all the time. As such, they usually have a fresh ham or two around because they prepare their smoked, cured hams from scratch. Luckily for anyone looking for a fresh ham, then, you don’t really need to even special order this special occasion cut of meat.

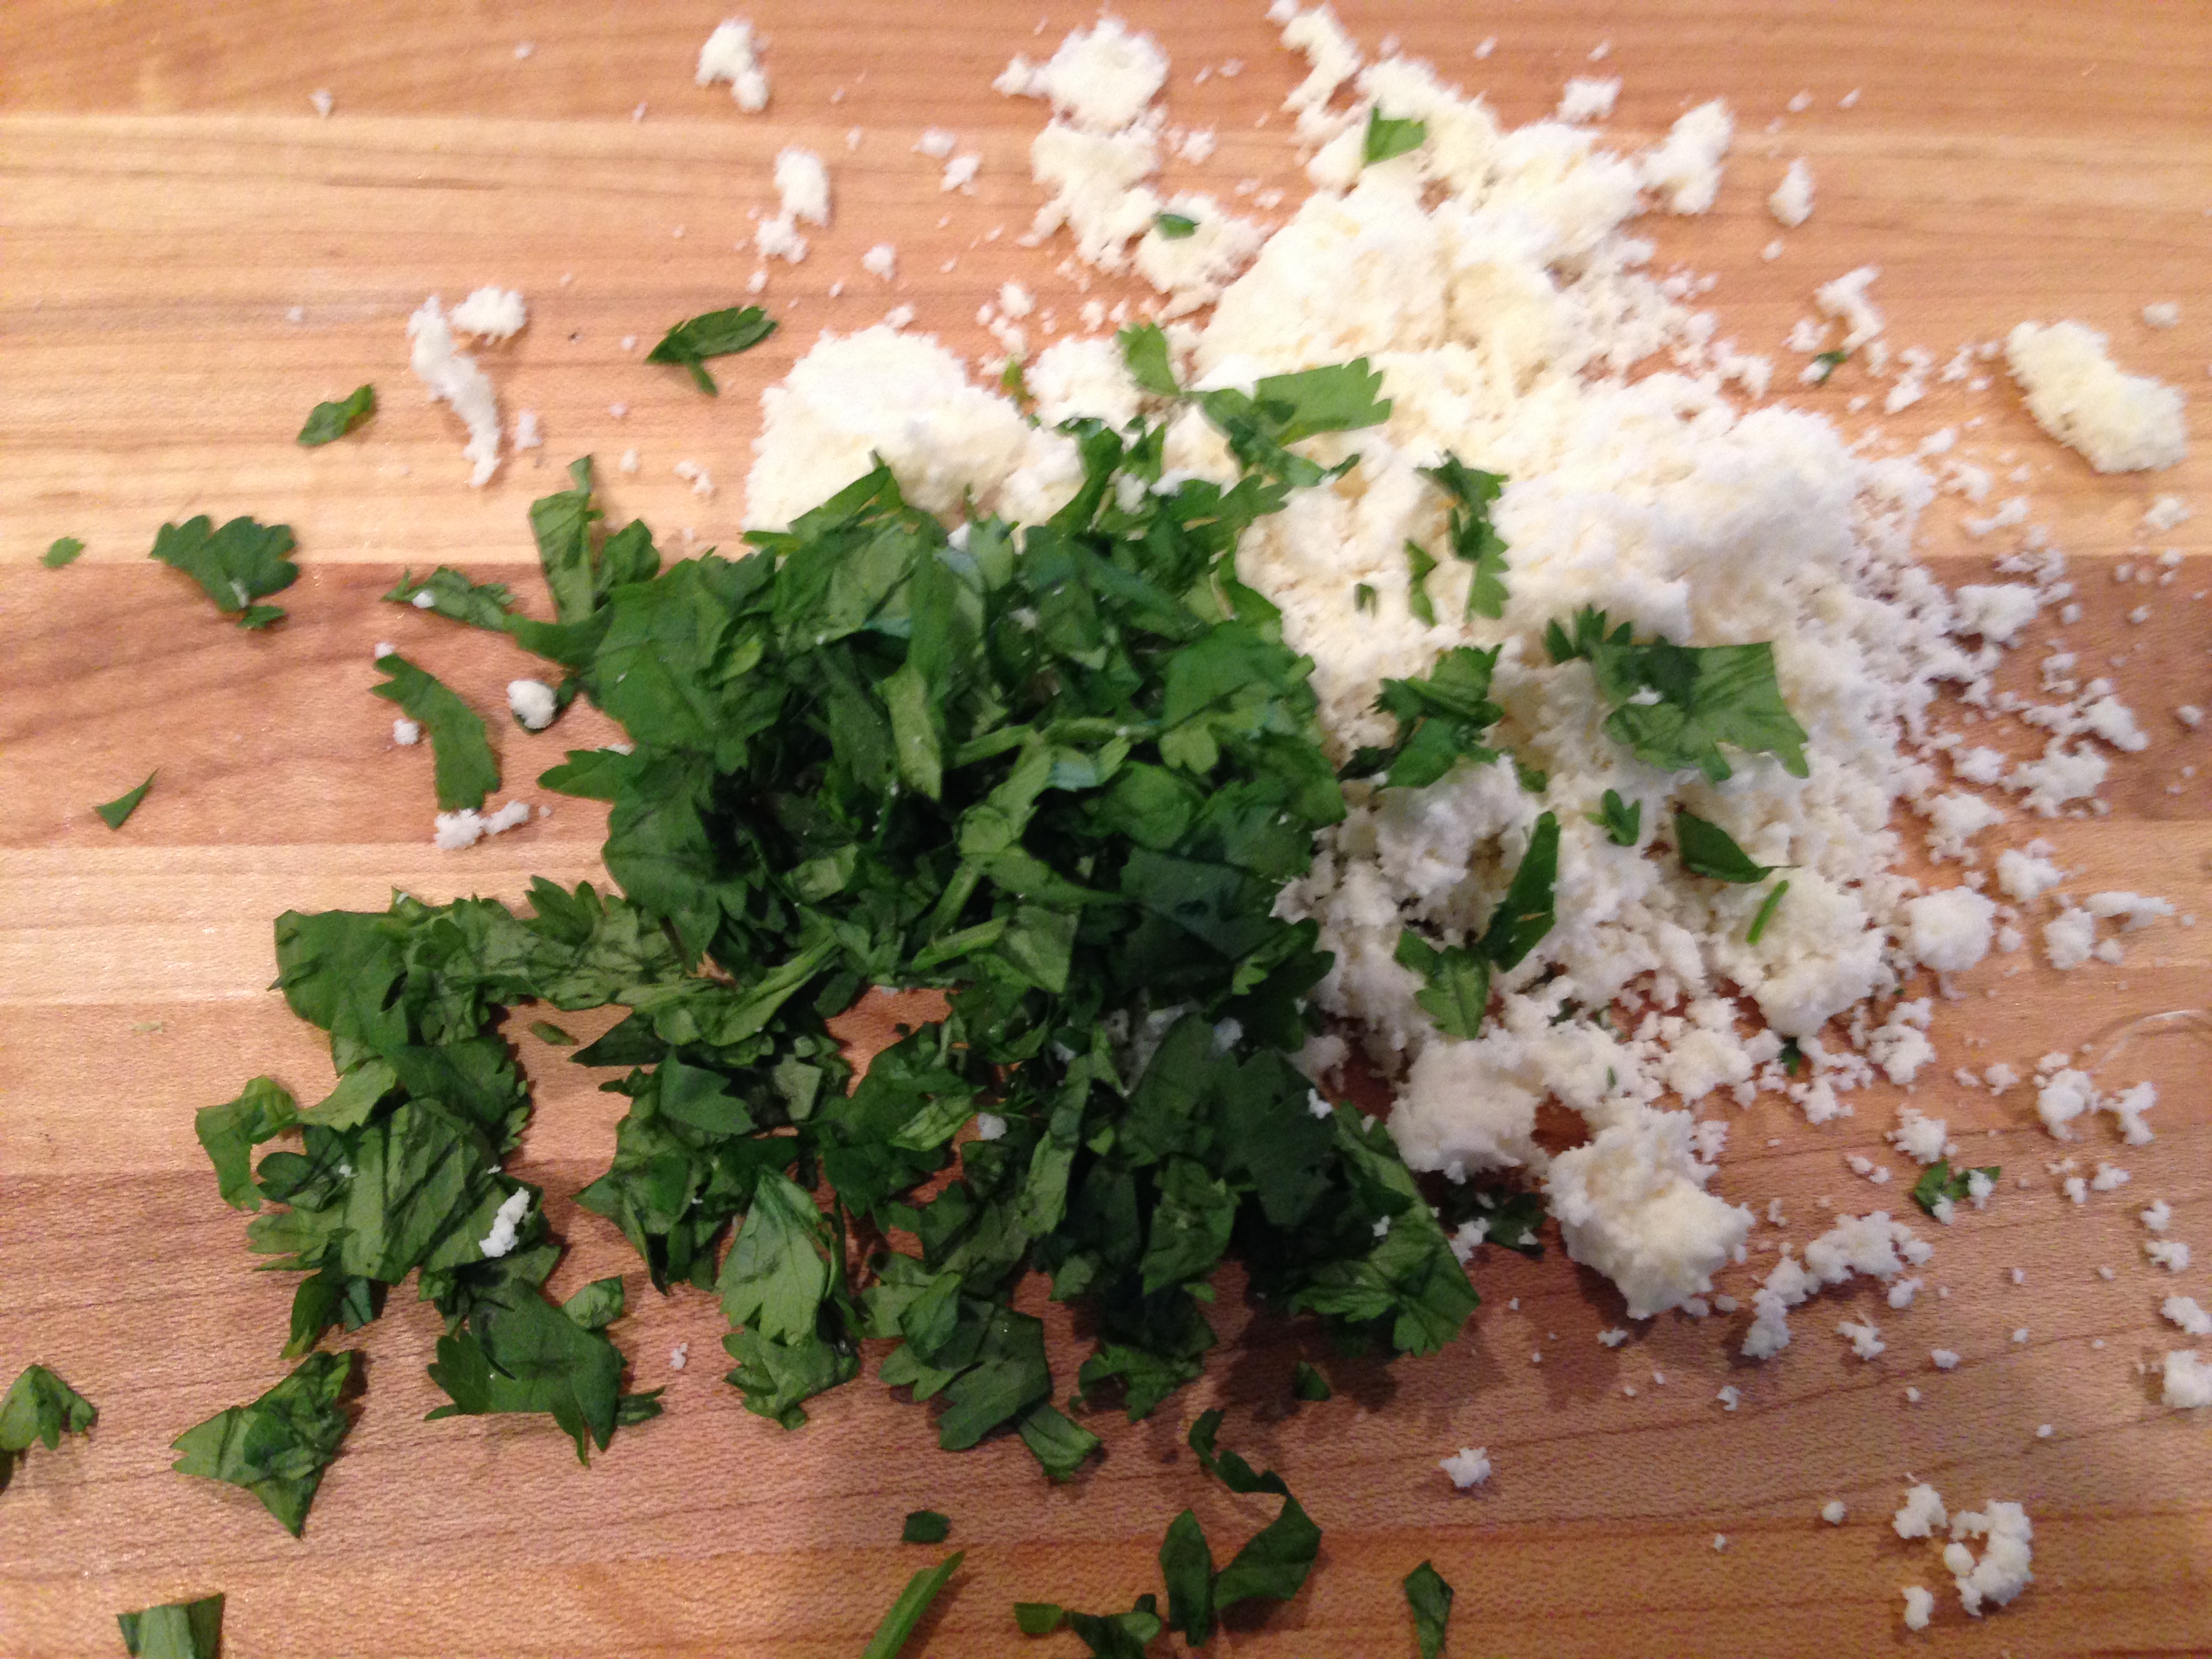
As for serving the dish, I plan to put it out on a platter and have it handy anytime for any meal. It’s so versatile that it really could be served for breakfast, lunch, or dinner. I will probably make a croque madame with it at some point. Can’t beat that! However, I made a homemade tartar sauce that goes great with it. Tartar sauce obviously goes wonderfully with fish but isn’t a ‘fish’ sauce alone. It’s a flavored mayonnaise seasoned with parsley, pickles, shallots, garlic, lemon juice, capers, and Dijon mustard (all of which go great with ham). Anyway, a bit of ham and some tartar sauce coupled with some summer vegetables or a salad will work great!

The recipe for the ham follows after the jump but keep in mind, you can spice it anyway you’d like and you can certainly cure it or brine it yourself prior to roasting it. I haven’t done either of those things yet…perhaps one day. For now, I’m going to enjoy a great slow roasted piece of pork seasoned with traditional French herbs and wine. Hope you try a fresh ham and enjoy it as much as Tara and I have.

Note: I used red French wine this time around. The first time I made a fresh ham, I basted it in a French white. After having now tried both, I definitely prefer the look and taste of the white wine baste. The red tastes just fine and certainly gave the ham a deep red brown hue, which I think looks great. The taste of the red wine is more forward, giving it a sticky, almost jam like feature to the outside crust. So all in all, not so bad. However, if I had to choose again in future, I would definitely go with white wine.

Recipe follows after the jump! Continue reading


Leave a comment

Products Worth Mentioning: Sel Gris

Image

First things first:  you can find sel gris on-line and at a number of gourmet markets.  I purchased this at the Summit Cheese Shop.  They actually have a good number of great products beyond cheese including pate, salts, mustards, and all sorts of goodies from Europe (mainly France and Italy from what I could tell).  I didn’t buy any cheese there.  I was sort of disappointed that they don’t make their own cheese.  I figured they’d make at least a few and actually went in there to find out where they were sourcing their milk for cheese making as I am dabbling in cheese making myself.  At any rate, I bought this salt at the Summit Cheese Shop.

Sel gris, or gray salt, is very similar to fleur de sel but typically comes from a specific region in France and it is allowed to come into contact with the drying pans, which causes the grayish color.  The salt is course and flaky but it has a higher water content that almost any other salt I’ve tried.  The moisture gives it a different texture and taste.  It’s a bit more mineral-y and I think it has a strong taste.  Unlike Maldon or fleur de sel, sel gris can be used to both cook and finish dishes.  The other two salts really are more of finishing salts both because of taste and price. 

I definitely have been enjoying cooking with the sel gris and if you happen upon it during your own trip to a specialty food store, I certainly recommend investing in a jar or bag and giving it a whirl!

As an aside, this will be the last post for the next couple of days…unless I find some time to post a fresh ham recipe.  However, likely it will be a few days.  So, I’ll look forward to checking back in then. 


1 Comment

Guacamole

Image

So, I told you that I have been busy in the kitchen despite my delay in posts while recovering from surgery.  This is the first thing I made post-surgery.  Probably not the best idea in the entire world to do this the day after surgery but it tasted good.  I cut my finger though…sharp knives and pain medicine is probably not a great idea.  Anyway, we love guacamole and, again, we have yet to find a decent version out and about in our area.  So, I take to making both the guacamole and the chips myself.  This is my basic recipe, which is to say, that it is a basic recipe that is commonly found in various iterations in my old home, Texas.  I love cilantro…my wife, however, does not.  Despite my many attempts at trying to talk her into cilantro, it just doesn’t happen so I usually make two batches:  one with and one without cilantro.  The guacamole pictured has cilantro in it.  It contains a poblano pepper (the fresh version of the ancho chili), which imparts a mild heat.  If, however, you prefer a stronger heat in your guacamole, I’d suggest skipping right over the jalapeno and going with the serrano pepper…it will definitely bring the heat!  No cooking involved in this one…just chopping, mashing, and seasoning.  The super easy, very tasty recipe follows after the jump. Continue reading


1 Comment

Trio of Summer Vegetables as Toppings for Bread or Crostini

This was published in the Alternative Press today.  Here is the article and recipe with an extra picture for your viewing pleasure!  Enjoy.

Image

Trio of Early Summer Vegetables as Toppings for Bread or Crostini


I made this basic dish for a neighborhood gathering last week and it seemed to be a hit. A couple neighbors even asked for the recipes of the various toppings. The stars here are ingredients that I either purchased directly from the Farmer’s Market in Summit or received from the farm via the Just Farmed program out of Westfield. I showcased local, seasonal ingredients: broccoli rabe, baby fennel, spring onions, and mushrooms. I also utilized three different cooking techniques: roasting, sauteing, and marinating raw vegetables. In doing so, the flavors and textures of the three dishes really became distinct, unto themselves. This dish can be completed easily within an hour if time is utilized properly. The vegetables can be made ahead of time as all three are served either warm or at room temperature. Serve with toasted bread drizzled with olive oil and accented with salt and pepper or simply serve with fresh, crusty bread cut thickly so that it can stand up to the heaviness of the toppings.  The recipes as well as a zoomed in photo of the veggies  follow after the jump! Continue reading


2 Comments

Mario Batali’s Olive Oil Gelato recipe (from Otto)

Image


First things first:  as the title suggests, this is not my recipe.  I really have never messed with making ice cream or gelato except while in culinary school.  Things change and I have put my big toe into the frozen dessert pool.  I made up a recipe using farm fresh strawberries, balsamic vinegar, and cracked black pepper to get the ice cream party started.  It turned out well but it wasn’t as creamy as it might have been (which frankly was my error for cutting back on sugar and probably not allowing the custard to get to the proper temperature before cooling but live and learn).  My next great ice cream experiment HAD to be Otto’s Olive Oil Gelato.  Tara and I have gone there a good number of times…great place.  It’s a casual pizza/pasta eatery with great charcuterie, fabulous bread, a great wine list and the beat goes on.  Anyway, one of the most wonderful unexpected treats came out of our first visit to Otto.  We ordered a trio of gelatos and our waiter strongly encouraged us to try the olive oil.  Up to that point, I’d never thought of olive oil as a flavoring for a frozen dessert nor had I ever tried anything like it.  So, loving olive oil and with a sense of adventure we decided to take the recommendation and dive in head first into olive oil gelato.  Our decision ended up working out.  If anything, the waiter probably undersold just how good the olive oil gelato is there.  In my opinion it’s nearly perfect.  We have gone back to Otto a good number of times since and every time, we don’t leave without ordering a scoop.  As an aside, if you are in the city, you can swing by Otto restaurant and buy the real thing in quarts to go.

When I made this recipe, it turned out great.  It was creamy and smooth.  It was buttery with a hint of pepper from the olive oil and it had the sugary vanilla custard flavor as well.  This is not a time to skimp on olive oil…break out the good stuff as the taste is front and center.  Let’s face it, with 10 egg yolks, 4.5 cups of good cream and whole milk, and a half a vanilla bean in the mix, you may as well go for it with regard to your olive oil choice.  This is a decadent dessert and using the best quality ingredients you can really will make the difference (which is basically true for every dish you’ll ever cook but that’s ok).  Of note for my batch, I used sel gris for the salt.  I’m loving this type of salt and will post more about it in the coming days but it’s definitely become my new favorite friend. 

Here’s the link for the gelato recipe.  Enjoy!  http://www.iloveicecream.net/recipes/gelato/olive-oil-gelato/

Oh, and a special thank you to Kay and Tony Charvat, my Mother-in-Law and Father-in-Law.  They gave us our ice cream maker when we moved into Berkeley Heights and I’ve definitely been enjoying it!


Leave a comment

Scapes and Scape Mayonnaise

Image

These little curly gems are plentiful this time of year here in New Jersey.  They are curly little garlic flower stocks that ironically do not flower.  Scapes, like ramps, can only be found for a short time and that time is NOW in the Jerz.  I found them at the Summit Farmer’s Market last Sunday and I received a bunch of them from the Just Farmed program out of Westfield.  At any rate, I have a ton of them now so luckily they freeze well.  I threw some in the freezer but I’ve been enjoying them in all sorts of different ways.  One basic way to use them is to simply toss them into a salad, finely chopped.  I also made a mayonnaise with scapes that turned out great.  A few weeks back, I posted a recipe for Basil Aioli and the process for making the scape mayonnaise is basically exactly the same.  I’ll post the recipe below.  However, if you are lucky enough to get your hands on a few scapes, you can add them into dishes just as you would regular garlic.  For me, they have a much more mellow flavor than regular raw garlic and evidently the scape flavor mellows even more as they age (frozen or not).  Hopefully though, we can all enjoy this brief seasonal vegetable together as it’s super tasty and, let’s face it…they are curly and fun to boot!

Scape mayonnaise recipe follows after the jump.  Enjoy! Continue reading